Whipped cream is a delicious, airy topping perfect for desserts, drinks, and breakfast treats. While store-bought whipped cream is convenient, nothing matches the freshness and taste of homemade whipped cream. If you’re wondering how to make DIY whipped cream at home, this guide will walk you through the step-by-step process, share helpful tips for achieving perfect peaks, and introduce creative variations.
Why Make Whipped Cream at Home?
Learning how to make whipped cream yourself has many benefits:
- Fresher taste: Homemade whipped cream is richer, creamier, and fresher than store-bought alternatives.
- Fewer ingredients: You control exactly what goes into your whipped cream—no preservatives or artificial flavors.
- Customization: Adjust the sweetness, flavoring, or even make it dairy-free to suit your preferences.
- Cost-effective: Making whipped cream at home is often cheaper than buying ready-made cans or tubs.
Essential Ingredients for DIY Whipped Cream
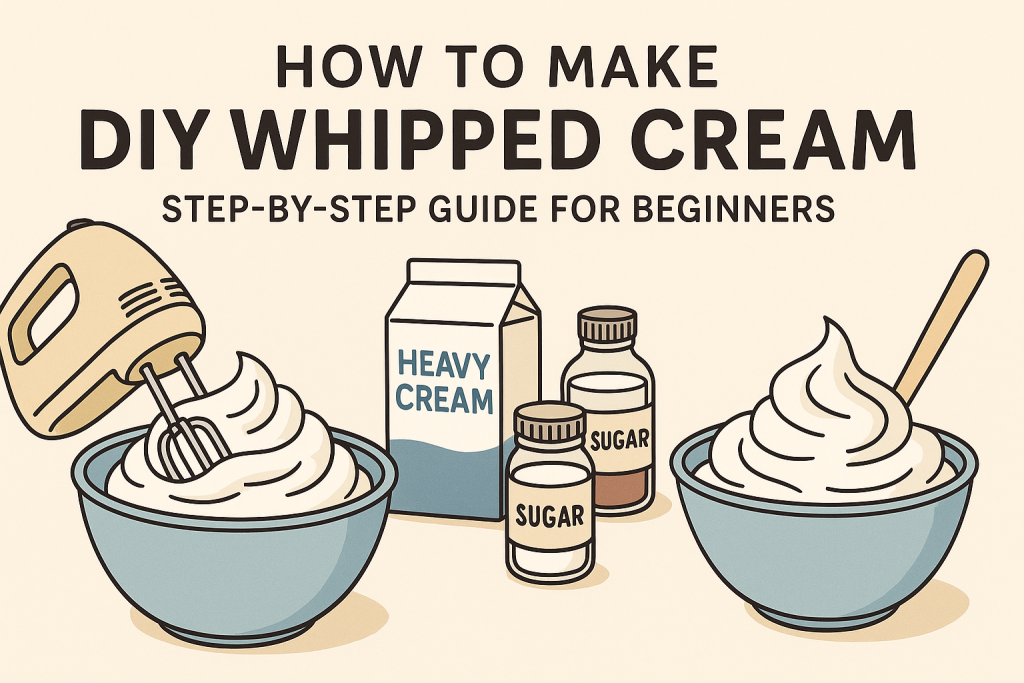
The beauty of homemade whipped cream is its simplicity. You only need three basic ingredients:
- Heavy cream or heavy whipping cream (minimum 30-36% fat): This is the main ingredient. Ensure it’s cold for the best results.
- Sugar: Granulated sugar works well, but many prefer powdered (confectioners’) sugar because it dissolves quickly. Start with 1-2 tablespoons per cup of cream and adjust to taste.
- Vanilla extract (optional): A splash of pure vanilla extract adds a lovely flavor.
That’s it! For specialty variations, you might want to add other flavors like cocoa, cinnamon, or citrus zest.
Tools You’ll Need
You don’t need fancy equipment to whip cream, but the process is easier with the right tools:
- Mixing bowl: Stainless steel or glass works best. For faster whipping, chill the bowl in the fridge or freezer for 10-15 minutes.
- Whisk or electric mixer: A hand whisk works if you want a workout, but an electric hand mixer or stand mixer makes the job much quicker.
- Measuring spoons: For precise additions of sugar and flavorings.
- Spatula: For scraping the bowl and folding in flavors.
How to Make DIY Whipped Cream: Step-by-Step Instructions
1. Chill Your Ingredients and Equipment
Cold cream whips up faster and produces more stable peaks. Place your bowl and beaters in the freezer for 10-15 minutes before whipping.
2. Add Ingredients to the Bowl
Pour the cold heavy cream into your chilled bowl. Add the sugar and vanilla extract (if using).
Basic Proportions:
- 1 cup (240ml) cold heavy cream
- 1-2 tablespoons (15-30g) sugar
- 1 teaspoon (5ml) vanilla extract (optional)
3. Begin Whipping
Start whipping your cream on low speed, gradually increasing to medium-high. This prevents splattering and helps incorporate air evenly.
4. Watch for Soft Peaks
As you whip, the cream will begin to thicken. Check for soft peaks by lifting the whisk: the cream should form gentle mounds that hold their shape briefly before melting back. For most uses, this is the preferred stage—perfect for dolloping onto pies or coffee.
5. Continue to Stiff Peaks (Optional)
If you need firmer whipped cream for piping or frosting, keep whipping until you reach stiff peaks. Here, the cream will hold its shape firmly and cling to the whisk. Be careful not to overwhip—once you pass the stiff peak stage, whipped cream can quickly turn grainy or become butter.
6. Serve or Store
Use your whipped cream immediately, or store it in the refrigerator for 1-2 days. It’s best served fresh, as it can lose volume over time. If the cream starts to separate, whisk it briefly before using.
Tips for Perfect Homemade Whipped Cream
- Always use cold cream and equipment for the best volume and texture.
- Don’t overwhip. Stop as soon as you reach the desired peak stage. If you go too far and it looks grainy, gently fold in a tablespoon or two of fresh cream to revive it.
- Add sugar and flavorings early so they incorporate evenly.
- Flavor creatively: Use almond extract, citrus zest, or cocoa powder for unique variations.
Creative Whipped Cream Variations
Once you master classic whipped cream, try these exciting flavor twists:
- Chocolate Whipped Cream: Add 1-2 tablespoons unsweetened cocoa powder with the sugar.
- Coffee Whipped Cream: Dissolve 1 teaspoon instant espresso powder in the cream before whipping.
- Berry Whipped Cream: Fold in a spoonful of berry puree for a fruity spin.
- Lemon or Orange Whipped Cream: Add finely grated zest of lemon or orange with the sugar.
- Spiced Whipped Cream: Sprinkle in a pinch of cinnamon, nutmeg, or cardamom.
How to Make Vegan or Dairy-Free Whipped Cream
If you’re avoiding dairy, you can still enjoy luscious whipped cream at home. Here are two popular alternatives:
- Coconut Whipped Cream: Refrigerate a can of full-fat coconut milk overnight. Scoop out the solid cream and whip with sugar and vanilla.
- Aquafaba Whipped Cream: Use the liquid from a can of chickpeas (aquafaba). Whip with a little cream of tartar, sugar, and vanilla until fluffy.
Common Questions About DIY Whipped Cream
Can I make whipped cream without a mixer?
Yes! You can use a large whisk and a chilled metal bowl. It takes more arm strength and time, but it’s definitely possible.
How long does homemade whipped cream last?
Homemade whipped cream is best eaten fresh but can last 1-2 days in the refrigerator. If it loses volume, re-whip gently.
Can I freeze whipped cream?
Yes! Pipe or dollop whipped cream onto a parchment-lined tray and freeze. Once firm, transfer to a container. Frozen whipped cream can be used as topping for hot drinks or desserts.
Serving Suggestions for Whipped Cream
Homemade whipped cream is endlessly versatile. Try it:
- On pies and tarts (pumpkin, apple, pecan, lemon meringue)
- With hot drinks (coffee, hot chocolate, Irish coffee)
- Topping ice cream sundaes or milkshakes
- Layered on trifles or parfaits
- With pancakes, waffles, or crepes
- As a dip for fresh fruit
Conclusion: Whip Up Homemade Magic
Making DIY whipped cream is simple, quick, and rewarding. With just a few ingredients and minutes of effort, you can elevate any dessert or drink with fresh, fluffy whipped cream. Try out different flavors, experiment with vegan options, and enjoy the pure taste of homemade whipped cream every time!