Why Efficient Contact Management Matters on Android
Staying connected is crucial in today’s fast-paced world, and your Android phone is designed to make this easier than ever. Adding contacts efficiently ensures you have instant access to friends, family, colleagues, and essential services. Whether you’re a new Android user or simply want to better organize your address book, mastering the process can save you time and reduce stress.
With Android being the most popular mobile operating system worldwide, knowing how to add and manage contacts is a skill every user can benefit from. According to Statista, over 3 billion people use Android phones globally — making contact management a daily activity for millions. Let’s explore the simplest and most effective steps to add and manage contacts on your device.
Step-by-Step Guide: Adding a New Contact on Android
Step 1: Open Your Contacts or Phone App
Most Android devices come with a dedicated Contacts app, while others integrate contact features into the Phone or Dialer app. Locate and open either of these apps to begin the process. Look for an icon shaped like a person or address book, usually labeled “Contacts.”
Tip: You can also search for “Contacts” in your app drawer or swipe down to use the universal search bar on your home screen.
Step 2: Tap the ‘Add’ or ‘+’ Button
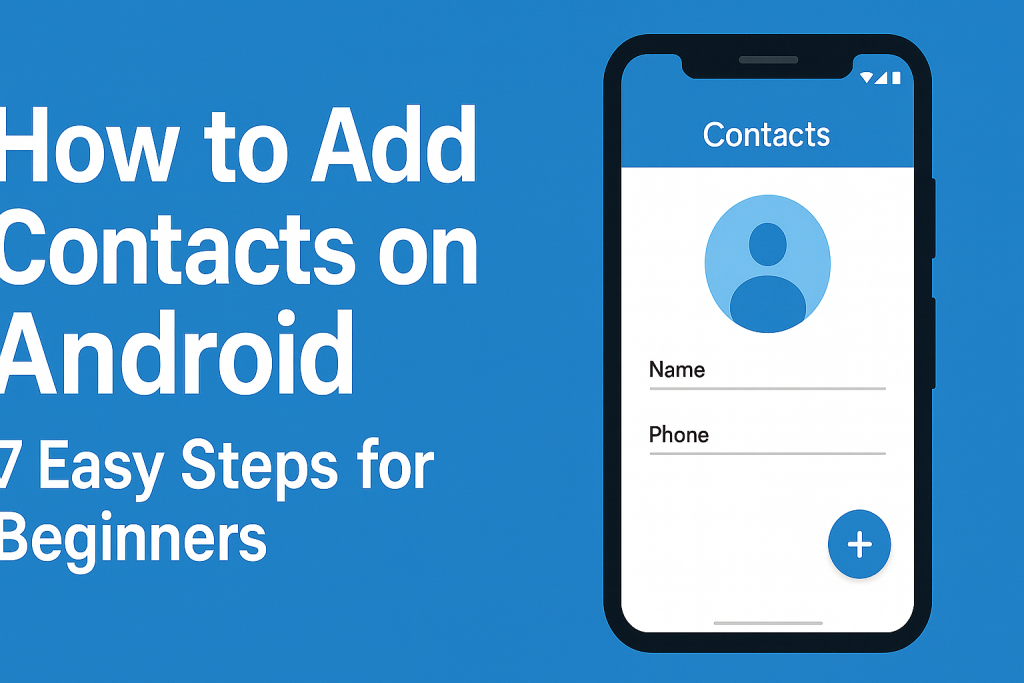
Once inside the Contacts app, locate the “Add” or “+” button—typically found at the bottom right corner. Tapping this will bring up a new contact entry form. On some devices, you may need to select ‘Create Contact’ or ‘New Contact’ from the menu options.
Step 3: Enter Contact Information
This is where you input essential details such as the person’s name, phone number, and email address. Here are some fields you might see:
- Name: Enter the full name for easy identification.
- Phone Number: Add mobile, home, or work numbers.
- Email: Attach email addresses for seamless communication.
- Photo: Assign a picture for a more personal touch.
- Address: Store physical addresses if needed.
- Notes: Add additional details like birthdays or job titles.
Take time to fill out as many fields as you find useful. This makes identifying and reaching your contacts easier in the future.
Step 4: Choose Where to Save the Contact
Android allows you to save contacts in several locations: your phone’s memory, SIM card, or a linked Google account. Saving to your Google account is highly recommended because:
- Your contacts are securely backed up in the cloud.
- You can access them from any device with your Google account.
- They automatically sync across all your Android devices.
When prompted, select your preferred saving location. For most users, choosing your Google account provides the best flexibility and backup.
Step 5: Save the New Contact
After entering all necessary details, tap the “Save” button — usually at the top or bottom of the screen. Your new contact is now added and will appear in your contacts list.
Step 6: Add Contacts from Recent Calls or Messages
If someone has called or messaged you, you can quickly add them to your contacts:
- Open your Phone or Messages app and go to the recent activity section.
- Tap the number or message thread you wish to save.
- Look for ‘Add to Contacts’ or ‘Create New Contact’ and follow the prompts.
This method is practical when you want to save important numbers on-the-go without manually entering their details.
Step 7: Import Contacts from SIM, vCard, or Google Account
If you’re switching phones or want to transfer contacts, Android offers several import options. To import contacts from a SIM card, vCard file (.vcf), or Google account:
- Open the Contacts app and tap the menu (three dots or lines).
- Select ‘Import/Export’ or ‘Manage Contacts.’
- Choose your import source (SIM, .vcf file, or Google account).
- Follow the on-screen instructions to complete the import.
This approach is ideal for users who want to consolidate contacts from multiple sources without losing valuable information.
Essential Tips for Better Contact Management on Android
Organize Contacts with Labels and Groups
Most Android phones allow you to create labels or groups (like “Work,” “Family,” or “Emergency Contacts”) for easier organization. Here’s how:
- In the Contacts app, look for ‘Labels’ or ‘Groups’ in the sidebar menu.
- Add contacts to the relevant group for quick group messaging or calling.
This feature is especially useful if you have a large contact list or need to segment your contacts for different purposes.
Sync Contacts for Automatic Backup
Enable contact sync with your Google account to ensure you never lose important data. Go to Settings > Accounts > Google > Account sync and make sure “Contacts” is toggled on. This will automatically back up contacts and keep them updated across devices.
Merge Duplicate Contacts
Duplicate entries can clutter your address book and cause confusion. Use the built-in ‘Merge’ or ‘Fix & manage’ features available in Google Contacts or your phone’s Contacts app to clean up duplicates efficiently. Simply select the duplicate contacts and follow the merge prompts.
Troubleshooting: Common Issues When Adding Contacts
Contact Not Saving or Appearing
If a new contact does not appear after saving, check your sync settings and ensure you saved it to the correct location (Google account vs. device storage). Also, try closing and reopening the Contacts app or restarting your device.
Permissions Issues
If you’re unable to add contacts, your app may lack the necessary permissions. Go to Settings > Apps > Contacts > Permissions and make sure access to Contacts, Storage, and other necessary features is enabled.
Import/Export Errors
If you encounter difficulties importing or exporting contacts, ensure your .vcf files are not corrupted and the SIM card is properly inserted. For Google account imports, double-check account synchronization in settings.
Expert Advice: Maximizing Your Android Contacts Experience
Use Google Contacts for Advanced Features
Google Contacts offers additional features like restoring deleted contacts, advanced search, and integration with Gmail. Download the Google Contacts app from the Play Store for a more robust contact management experience.
Regularly Update Contact Information
Keep your address book current by periodically reviewing and updating contact details. Outdated information can lead to missed calls or messages, especially for business or emergency contacts.
Backup Your Contacts Periodically
While syncing provides ongoing backup, it’s wise to periodically export your contact list as a .vcf file for offline storage—especially before major phone updates or switching devices.
Frequently Asked Questions About Android Contacts
Can I add multiple numbers or emails to one contact?
Yes! Android allows you to store several phone numbers and email addresses under a single contact. Just tap ‘Add another field’ within the contact editor.
What happens if I delete a contact?
If your contacts are synced with your Google account, deleted contacts move to a ‘Trash’ folder for 30 days before permanent deletion. This gives you time to recover accidental deletions using Google Contacts on the web.
Do third-party contact apps offer more features?
Some third-party apps provide features like smart sorting, enhanced backups, spam identification, and more. However, always choose reputable apps with positive user reviews and robust privacy policies.
Conclusion: Add Contacts on Android With Confidence
Mastering how to add contacts on Android is a fundamental skill that unlocks the full potential of your device. By following the 7 easy steps outlined in this guide, you can effortlessly save, organize, and manage your contacts for personal and professional success. Good contact management enhances communication, minimizes frustration, and ensures that you’re always just a tap away from the people who matter most.


