Why Backing Up Your Android Phone Matters
In today’s digital world, our smartphones hold an incredible amount of valuable information—photos, contacts, messages, app data, and more. Losing your phone or experiencing a system failure can result in a devastating loss of data. That’s why it’s essential to regularly backup your Android phone to Google. By leveraging Google’s robust cloud infrastructure, you can ensure your important data is safe, easily recoverable, and accessible across devices.
Backing up your device protects you from accidental loss, hardware damage, theft, or even simple human error. Google’s backup system is seamless, automated, and free for most core services, making it an ideal solution for Android users. In this guide, we’ll walk you through the 7 simple steps to backup your Android phone to Google, along with expert tips and troubleshooting advice.
Understanding What Google Backup Covers
Before proceeding, it’s helpful to know exactly what Google can backup from your Android phone. This ensures you don’t overlook important files and you can supplement with other methods if needed.
- App Data: Settings, preferences, and data for most apps installed from Google Play.
- Contacts: Saved to your Google account for easy restoration and syncing.
- Photos and Videos: Backed up via Google Photos (when enabled).
- Calendar Events: Synced automatically with Google Calendar.
- Device Settings: Wi-Fi passwords, display preferences, language, and more.
- SMS & MMS Messages: On many devices, texts can be backed up to Google.
- Call History: Recent calls and contact history.
However, some data—like certain app-specific files or downloaded content—may not be included. For complete peace of mind, always check your backup settings and consider supplemental manual backups for irreplaceable files.
Step 1: Prepare Your Device for Google Backup
Check Your Google Account
First, ensure that your Android phone is linked to an active Google account. This account will store your backups and sync all supported data:
- Open Settings on your Android phone.
- Scroll down to Accounts (may be under Users & accounts).
- Confirm your Google account is listed; if not, tap Add account and log in with your credentials.
Connect to Wi-Fi and Charge Your Phone
Backups, especially those involving photos and videos, can be data-intensive. Connect to a reliable Wi-Fi network and make sure your device is charged or plugged in to avoid interruptions.
Step 2: Enable Google Backup on Your Android Phone
Automatic Device Backup
Most modern Android devices feature an automatic backup process that saves essential data to Google Drive:
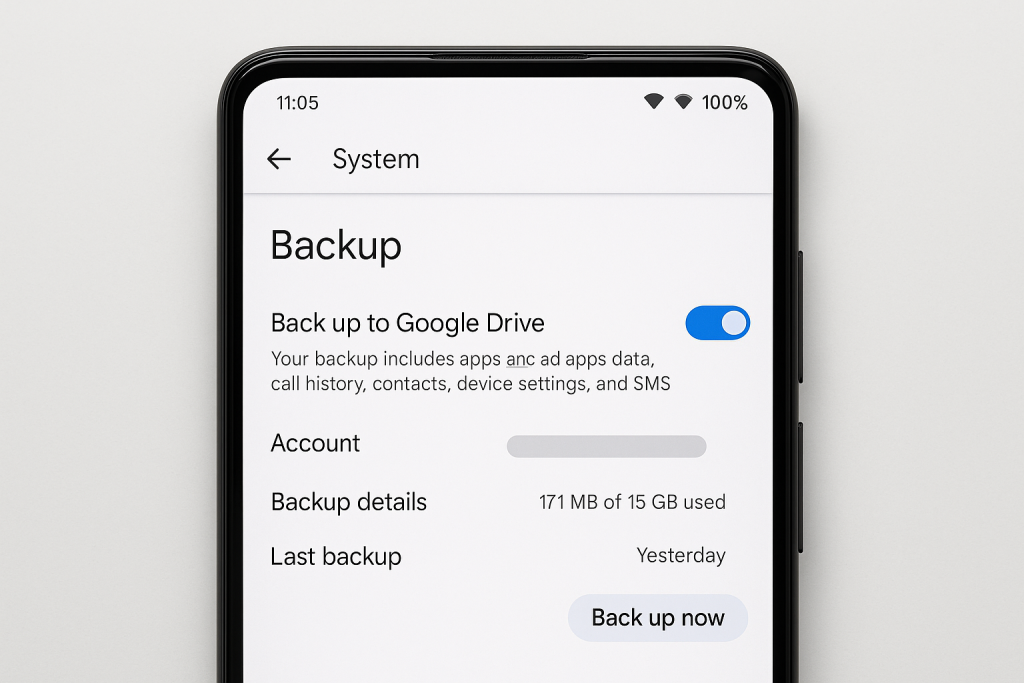
- Open Settings.
- Tap on System (may require scrolling down).
- Select Backup (sometimes under Advanced).
- Toggle on Back up to Google Drive.
- Review the account listed for backup. If it’s not your preferred Google account, tap to change it.
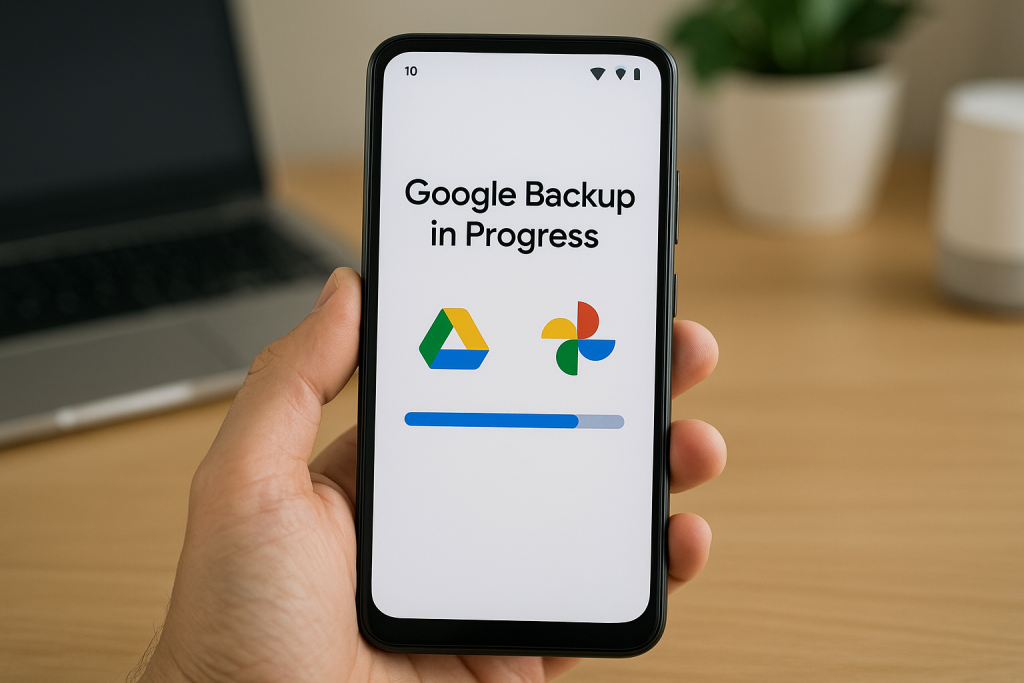
Once enabled, your device will automatically back up data like app settings, call history, SMS messages, and device settings to Google Drive whenever connected to Wi-Fi and charging.
Step 3: Back Up Photos and Videos with Google Photos
Using Google Photos Backup
To ensure your memories are never lost, use Google Photos for automatic photo and video backup:
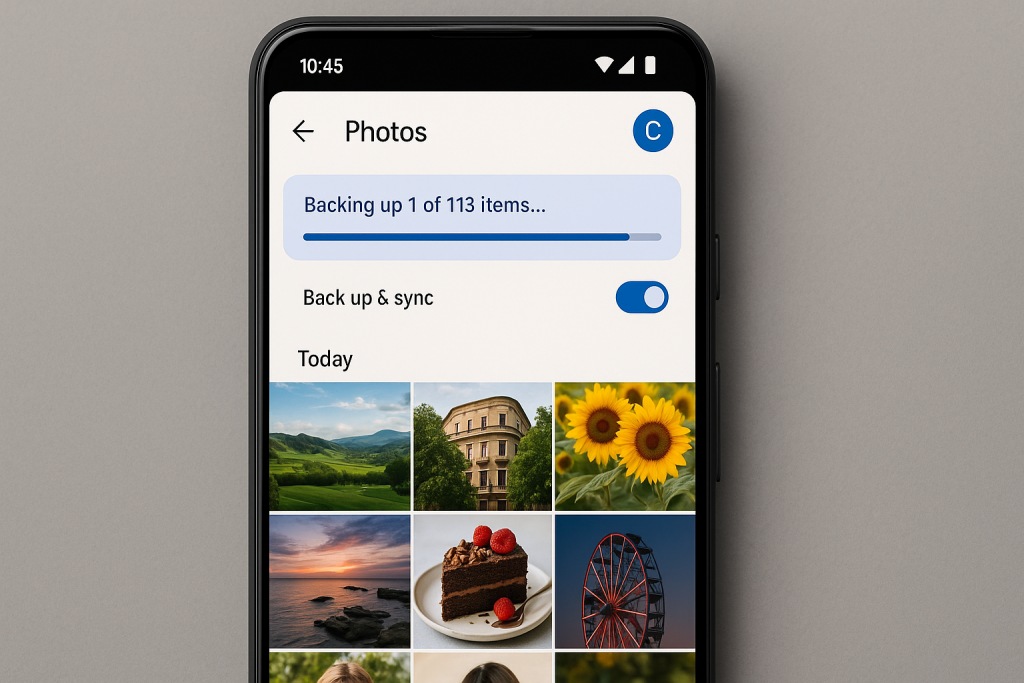
- Open the Google Photos app.
- Sign in with your preferred Google account.
- Tap your profile photo in the top right, then select Photos settings.
- Choose Back up & sync and toggle it on.
- Select preferred quality (Storage saver or Original quality).
Google Photos offers free high-quality storage (with some compression) and syncs across all devices signed into your Google account. For original quality, storage counts against your Google Drive quota.
Step 4: Sync Contacts, Calendar, and More
Ensuring Contact and Calendar Backup
Your contacts and calendar events are essential for daily life. To confirm they’re backed up:
- Go to Settings > Accounts > Google.
- Tap your Google account and ensure Contacts and Calendar toggles are switched on.
This ensures your contacts and calendar events are continuously synced to Google’s servers. If you ever get a new phone, simply logging into your Google account restores them instantly.
Step 5: Back Up WhatsApp and Other Messaging Apps
WhatsApp Chat Backup
If you use WhatsApp, it includes its own Google Drive backup option:
- Open WhatsApp and tap the three dots in the upper right corner.
- Go to Settings > Chats > Chat backup.
- Tap Back up to Google Drive and set your desired frequency.
- Choose the Google account for backup and select Back Up.
Other messaging apps may have similar features. Always review app settings to enable cloud backup if available.
Step 6: Perform a Manual Backup for Extra Security
How to Trigger a Manual Backup
Although backups are often automatic, you can trigger a manual backup to ensure everything is up to date:
- Go to Settings > System > Backup.
- Tap Back up now.
This process will update your Google Drive backup with the most recent information from your phone, including app data, SMS, and device settings.
Step 7: Restore Data to a New or Reset Device
Restoring from a Google Backup
When you get a new Android phone or perform a factory reset, restoring your data is easy:
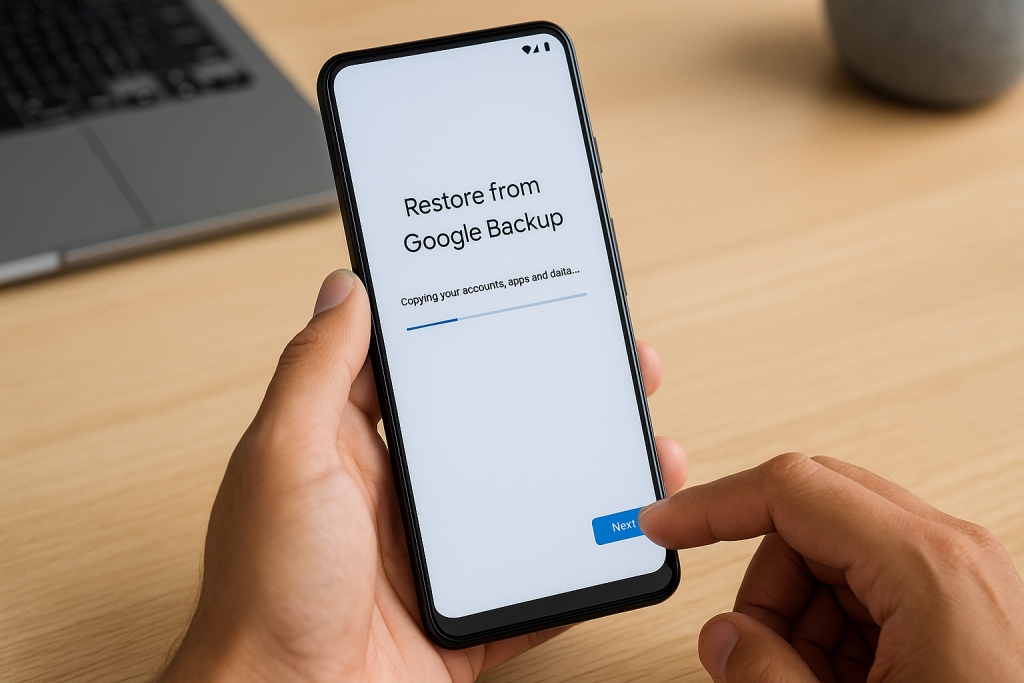
- Turn on your device and follow on-screen setup instructions.
- Connect to Wi-Fi and sign into your Google account.
- When prompted, select Restore from backup and choose the most recent backup.
- Wait for the restore process to finish—this may take several minutes to hours, depending on your data volume.
This process restores your apps, settings, contacts, calendar events, and more. Photos and videos are re-synced through Google Photos.
Expert Tips for Effective Android Backups
- Regularly check your backup status in Settings to avoid missed data.
- Monitor your Google storage quota; consider upgrading if you need more space for large photo/video collections.
- Back up irreplaceable files manually to your computer or external drive as a precaution.
- Keep your apps updated for optimal backup compatibility and security.
- Use two-factor authentication on your Google account to safeguard your backups from unauthorized access.
Troubleshooting Common Backup Issues
Backup Not Working?
If your Android phone fails to back up to Google, try these quick fixes:
- Ensure your device is connected to Wi-Fi and charging.
- Check that you have enough free Google Drive storage.
- Update your phone to the latest Android version.
- Restart your device and attempt a manual backup.
- Review Google account sync permissions in Settings.
If problems persist, consult your device manufacturer’s support or Google’s help resources for advanced troubleshooting.
Frequently Asked Questions About Android Backups
How often should I back up my Android phone?
Automatic Google backups typically run daily when the device is idle, connected to Wi-Fi, and charging. For important updates or before phone resets, always perform a manual backup.
Does Google backup include everything on my device?
Most essential data is covered, but some files, such as certain downloads or app-specific data, may require manual backup. Always double-check critical files before a factory reset or phone upgrade.
Is my data secure on Google servers?
Yes. Google uses advanced encryption and security protocols to protect your data. For maximum security, enable two-factor authentication on your Google account and use a strong password.
Conclusion: Secure Your Data with Google Backup Today
Now that you know the complete 7-step process to backup your Android phone to Google, you can rest easy knowing your valuable photos, contacts, and information are protected. Regularly backing up your phone not only prevents data loss but also makes switching devices seamless. Don’t wait until disaster strikes—enable Google backup on your Android phone today and enjoy peace of mind!