Why Blocking Numbers on iPhone Matters
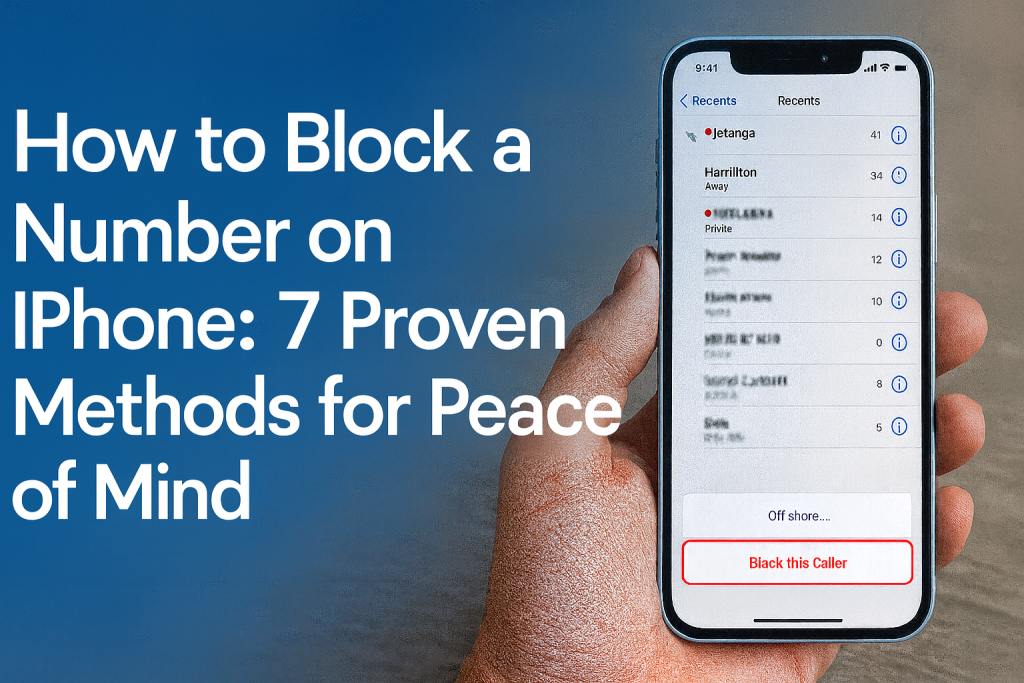
Dealing with unwanted calls and messages can be frustrating and intrusive. Whether it’s spam, telemarketers, or persistent contacts, blocking a number on your iPhone provides a simple solution for reclaiming your privacy and control. With the increasing prevalence of robocalls and spam texts, learning how to block a number effectively is more important than ever.
According to a report by YouMail, Americans received nearly 50 billion robocalls in 2023 alone. Many individuals face daily interruptions from unknown numbers, making call and message blocking an essential tool for a peaceful digital experience. Thankfully, Apple has integrated powerful blocking features directly into iOS, allowing users to take action in just a few taps.
In this comprehensive guide, you’ll discover seven proven ways to block a number on your iPhone, detailed instructions for each method, and expert tips for optimizing your device’s privacy settings.
1. Blocking a Number Directly from the Phone App
Step-by-Step Instructions
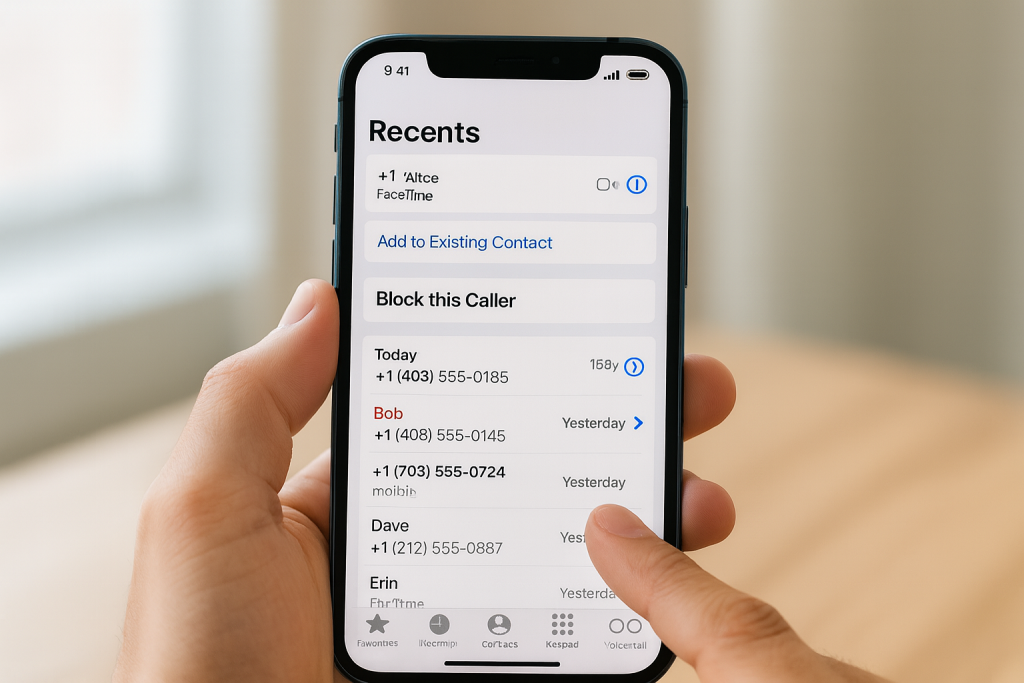
The simplest and most common way to block unwanted callers is directly from your iPhone’s Phone app. Follow these straightforward steps to block any number from your recent calls:
- Open the Phone app.
- Tap Recents to view your call history.
- Find the number you wish to block and tap the info icon (i) next to it.
- Scroll down and tap Block this Caller.
- Confirm your choice by tapping Block Contact.
Once blocked, calls, texts, and FaceTime requests from this number will not reach your device.
Practical Tips
Use this method to quickly block new spam callers as soon as you receive a call. For persistent telemarketers, blocking right away reduces future interruptions.
2. Blocking a Number Through Messages
Blocking Spam and Unwanted Texts
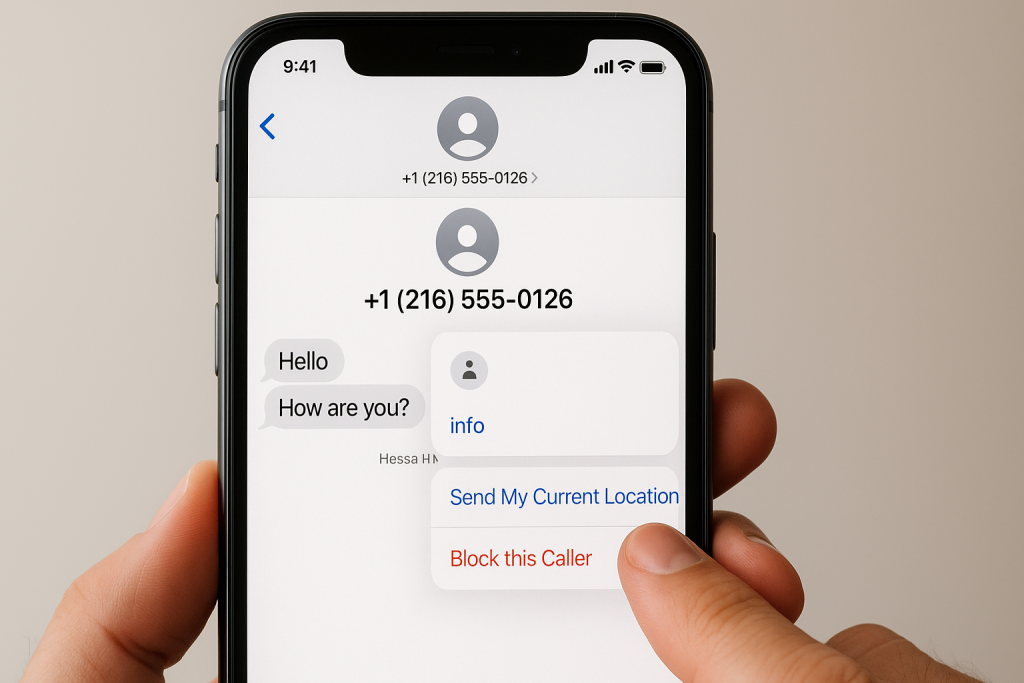
If you’re receiving unwanted texts rather than calls, you can block numbers directly from the Messages app. Here’s how:
- Open the Messages app.
- Select the conversation with the offending number.
- Tap the contact icon at the top of the screen.
- Tap Info, then scroll down and choose Block this Caller.
This blocks not only messages, but also phone calls and FaceTime from that contact.
Expert Advice
If you’re bombarded by persistent spam, consider reporting the message first by tapping Report Junk when available. This helps Apple improve spam detection for all users.
3. Blocking Numbers Using FaceTime
Preventing Unwanted Video Calls
Unwanted FaceTime requests can be as disruptive as calls and texts. Block these contacts directly from the FaceTime app:
- Open the FaceTime app.
- Find the recent FaceTime call from the number you want to block.
- Tap the info icon (i) next to the number.
- Scroll down and tap Block this Caller.
This method is particularly useful for blocking unsolicited video calls from unknown numbers or persistent users.
Additional Tips
For improved privacy, adjust FaceTime settings to receive calls only from contacts, further reducing unwanted requests.
4. Blocking Contacts from Your Contact List
Permanent Blocking for Known Contacts
Blocking a contact you’ve previously saved in your iPhone’s address book is just as easy. This is ideal for cutting off communication with specific individuals:
- Open the Contacts app or Phone app, then tap Contacts.
- Locate the contact you wish to block.
- Scroll down and tap Block this Caller.
- Confirm your selection.
This blocks all methods of communication, including phone calls, texts, and FaceTime, ensuring complete privacy from that person.
Managing Blocked Contacts
You can view and manage your blocked contacts by going to Settings > Phone > Blocked Contacts. This is helpful for reviewing or unblocking contacts later.
5. Using Third-Party Apps for Advanced Call Blocking
Enhancing iPhone Call Blocking Capabilities
While iOS provides robust built-in blocking features, third-party apps offer additional tools for blocking spam and unwanted calls. Popular apps such as Hiya, Truecaller, and RoboKiller integrate with your iPhone for enhanced protection:
- Hiya: Identifies and blocks spam calls, robocalls, and provides caller ID.
- Truecaller: Detects spam numbers, blocks them automatically, and enables community reporting.
- RoboKiller: Blocks robocalls and telemarketers, offers custom call screening features.
Installation and Setup
Download your preferred app from the App Store and follow the setup instructions. Most apps require permission to access your call history and contacts for maximum effectiveness. Enable call blocking in Settings > Phone > Call Blocking & Identification after installation.
Expert Insights
A study by Statista found that nearly 20% of American smartphone users employ third-party apps for call blocking. These solutions can substantially reduce spam and robocalls when combined with Apple’s native features.
6. Filtering Unknown Callers with Silence Unknown Callers
Enabling Silence Unknown Callers
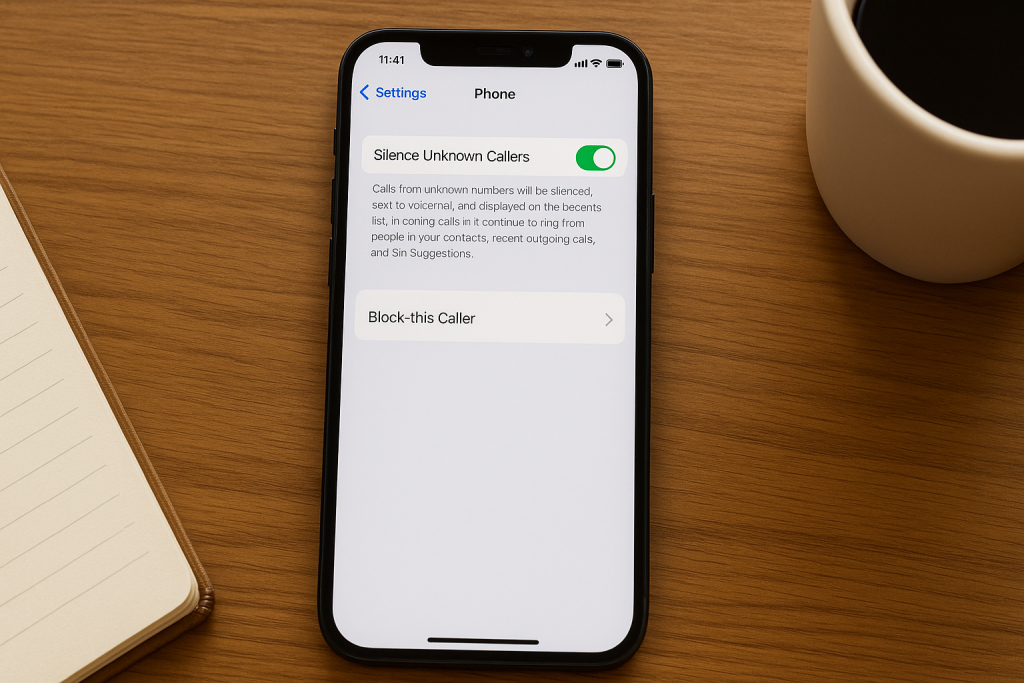
If you prefer a more comprehensive approach to blocking, iOS offers a feature called Silence Unknown Callers. This option automatically silences calls from numbers not in your contacts, sending them directly to voicemail:
- Go to Settings on your iPhone.
- Tap Phone, then select Silence Unknown Callers.
- Toggle the switch to enable the feature.
This is especially effective for avoiding robocalls and telemarketers while ensuring calls from known contacts still come through.
Pros and Consa
- Pros: Blocks unknown numbers automatically; reduces interruptions.
- Cons: May silence legitimate calls from delivery services, doctors, or new contacts. Check your voicemail regularly.
7. Managing Blocked Numbers and Customizing Settings
Reviewing and Unblocking Contacts
You may need to review or unblock contacts over time. To manage blocked numbers:
- Open Settings on your iPhone.
- Tap Phone, Messages, or FaceTime depending on your needs.
- Tap Blocked Contacts to view the list.
- Tap Edit to remove any numbers or contacts you wish to unblock.
Customizing Call and Message Settings
Further enhance your privacy by customizing notifications and call settings. You can enable Do Not Disturb, restrict notifications from certain apps, and adjust privacy settings for maximum control. Regularly updating your iOS ensures you have the latest security and blocking features.
Frequently Asked Questions About Blocking Numbers on iPhone
Does Blocking a Number Notify the Caller?
No. When you block a number on your iPhone, the caller is not notified. Calls simply go directly to voicemail, and texts are not delivered to your device.
Can Blocked Numbers Leave Voicemail?
Yes. Blocked callers can still leave voicemail messages, but these are stored in a separate folder that you can access if desired.
Is Blocking Permanent?
Blocking a number remains in effect until you manually unblock the contact or number. You can review and change your blocked list at any time.
What Happens to Group Messages?
If you block someone in a group iMessage, they won’t see your messages, but you will still see theirs. For complete privacy, consider leaving the group or blocking additional participants.
Final Thoughts: Take Control of Your iPhone Privacy
Blocking unwanted numbers on your iPhone is essential for maintaining privacy and reducing interruptions. With several built-in methods and third-party solutions available, you can easily tailor your call and message experience to suit your needs. Regularly review your settings and stay informed about new features to maximize your device’s security and peace of mind.
Implement these seven proven methods and enjoy a safer, more peaceful digital experience every day!
