Why Build Your Own Outdoor Table?
Building your own outdoor table offers a unique opportunity to create a piece that perfectly matches your style and meets your functional needs. Whether you want a rustic patio table for entertaining guests or a compact coffee table for your balcony, a DIY project ensures quality, durability, and customization at a fraction of the cost of store-bought options.
With outdoor living spaces becoming more important than ever, investing time in crafting your own table can significantly enhance your backyard or garden. Plus, tackling this project can be a rewarding experience, giving you valuable woodworking skills and a sense of accomplishment.
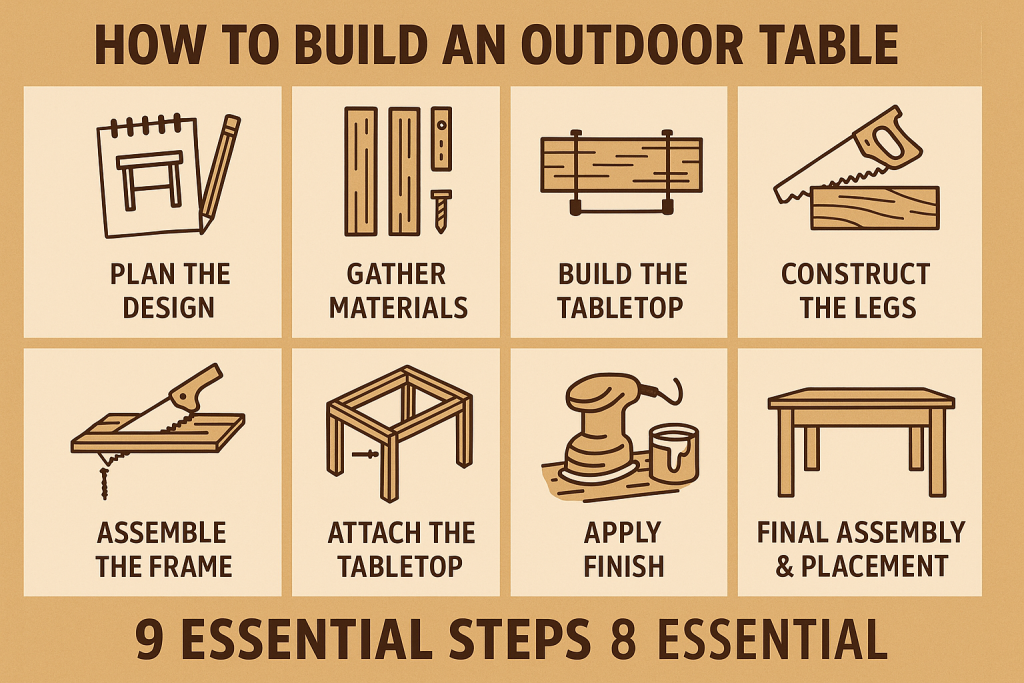
Essential Tools and Materials for Building an Outdoor Table
Must-Have Tools
- Circular saw or miter saw – for accurate wood cuts
- Drill and drill bits – for assembling and securing parts
- Sander or sanding block – to smooth rough surfaces
- Measuring tape and square – for precision measurements
- Clamps – to hold pieces securely while working
- Paintbrushes or rollers – for finishing touches
Recommended Materials
- Weather-resistant lumber (cedar, redwood, teak, or pressure-treated pine)
- Galvanized screws/bolts – to prevent rusting outdoors
- Wood glue – for extra strength
- Outdoor wood finish, stain, or sealant
- Optional: Metal corner brackets – for added stability
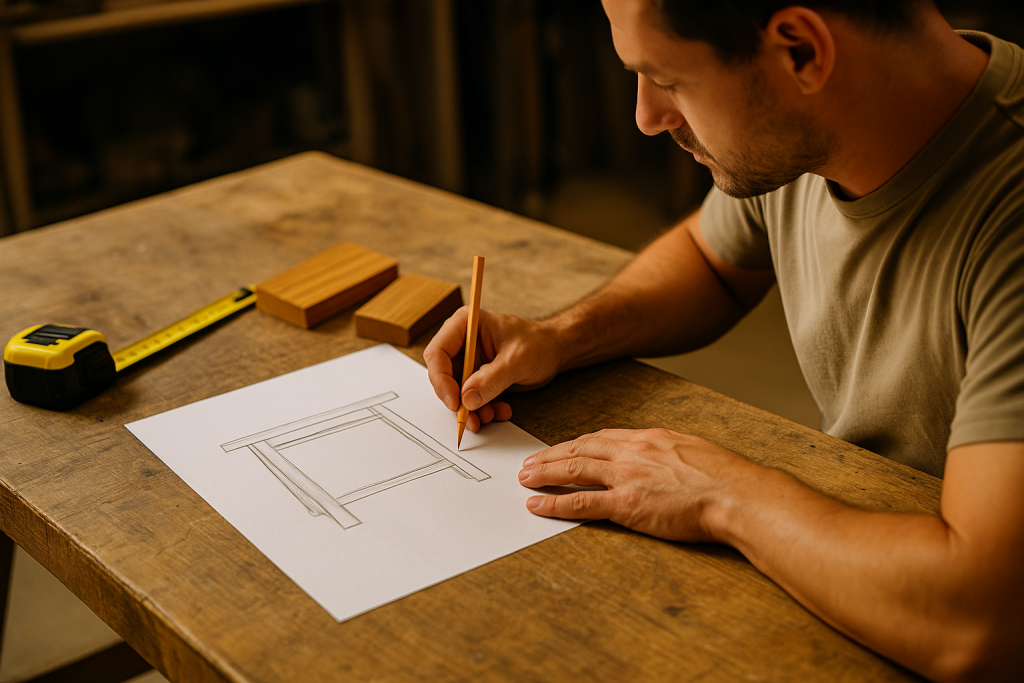
Step 1: Planning Your Outdoor Table Design
Start by deciding what type of outdoor table you want to build. Consider your available space, the table’s primary use (dining, coffee, or side table), and your desired style. Drawing a simple sketch with measurements can help visualize the project and guide your material purchases.
- Standard dining table height: 28-30 inches
- Coffee table height: 16-18 inches
- Recommended table width: 36-40 inches for dining; 18-24 inches for coffee
- Length: Typically, 60-72 inches seats six to eight guests
Take into account the number of people you want to seat and any additional features, like an umbrella hole or storage shelf.
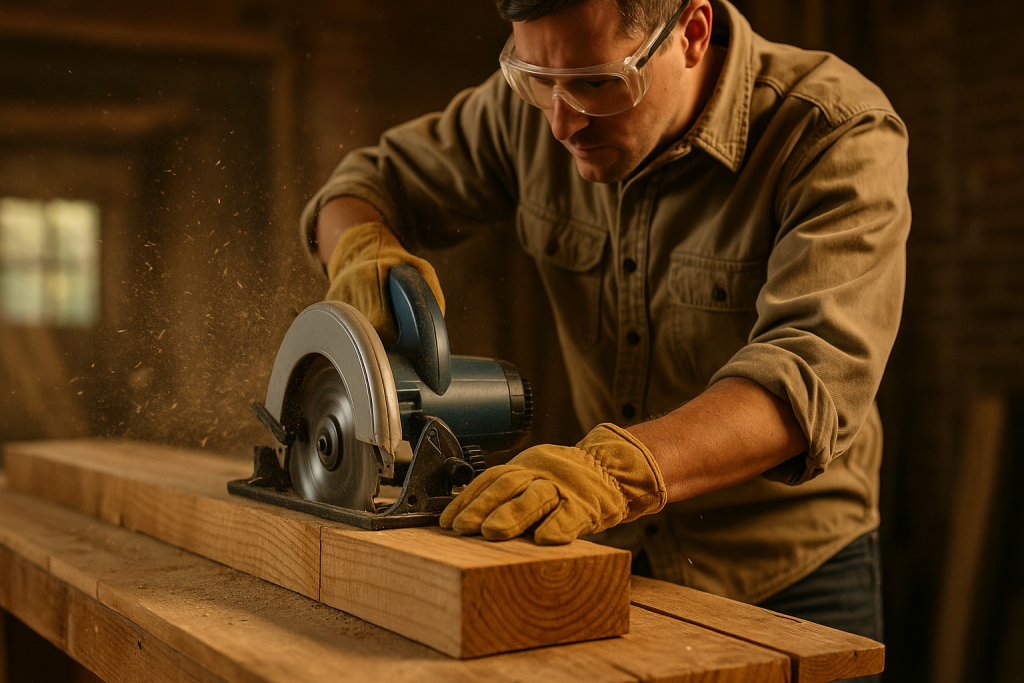
Step 2: Gathering and Preparing Materials
Purchase your lumber according to the plan you created. Opt for boards that are straight, without large knots or splits. Store your materials in a dry area before starting to prevent warping or moisture absorption.
Cut all pieces to size using a circular or miter saw. Sand the surfaces and edges thoroughly to remove any splinters and ensure a smooth finish that’s comfortable to the touch.
Step 3: Building the Tabletop
Arranging and Joining Boards
Lay the tabletop boards side by side on a flat surface, arranging them for the most attractive grain patterns. Use wood glue between each board for extra strength, then clamp them tightly together.
Attach two or more cross-support boards perpendicular to the tabletop boards from underneath using galvanized screws. This prevents warping and adds stability.
Finishing the Tabletop Edges
For a polished look, add trim boards around the tabletop’s perimeter. Miter the corners for a professional finish and secure with wood glue and screws from the underside.
Step 4: Constructing the Table Legs
Most outdoor tables use 4×4 or 2×4 lumber for the legs. Cut each leg to the desired length based on your plan. Sand the edges smoothly to prevent splinters and to enhance the table’s appearance.
For extra stability, consider using metal corner brackets or adding diagonal braces between the legs and the tabletop frame. Position each leg flush with the corners or inset, depending on your style preference.
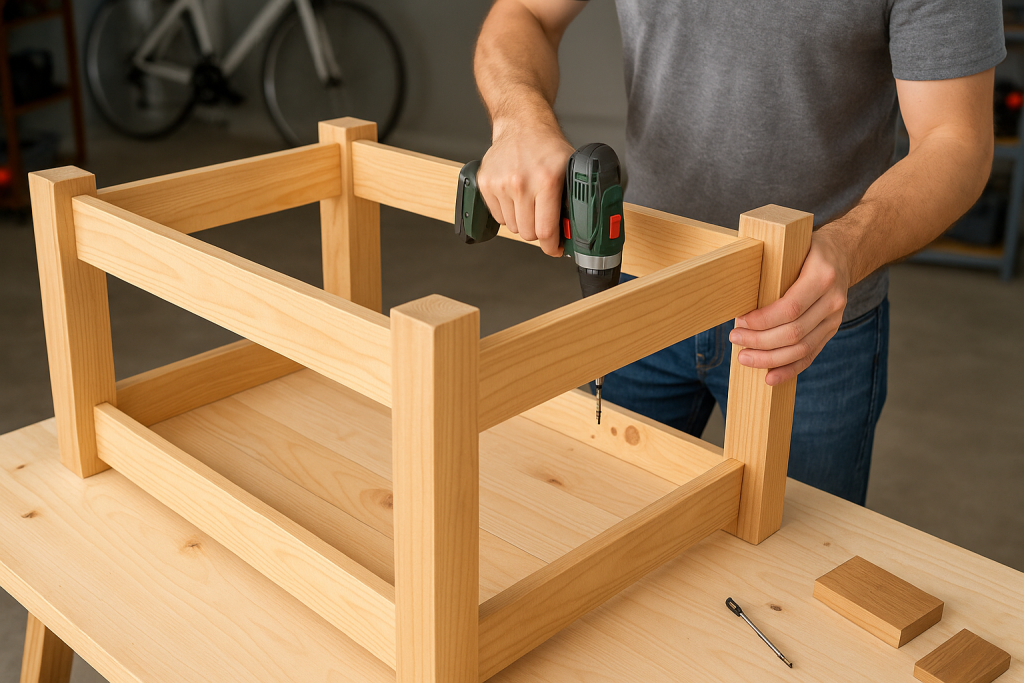
Step 5: Assembling the Table Frame
Attaching Aprons or Side Supports
The apron (or frame) connects the legs and provides crucial support. Use 2×4 boards to create the apron, attaching the boards to each leg with screws and wood glue. Make sure the apron sits just below the tabletop’s edge for optimal support.
Securing All Parts Firmly
Double-check all corners with a carpenter’s square to ensure the frame is perfectly aligned. Secure each joint with at least two screws to prevent wobbling. Allow the glue to dry thoroughly before moving on to the next step.
Step 6: Attaching the Tabletop to the Frame
Carefully flip the tabletop over and position the assembled frame and legs so they align with your design. Secure the tabletop to the frame using wood screws driven up from the apron into the tabletop planks, spacing them evenly along the length for maximum stability.
Reinforce the corners with additional screws or corner brackets if needed. Test for any movement and tighten all hardware as necessary.
Step 7: Sanding and Smoothing All Surfaces
Before finishing, use a medium- to fine-grit sandpaper to go over the entire table. Focus on corners, edges, and any spots where wood glue may have seeped out. Smooth surfaces not only look better but also improve safety and comfort.
Clean off sawdust with a damp cloth. Inspect for any missed rough spots or hardware that might need tightening.
Step 8: Applying a Weatherproof Finish
Choosing the Right Outdoor Finish
Protecting your table from the elements is crucial for longevity. Choose an exterior wood stain, sealant, or paint designed for outdoor use. Products containing UV protection and water resistance are ideal for withstanding sun and rain.
Application Tips
- Apply the finish in thin, even coats with a brush or roller
- Allow for thorough drying between coats (refer to manufacturer instructions)
- Lightly sand between coats for the smoothest result
- For maximum protection, apply at least two coats
Pay special attention to table edges, joints, and the bottom of the legs where moisture may accumulate.
Step 9: Final Assembly and Placement
Once the finish is completely dry, move your table to its outdoor location. Check that all fasteners are tight and the table is level. Add protective pads under the legs if your table will sit on concrete or tile to prevent moisture wicking and surface scratches.
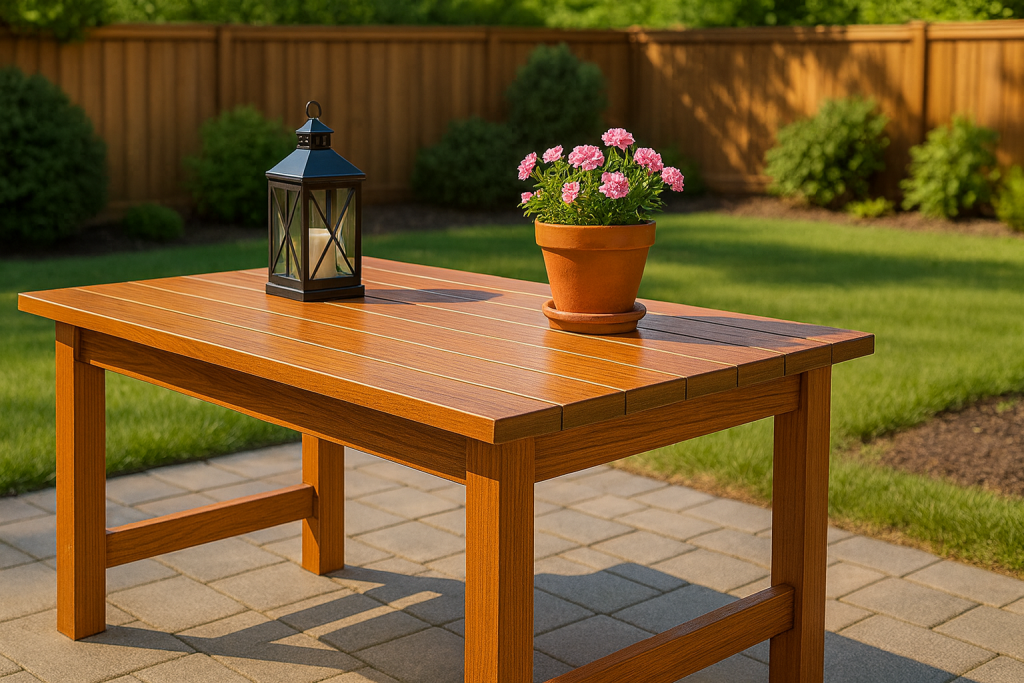
Style your new table with weatherproof cushions, flower pots, or lanterns for a welcoming touch. Regularly inspect and refinish your table as needed to keep it looking great season after season.
Pro Tips for a Successful Outdoor Table Project
- Choose quality lumber: Hardwoods like teak and cedar last longer outdoors.
- Double-check measurements: Accurate cuts ensure a sturdy, professional result.
- Seal all surfaces: Don’t forget the underside and legs for all-around protection.
- Upgrade hardware: Consider stainless steel hardware for rust resistance.
- Personalize: Customize with built-in coolers, umbrella holes, or unique finishes.
Frequently Asked Questions About Building Outdoor Tables
How long does it take to build an outdoor table?
Most DIY outdoor table projects can be completed in a weekend, including cutting, assembling, and finishing. Drying times for stains or sealants may extend the timeline, so plan accordingly.
What’s the best wood for outdoor furniture?
Cedar, teak, redwood, and pressure-treated pine are top choices due to their natural resistance to rot, insects, and moisture. Teak offers exceptional durability but is more expensive, while cedar is both affordable and weather-resistant.
Can I build an outdoor table without power tools?
While possible, using power tools like drills and saws makes the process significantly easier and quicker. Hand tools can be used for a more traditional approach but may require additional skill and time.
Conclusion: Enjoy Your Durable DIY Outdoor Table
Now that you know how to build an outdoor table, you can confidently create a beautiful centerpiece for your patio or garden. With thoughtful planning, quality materials, and step-by-step execution, your new table will provide years of outdoor enjoyment for family and friends.
Ready to start your next project? Gather your tools and materials, follow this guide, and experience the satisfaction of building durable, attractive outdoor furniture with your own hands.