Why Regular Outdoor Garbage Can Cleaning Matters
Outdoor garbage cans are exposed to a variety of waste, moisture, and weather elements, making them susceptible to unpleasant odors, stains, and pest infestations. Neglecting to clean your garbage bin can lead to foul smells, attract rodents or insects, and even cause the growth of harmful bacteria. Regular cleaning not only preserves the appearance and hygiene of your outdoor space but also extends the lifespan of your bins.
According to the National Sanitation Foundation, household garbage bins are among the top breeding grounds for bacteria, including E. coli and Salmonella. These microorganisms can pose health risks to your family, especially if bins are stored near entrances or in high-traffic areas. By implementing a routine cleaning schedule, you can keep your home environment healthier and more pleasant.
Beyond health and hygiene, clean garbage cans also contribute to improved curb appeal. Whether you’re prepping for a neighborhood event or just care about home maintenance, taking the extra step to keep your outdoor bins fresh makes a noticeable difference.
Gather Your Cleaning Supplies
Before diving into the cleaning process, it’s important to have the right tools and products on hand. Proper supplies make the task more efficient and ensure a thorough clean.
- Gloves: Protect your hands from grime, bacteria, and harsh cleaning products.
- Scrub brush or long-handled brush: Essential for scrubbing stubborn residue.
- Garden hose or pressure washer: For effective rinsing and removing debris.
- Dish soap or all-purpose cleaner: Cuts through grease and grime.
- Baking soda and vinegar: Natural deodorizing agents that help neutralize odors.
- Disinfectant spray (optional): For killing lingering germs.
- Large trash bags: Handy for disposing of old liners or loose debris.
Having these items ready ensures you won’t have to interrupt the cleaning process. For eco-friendly cleaning, opt for biodegradable soaps and natural deodorizers like baking soda and lemon juice.
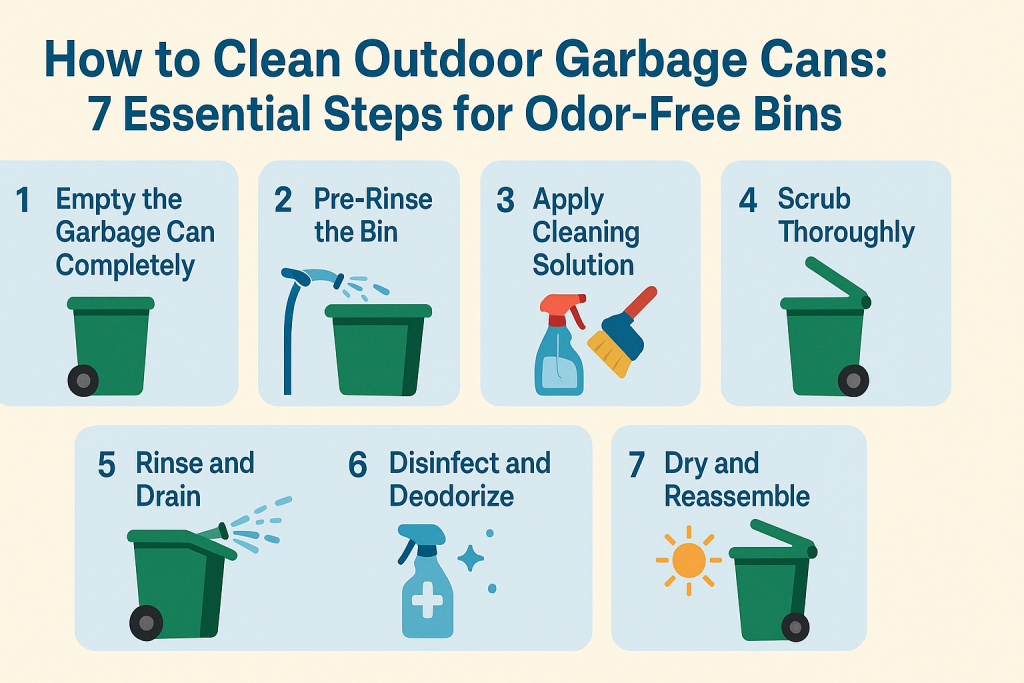
Step-by-Step Guide: Cleaning Your Outdoor Garbage Can
Step 1: Empty the Garbage Can Completely
Remove all trash bags and loose debris from the bin. Check for stuck-on food, sticky liquids, or packaging that may have escaped the bag. Wear gloves to avoid direct contact with waste, and dispose of all contents responsibly.
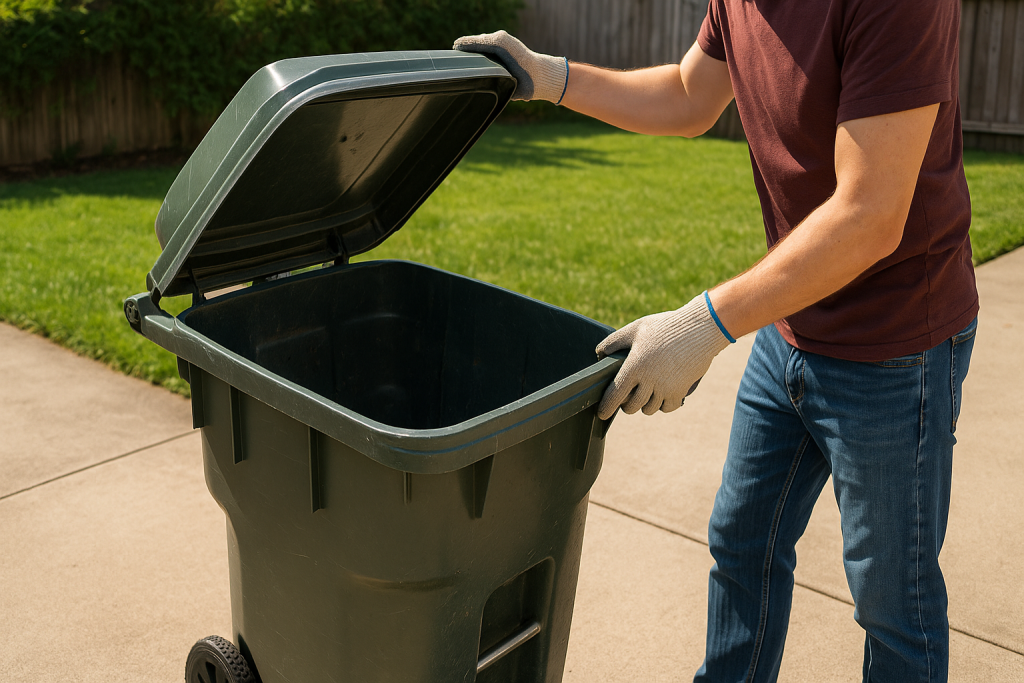
Inspect the bottom and sides for leaks or cracks that may need attention. A thorough initial check helps you identify any potential issues before cleaning begins.
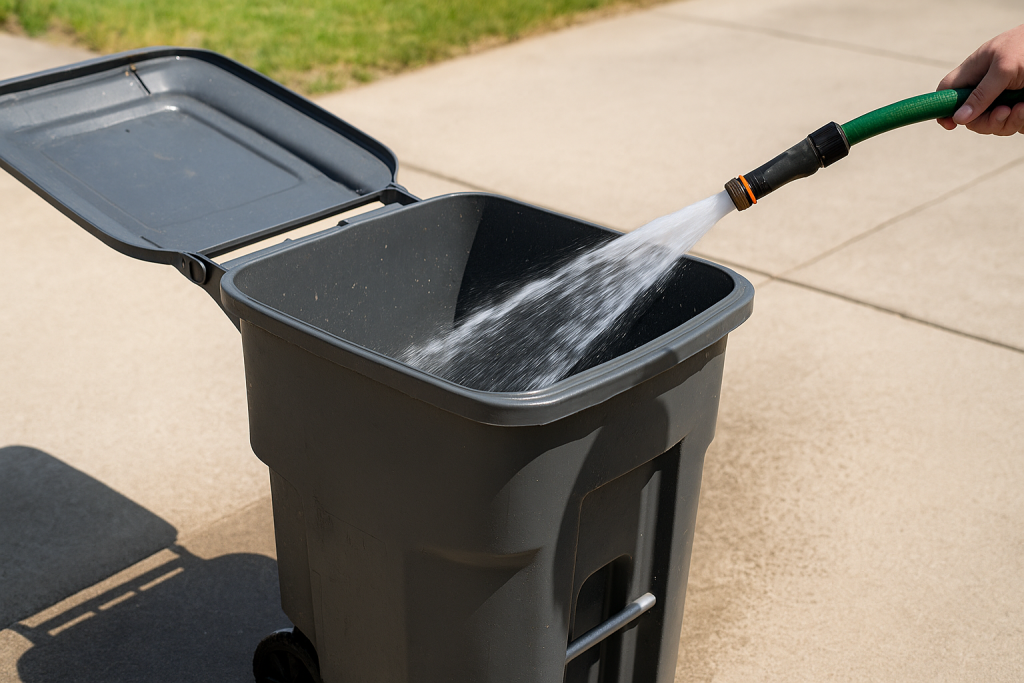
Step 2: Pre-Rinse the Bin
Take the garbage can to an outdoor area with good drainage, such as your driveway or lawn. Use a garden hose to rinse out loose dirt, food remnants, and liquid residue. If you have access to a pressure washer, it can make this task quicker and more effective.
Rinsing first loosens grime, making it easier to scrub away later. Be sure to remove all visible particles to avoid clogging your drainage area.
Step 3: Apply Cleaning Solution
Fill the bin with a solution of warm water and dish soap or an all-purpose cleaner. For extra cleaning power, add a cup of vinegar or sprinkle baking soda on stubborn spots. Let the solution sit for 10-15 minutes to break down any grease, gunk, or odors.
For heavily soiled cans, use a stronger mixture or a specialized disinfectant. Avoid using bleach if you want to keep your cleaning process eco-friendly.
Step 4: Scrub Thoroughly
Using a long-handled brush or a sturdy scrubber, vigorously clean the inside and outside of the bin. Pay extra attention to the bottom, corners, and lid, as these areas often accumulate the most residue and bacteria.
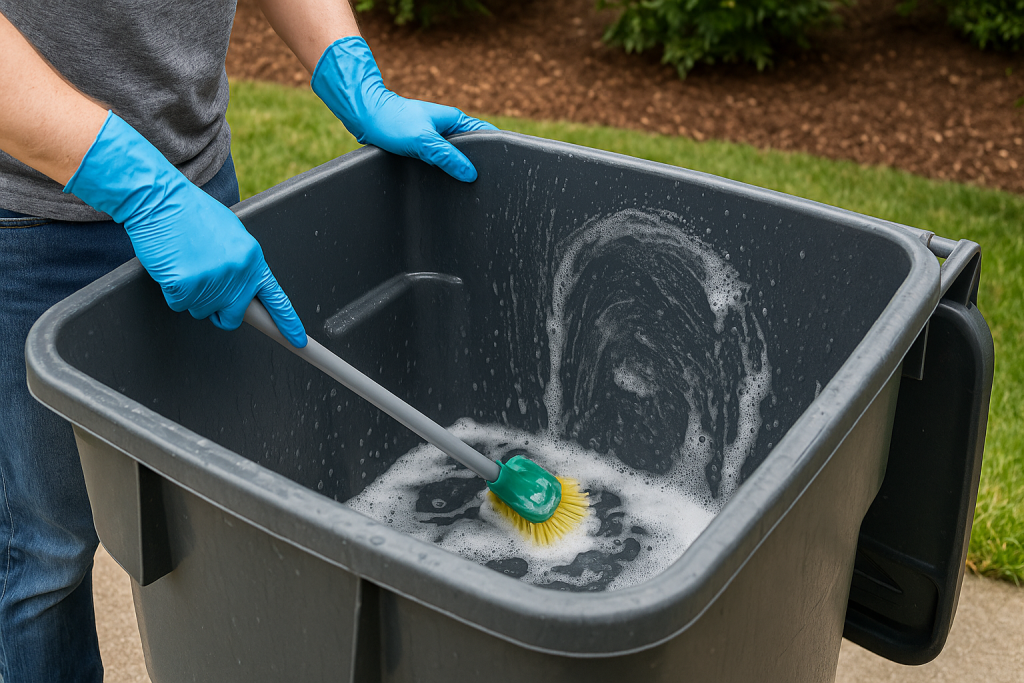
If you encounter particularly tough stains, sprinkle baking soda directly onto the scrub brush and work it into the area. The mild abrasiveness helps lift stuck-on material and neutralizes odor simultaneously.
Step 5: Rinse and Drain
After scrubbing, thoroughly rinse the bin with your hose or pressure washer to remove soap, dirt, and loosened grime. Hold the bin upside down to drain out any remaining water and debris. Repeat rinsing until no suds or residue remain.
Proper rinsing is essential to prevent any cleaning product residues from lingering in your garbage can, which could potentially interact with waste and cause unwanted odors or chemical reactions.
Step 6: Disinfect and Deodorize
For an added layer of cleanliness, spray the inside and outside of your bin with a disinfectant spray. Let it sit for a few minutes, then rinse or wipe dry. To maintain a fresh scent, sprinkle a small amount of baking soda in the bottom or use a natural deodorizer pouch.
This step is crucial in preventing recurring smells and killing lingering germs. For a natural alternative, use a mixture of equal parts water and white vinegar as a disinfectant spray.
Step 7: Dry and Reassemble
Allow your garbage can to air dry completely in the sun, as UV rays help kill bacteria and eliminate moisture that can cause mold. If sun isn’t available, dry thoroughly with a clean towel to prevent mildew.
Once dry, replace your trash bag or liner and return the bin to its regular spot. If you use a deodorizer or liner, refresh it now for ongoing odor control and easy future cleaning.
Pro Tips for Keeping Your Garbage Can Clean Longer
Maintaining a clean outdoor garbage can is easy with the right habits. Here are some expert tips to extend the time between deep cleans:
- Double bag odorous or wet waste to minimize leaks and spills.
- Rinse food containers before throwing them away to reduce residue.
- Use bin liners or trash bags appropriately sized for your can.
- Store the bin with the lid closed to keep out rain and pests.
- Sprinkle baking soda in the bottom after each use to absorb odors and moisture.
- Schedule a monthly or seasonal deep clean to stay ahead of grime and bacteria build-up.
By implementing these preventative measures, you’ll keep your bin fresher for longer, making each cleaning session faster and easier.
How to Prevent Odors and Pests
One of the biggest challenges of outdoor garbage can maintenance is warding off bad smells and unwanted pests. Flies, maggots, raccoons, and even bears can be attracted to accessible garbage. Here’s how to make your bin less inviting:
- Routinely disinfect and deodorize the can after garbage collection day.
- Keep the lid closed tightly at all times.
- Avoid leaving food waste in the bin for extended periods, especially in hot weather.
- Securely tie trash bags to prevent leaks and exposure.
- Consider using animal-proof bins if wildlife is a concern in your area.
With these precautions, you’ll prevent most common odor and pest problems, making your outdoor area cleaner and safer for family and pets.
How Often Should You Clean Your Outdoor Garbage Can?
The frequency of cleaning your outdoor garbage can depends on how much waste you generate, local climate, and whether you dispose of food scraps regularly. As a general rule:
- Monthly: Recommended for most households.
- Bi-weekly: If your bin is heavily used or prone to spills.
- Seasonally: At minimum, deep clean at the start of each season.
More frequent cleaning is advisable during summer months or if you notice persistent odors or pest activity. Regular maintenance makes each cleaning session quicker and more effective.
Conclusion: Enjoy a Fresh, Hygienic Outdoor Space
Mastering the art of cleaning your outdoor garbage can isn’t just about odor control—it’s about protecting your family’s health and maintaining a pleasant environment around your home. By following these 7 essential steps, you can eliminate smells, prevent pests, and keep your bins looking and smelling fresh year-round.
Make garbage can maintenance part of your regular household routine, and enjoy the lasting benefits of a cleaner, healthier home exterior.