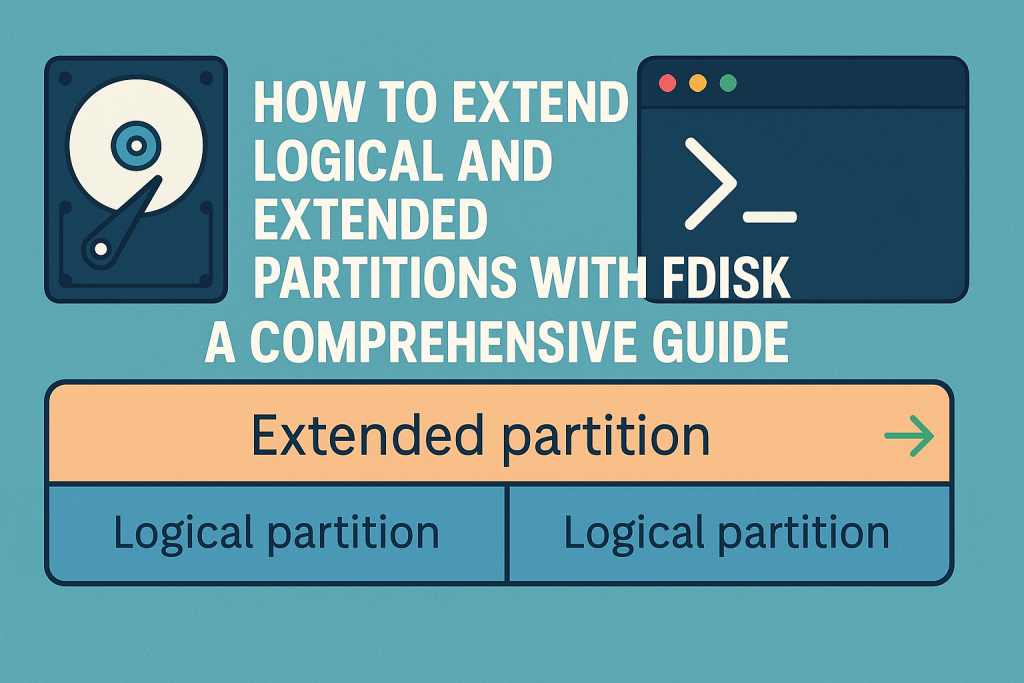
Managing disk partitions is a critical task for any Linux system administrator or advanced user. When it comes to adjusting disk space allocation without data loss, understanding how to extend logical and extended partitions with fdisk can be invaluable. This guide will walk you through the process, step-by-step, ensuring your valuable data remains secure while maximizing disk utilization.
Understanding Partitions: Extended vs Logical
Before diving into the practical steps, it’s important to clarify what logical and extended partitions are:
- Primary partitions: The main divisions on a hard disk. You can have up to four primary partitions on an MBR (Master Boot Record) disk.
- Extended partitions: A special type of primary partition designed to overcome the four-partition limit. Only one extended partition is allowed, but it can contain multiple logical partitions.
- Logical partitions: Subdivisions within an extended partition, allowing you to create more than four partitions on a disk.
The process of extending these partitions can be performed using fdisk, a command-line utility for disk partitioning. However, fdisk is limited compared to gparted or parted when it comes to resizing partitions. In many cases, you’ll need to delete and recreate partitions to resize them, being careful not to affect your data.
Preliminary Steps: Backup and Assessment
Warning: Modifying partitions always carries some risk. Before making any changes, follow these essential steps:
- Backup Your Data: Use tools like rsync, tar, or Clonezilla to create full backups of important files and partitions.
- Unmount Partitions: Ensure that the partitions you wish to modify are not mounted. Run
umount /dev/sdXNfor each partition, replacing sdXN with your partition identifier. - Note Partition Layout: Use
lsblk,fdisk -l, orparted -lto print the current partition layout and record the exact start and end points of partitions.
Step-by-Step Guide to Extending Logical and Extended Partitions With fdisk
1. Analyze Free Space on the Disk
First, identify if there is unallocated space adjacent to the partition you want to extend. Run:
sudo fdisk -l
Look for free space after your extended partition (often shown as “Free space” or simply unused sectors).
2. Delete and Recreate the Extended Partition
To extend an extended partition, you’ll need to:
- Delete the existing extended partition entry (do not format or overwrite it).
- Recreate it, making it cover the larger area, including the free space.
Key Tip: The logical partitions inside the extended partition must remain untouched during this process. Their data will not be lost as long as you recreate the extended partition with the same starting sector.
Steps:
- Open fdisk:
sudo fdisk /dev/sdX
- Replace sdX with your disk (e.g., sda).
- Press p to print the current partition table. Take note of the start and end sectors of the extended partition and its logical partitions.
- Press d to delete the extended partition (usually partition number 2, 3, or 4).
- Press n to create a new partition. Choose e for an extended partition. When prompted for the start sector, enter the exact same start sector as before. For the end sector, specify the new, larger endpoint.
- Press p to verify your changes. The logical partitions should still be listed.
- Press w to write the changes and exit fdisk.
- Reboot the system (or run
partprobeorkpartx -u /dev/sdX) to reload the partition table.
At this point, your extended partition is now larger. Next, you can extend the logical partition(s) within it.
3. Expand the Logical Partition
If you want to extend a logical partition (e.g., /dev/sda5), you must follow a similar process:
- Use fdisk to delete the logical partition entry (not the data).
- Recreate it with the same start sector, but a larger end sector to utilize the extra space in the extended partition.
Steps:
- Open fdisk:
sudo fdisk /dev/sdX - Press p to print the partition table; note the start sector of the logical partition (e.g., /dev/sda5).
- Press d and select the logical partition number (e.g., 5).
- Press n to create a new logical partition. Enter the same start sector as before. For the end sector, use the maximum value or desired new size.
- Press w to write the changes and exit.
Again, as long as you do not change the start sector and do not format the partition, your filesystem data remains intact.
4. Resize the Filesystem
The final step is to expand the filesystem on the extended logical partition to use the new space:
- For ext4 filesystems:
sudo e2fsck -f /dev/sdXN
sudo resize2fs /dev/sdXN
- For xfs filesystems (must be mounted):
sudo xfs_growfs /mount/point
Important Best Practices and Considerations
- Always double-check start sectors: Any mistake can lead to data loss. Record start sectors precisely before making changes.
- Use live environments: If you need to modify your root or active partitions, boot from a live USB or rescue disk first.
- Backup data: It cannot be stressed enough—have a verified, restorable backup before proceeding.
- Consider alternative tools: Tools like gparted or parted offer graphical and safer ways to resize partitions, if available.
Common Errors and Troubleshooting
- Partition table mismatch: If the kernel still sees the old partition sizes, run
partprobeor reboot. - Filesystem errors: Always check and repair filesystems before resizing them (with
e2fsckfor ext4). - Loss of partition entry: If you accidentally change the start sector or delete the wrong partition, data may become inaccessible. Stop immediately and seek data recovery assistance.
Conclusion
Extending logical and extended partitions with fdisk is powerful but requires precision and care. By following the above steps, understanding the underlying partition structure, and always keeping backups, you can safely and efficiently manage your disk space in Linux environments.
For more advanced or user-friendly partition resizing, consider graphical partition managers or dedicated command-line tools like gparted or parted. However, knowing how to use fdisk is a fundamental skill for any Linux power user.


