Setting up a robust web server is a fundamental skill for developers, businesses, and hobbyists. Ubuntu 24.04, as the latest LTS release, offers enhanced stability and features, making it an excellent choice. If you want to host dynamic websites or web applications securely, this guide will walk you through installing the LAMP stack (Linux, Apache, MySQL, PHP) and adding free SSL encryption with Let’s Encrypt.
What is LAMP?
LAMP stands for Linux, Apache, MySQL, and PHP. This open-source stack is one of the most popular solutions for hosting websites and web applications. Here’s how each component fits:
- Linux: The operating system (OS) – in this guide, Ubuntu 24.04.
- Apache: The web server software, responsible for serving web pages.
- MySQL: The database system used for storing application data.
- PHP: The server-side scripting language for dynamic content.
Why Use Let’s Encrypt?
Let’s Encrypt is a free, automated, and open certificate authority that provides SSL/TLS certificates. With HTTPS becoming a web standard for secure communication, using Let’s Encrypt ensures visitor data is encrypted and your site gets a ranking boost on search engines.
Prerequisites
- An Ubuntu 24.04 server (cloud or local VM)
- Root or sudo access
- A registered domain name pointing to your server’s IP address
- Basic familiarity with the command line
Step 1: Update System Packages
Before installing any software, update your package index to ensure all existing software is current:
sudo apt update && sudo apt upgrade -y
Step 2: Install Apache Web Server
Apache is a reliable, widely used web server. To install it, execute:
sudo apt install apache2 -y
Enable and start Apache:
sudo systemctl enable apache2
sudo systemctl start apache2
Verify it’s working by visiting your server’s IP address in a browser (http://your_server_ip). You should see the Apache2 Ubuntu Default Page.
Step 3: Install MySQL Database Server
MySQL is used to manage databases for your web applications.
sudo apt install mysql-server -y
Secure your MySQL installation:
sudo mysql_secure_installation
You’ll be prompted to set a root password, remove test databases, and disable remote root logins for security. Answer the prompts according to your requirements.
Step 4: Install PHP
PHP is necessary for running dynamic web applications. Install PHP and common extensions:
sudo apt install php libapache2-mod-php php-mysql php-cli php-curl php-json php-gd php-xml -y
Test PHP Processing:
- Create a test PHP file:
sudo nano /var/www/html/info.php
- Add the following content:
<?php phpinfo(); ?>
- Save and access http://your_server_ip/info.php to confirm PHP is working.
- After testing, remove the file for security:
sudo rm /var/www/html/info.php
Step 5: Adjust Firewall Settings
Ubuntu’s UFW firewall may be enabled by default. Allow HTTP and HTTPS traffic:
sudo ufw allow 'Apache Full'
Then, check status:
sudo ufw status
Step 6: Enable Virtual Hosts (Optional for Multiple Sites)
If you plan to host multiple domains, set up Apache Virtual Hosts. Here’s a quick example:
sudo mkdir -p /var/www/yourdomain.com/public_html
sudo chown -R $USER:$USER /var/www/yourdomain.com/public_html
sudo nano /etc/apache2/sites-available/yourdomain.com.conf
Add the following configuration (replace yourdomain.com):
<VirtualHost *:80>
    ServerAdmin [email protected]
    ServerName yourdomain.com
    ServerAlias www.yourdomain.com
    DocumentRoot /var/www/yourdomain.com/public_html
    ErrorLog ${APACHE_LOG_DIR}/error.log
    CustomLog ${APACHE_LOG_DIR}/access.log combined
</VirtualHost>
Enable the new site and reload Apache:
sudo a2ensite yourdomain.com.conf
sudo systemctl reload apache2
Step 7: Install Let’s Encrypt (Certbot)
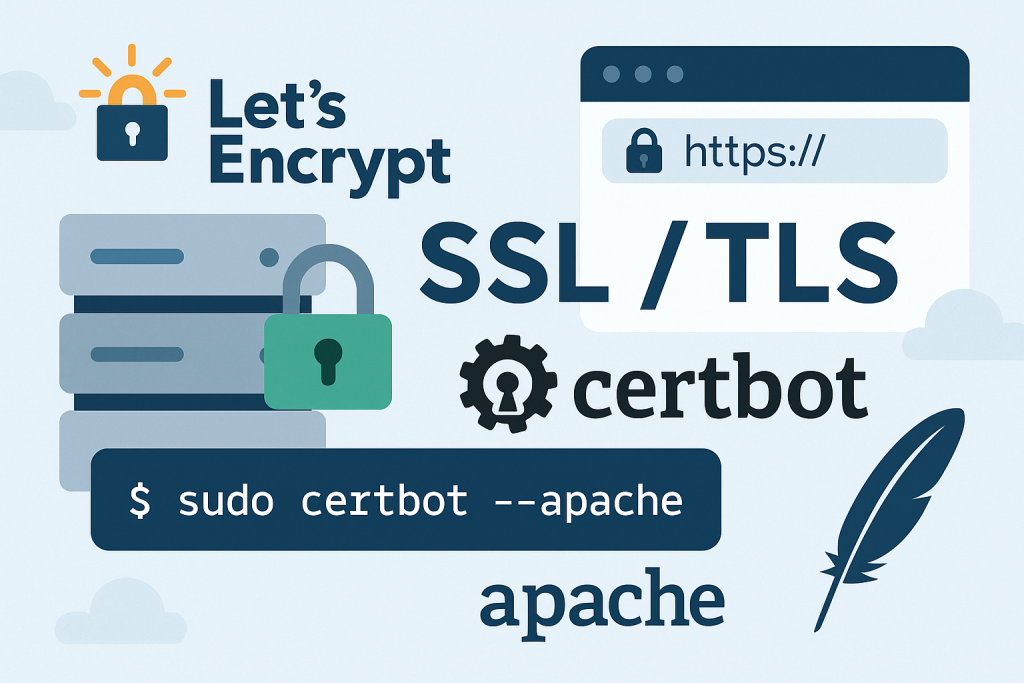
To install free SSL certificates using Let’s Encrypt, you’ll use Certbot. Install the required software:
sudo apt install certbot python3-certbot-apache -y
Request a Free SSL Certificate
To automatically obtain and install a certificate for your domain, run:
sudo certbot --apache
Certbot will prompt you to enter your domain name(s) and email address, and to agree to the terms. It will also ask if you want to redirect HTTP to HTTPS (recommended for security).
After completion, Certbot will configure Apache and reload it, protecting your site with SSL/TLS.
Test Automatic Renewal
Let’s Encrypt certificates are valid for 90 days, but Certbot automatically sets up a renewal cron job. You can test this process with:
sudo certbot renew --dry-run
Step 8: Verify HTTPS and Final Configuration
Visit https://yourdomain.com in your browser. You should see the secure padlock icon, confirming SSL is active.
If you set up virtual hosts, ensure all document roots and domains are correctly configured in Apache.
Troubleshooting Tips
- Check Apache’s status:
sudo systemctl status apache2
- Review logs for errors:
sudo tail -f /var/log/apache2/error.log
- If Certbot fails, ensure your domain’s DNS records point to your server IP.
- Verify firewall ports 80 (HTTP) and 443 (HTTPS) are open.
Conclusion
By following these steps, you’ll have a secure, high-performance web server running the LAMP stack with Let’s Encrypt SSL on Ubuntu 24.04. This setup is ideal for hosting websites, blogs, web apps, and more. Always keep your system and certificates up to date, and consider further hardening your server for production environments.
Ready to launch your first secure website? With LAMP and Let’s Encrypt on Ubuntu 24.04, you have a solid foundation for any web project!