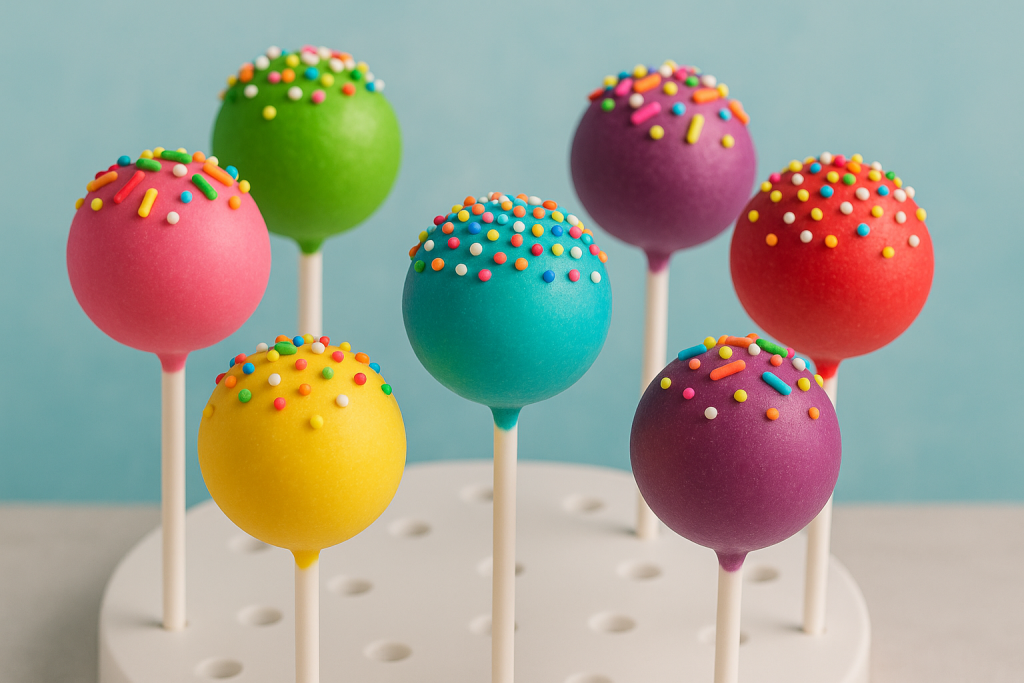
How to Make Cake Pops (That Actually Stay on the Stick!)
Cake pops are like the adorable little cousins of cupcakes—bite-sized, colorful, and oh-so-fun to make. Whether you’re prepping for a birthday, baby shower, or just want to impress your taste buds, this guide will walk you through how to make cake pops from start to finish—no fancy bakery skills required.
🎂 What You’ll Need
Ingredients:
- 1 box of cake mix (any flavor you like)
- Ingredients needed for the cake mix (usually eggs, oil, water)
- 1 can of frosting (again, any flavor)
- Melting chocolate or candy melts
- Sprinkles or decorations (optional)
Tools:
- Baking pan
- Mixing bowls
- Lollipop sticks
- Styrofoam block or stand (to hold pops upright)
- Cookie scoop or tablespoon
- Microwave-safe bowls for melting chocolate
🍰 Step-by-Step: How to Make Cake Pops
1. Bake the Cake
Start by baking your cake according to the box instructions. Let it cool completely—trust me, this part is non-negotiable. Warm cake = a crumbly disaster later on.
2. Crumble It Up
Once your cake is fully cooled, crumble it into a large mixing bowl using your hands or a fork. You want fine crumbs here, not big chunks.
3. Mix with Frosting
Add a few spoonfuls of frosting into the crumbled cake. Start with a little—you can always add more. Mix it until it’s the texture of sticky cookie dough. It should hold its shape when rolled.
💡 Tip: Don’t overdo the frosting! Too much and your cake pops will be mushy and won’t hold the stick.
4. Roll into Balls
Use a cookie scoop or your hands to form small, even-sized balls. Place them on a parchment-lined tray. Once done, pop them into the fridge (or freezer) for about 30 minutes to firm up.
5. Insert the Sticks
Dip the tip of each lollipop stick into melted chocolate, then push it halfway into a chilled cake ball. This “glue” helps the cake pop stay in place. Chill again for 10 minutes to set.
6. Dip and Decorate
Melt your chocolate or candy melts in a microwave-safe bowl. Dip each cake pop straight in, then tap gently to let excess chocolate drip off. While still wet, add sprinkles or drizzle with another chocolate color if you’re feeling fancy.
❄️ Bonus Tip: If your chocolate is too thick, add a tiny bit of vegetable oil or coconut oil to thin it out for smoother dipping.
7. Let Them Set
Stick your finished cake pops into a Styrofoam block or cardboard box with holes to dry upright. Let them set at room temperature until the chocolate hardens.
💡 Extra Tips for Perfect Cake Pops
- Don’t skip chilling: Cold cake balls are much easier to work with and won’t fall off the stick.
- Use candy melts: They’re easier to work with than regular chocolate and come in tons of fun colors.
- Short on time? Use store-bought pound cake or leftover cake—just skip to the crumbling step!
🎉 Time to Enjoy!
And that’s it! You just made your very own batch of cake pops. They’re cute, customizable, and ridiculously satisfying to eat. Whether you’re wrapping them up as party favors or just enjoying them with coffee, you’ll be amazed at how simple (and addictive) they are.