Acne is something almost everyone faces at some point—sometimes right before a big event or on a random day when you least expect it. If you’ve ever woken up to a new breakout and wished you had a pimple patch on hand, you’re not alone! Store-bought acne patches can work wonders, but what if you don’t have any at home, or you’re looking for a more natural, budget-friendly alternative? The good news: homemade pimple patches are totally possible, easy to make, and can be surprisingly effective for calming pimples or breakouts.
In this article, you’ll discover 9 ways to make a homemade pimple patch for acne or breakouts, using ingredients you probably already have in your kitchen or bathroom cabinet. Let’s explore how you can create your own acne patches, save money, and care for your skin naturally.
What Is a Pimple Patch (And Why Go Homemade)?
A pimple patch, also called an acne patch, is a small, often clear sticker designed to cover pimples and help heal them faster. Most store-bought patches use hydrocolloid—a material that absorbs pus and oil, creating a moist environment for healing. Some even include active ingredients like salicylic acid or tea tree oil to target bacteria.
- Save money: DIY pimple patches are inexpensive.
- Natural options: Use simple, non-toxic ingredients.
- Instant solution: No need to run to the store when you have a breakout.
- Customizable: Tailor patches to your skin’s needs and sensitivities.
How Do Pimple Patches Work?
Pimple patches work by covering the affected area, protecting it from bacteria, picking, and dirt. The patch absorbs excess oil and pus, reduces inflammation, and speeds up the healing process. Some ingredients in homemade pimple patches can also soothe redness, fight bacteria, or calm irritation.
When you make a homemade pimple patch, the goal is to recreate these effects using safe, readily available materials. While homemade solutions may not be as invisible or adhesive as store-bought patches, they can still offer impressive results—especially for small, surface-level pimples.
What You’ll Need to Make a Homemade Pimple Patch
- Cotton pads, bandages, or tape (medical tape is best)
- Clean scissors
- Q-tips or cotton swabs
- Natural ingredients (see the list below)
- Clean hands!
Important: Always patch-test ingredients on your inner wrist first to check for allergies. If your skin is sensitive, stick to gentle ingredients like aloe vera or cucumber.

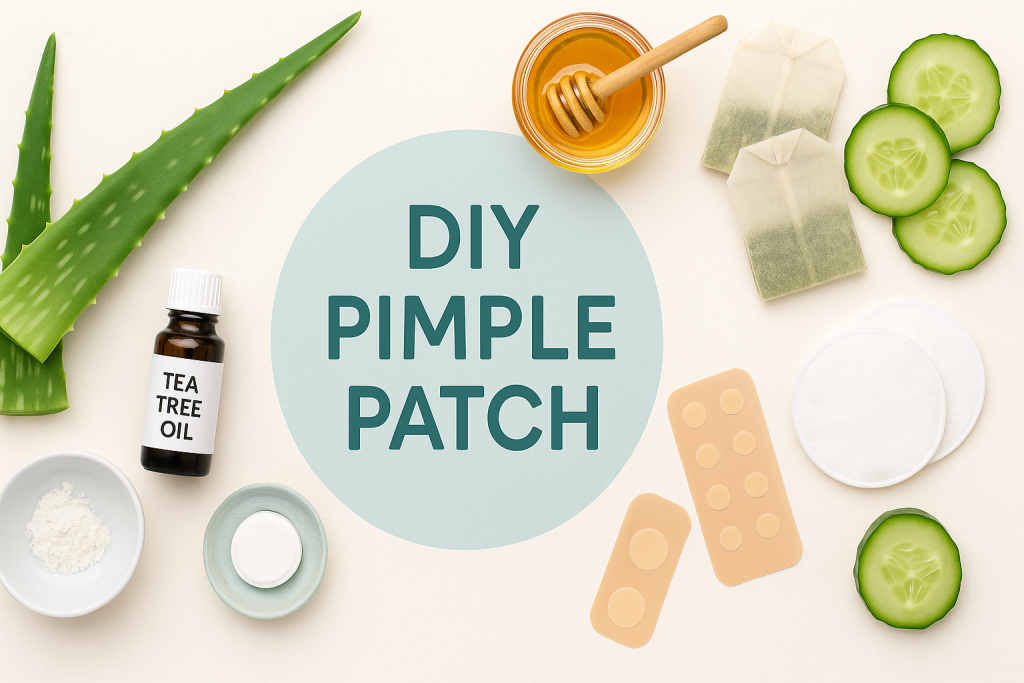
9 Ways to Make a Homemade Pimple Patch for Acne or Breakouts
-
Hydrocolloid Bandage Hack
Hydrocolloid is the superstar of commercial acne patches—and you can buy it at any pharmacy as wound dressings!
How to do it: Buy a hydrocolloid bandage (like Band-Aid Hydro Seal or generic hydrocolloid dressings). Use clean scissors to cut small, round “dots” just large enough to cover your pimple. Apply the dot directly onto cleansed skin. Leave on overnight or until the patch turns white—this means it’s absorbed moisture and oil.
Tip: This is the closest homemade solution to a real “hydrocolloid pimple patch” and is great for absorbing pus from whiteheads! -
Aloe Vera Gel Spot Patch
Aloe vera is famous for its soothing and anti-inflammatory properties, making it a gentle choice for sensitive skin.
How to do it: Cut a thin slice of fresh aloe leaf (or use pure aloe vera gel). Place a small dab directly onto your pimple. Cover with a tiny piece of medical tape or a clean bandage to keep the aloe in place. Let it sit for at least 30 minutes or overnight for calming results. -
Honey and Bandage Method
Raw honey is a natural antibacterial and anti-inflammatory agent.
How to do it: Dab a small amount of raw, organic honey onto your blemish. Cover with a small piece of non-stick bandage or a tiny strip of medical tape. Honey fights acne-causing bacteria while keeping your pimple moist—ideal for healing! -
Green Tea Extract Patch
Green tea helps reduce redness and irritation, and it’s rich in antioxidants.
How to do it: Brew a green tea bag and let it cool. Tear off a small piece of the wet tea bag, squeeze out excess liquid, and place it over your blemish. Secure it with medical tape or a small bandage. Leave on for 20–30 minutes, then rinse gently. -
Tea Tree Oil Pimple Dots
Tea tree oil is a popular natural remedy for acne thanks to its antimicrobial power.
How to do it: Mix 1 drop of tea tree oil with 4–5 drops of carrier oil (like coconut or jojoba oil). Dip a cotton swab into the mixture and dot it onto your pimple. Cover with a tiny piece of bandage or tape.
Warning: Always dilute tea tree oil! Undiluted oil can cause irritation. -
Witch Hazel and Cotton Pad Patch
Witch hazel is a gentle astringent that reduces swelling and calms redness.
How to do it: Soak a small piece of cotton pad with witch hazel. Place it on your breakout. Cover with a bandage to keep it in place. Leave for 20–30 minutes for a soothing effect. -
Toothpaste Dot Patch (Emergency Only!)
Toothpaste dries out pimples quickly, but it can be harsh—only use as a last resort.
How to do it: Dab a small dot of plain white toothpaste onto the pimple. Cover with a small strip of tape or a bandage.
Note: Avoid gel toothpastes and whitening agents. Don’t leave on for more than a couple of hours. -
Aspirin Paste Patch
Aspirin contains salicylic acid, a classic acne-fighter!
How to do it: Crush 1 uncoated aspirin tablet and mix with a drop of water to form a paste. Dab the paste onto your pimple. Cover with a cotton pad and secure with tape. Leave on for up to 20 minutes, then rinse off. -
Cucumber Slice Spot Patch
Cucumber is cooling, hydrating, and gentle—perfect for calming angry, irritated spots.
How to do it: Cut a thin slice of cucumber. Place directly over the blemish. Secure with medical tape if needed. Relax for 15–20 minutes, then remove.
How to Apply a Homemade Pimple Patch: Step-by-Step
- Cleanse your skin: Wash your face with a gentle cleanser and pat dry.
- Apply your chosen patch: Use clean hands and materials. Gently place the patch over the pimple.
- Secure: If needed, use a small piece of medical tape or bandage to keep the patch in place.
- Wait: Leave on as long as recommended—overnight is often best for hydrocolloid, aloe, or honey methods.
- Remove and clean: Gently peel off the patch. If there’s any residue, rinse with water.
Tips for Best Results with Homemade Pimple Patches
- Only cover clean, unbroken skin—don’t apply over open wounds.
- Don’t reuse homemade patches.
- If you feel burning, itching, or see redness, remove the patch and rinse.
- For sensitive skin, stick to mild options like aloe, cucumber, or hydrocolloid.
Precautions and What to Avoid
- Never use harsh chemicals, bleach, or anything not meant for skin!
- If you’re allergic to aspirin, honey, or any ingredient, do not use that method.
- For cystic or severe acne, homemade pimple patches are not a substitute for professional skincare.
FAQs About Homemade Pimple Patches
Q: Can homemade pimple patches replace store-bought patches?
A: They can work well for small breakouts, but store-bought hydrocolloid patches are generally more effective for deep pimples.
Q: Are DIY pimple patches safe for all skin types?
A: Most methods are gentle, but always patch-test first—especially with oils or aspirin.
Q: How often can I use a homemade acne patch?
A: Daily use is safe for most people, but don’t overdo harsh options like toothpaste or aspirin.
Conclusion: Try a Homemade Pimple Patch for Fast, Natural Relief
With these 9 easy ways to make a homemade pimple patch, you’re ready to tackle breakouts using simple, safe, and natural ingredients. Homemade acne patches are an awesome backup when you need quick relief—or just want a more natural approach to skincare. Experiment with different methods to see which works best for you, and remember: If your acne is persistent, painful, or not improving, it’s always smart to consult a dermatologist.
Ready to give it a try? Your next pimple patch could be just a kitchen cabinet away!
Main Keyword: homemade pimple patch. Related Keywords: acne patch, DIY acne patch, homemade acne patch, natural pimple patch, pimple patch at home, how to make pimple patch, DIY pimple patch for breakouts