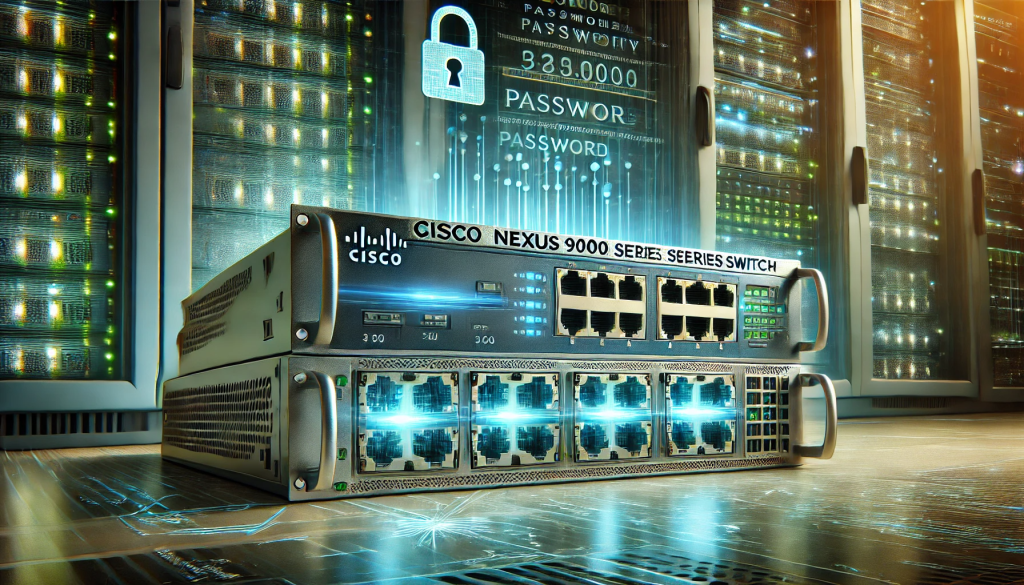
How to Reset or Recover the Admin Password on Cisco Nexus 7K/9K
Forgetting the admin password on a Cisco Nexus 7000 or 9000 series switch can be frustrating, but you can reset or recover it using recovery mode. This guide provides a step-by-step approach to regain access to your switch safely and efficiently.
Prerequisites
Before starting the recovery process, ensure you have:
- ✅ Physical access to the Cisco Nexus device
- ✅ A console connection to the switch using a terminal emulator (e.g., PuTTY, SecureCRT, or Tera Term)
- ✅ A FAT32-formatted USB drive containing a valid NX-OS firmware (.bin) file (if needed)
Step 1: Interrupt the Boot Sequence
To initiate password recovery, interrupt the boot sequence as follows:
- Power on or restart the switch.
- During the boot process, repeatedly press
CTRL + Cuntil you see theloader>prompt.
If successful, you should see an output similar to:
loader>Step 2: Enable Recovery Mode
Before proceeding with the boot process, enable recovery mode by entering the following command:
loader> cmdline recoverymode=1Step 3: Boot the System Using an NX-OS Image
At this point, you need to load an NX-OS image to continue with the recovery process.
Scenario 1: Booting from an Existing Image
If a valid NX-OS image is available in bootflash, you can check for its presence by running:
loader> dir bootflash:If an NX-OS binary file (e.g., nxos.9.3.11.bin) is available, boot the system using:
loader> boot bootflash:nxos.9.3.11.binScenario 2: Booting from a USB Drive
If no NX-OS image is found in bootflash, you need to boot from a USB drive containing a compatible NX-OS firmware (.bin) file.
- Insert the FAT32-formatted USB drive into the switch.
- Check for available USB devices using:
loader> dir usb2: - If an NX-OS image is detected (e.g.,
nxos.9.3.11.bin), boot the system with:loader> boot usb2:nxos.9.3.11.bin
Step 4: Initialize the System
Once the switch boots up successfully, you should see the switch(boot)# prompt, indicating that the system is now running in recovery mode.
To proceed, enter:
switch(boot)# init systemWarning: This will erase all configuration and system data and reset the switch to factory defaults.
Step 5: Reboot and Set a New Admin Password
After completing the init system process, reboot the switch in factory-reset mode:
switch(boot)# reload-nxosWhat Happens After Reboot?
- The switch will go through the initial setup process.
- You will see all initial prompts, including the password creation screen.
- Follow the on-screen instructions to set a new admin password.
Post-Recovery Actions
Case 1: Missing NX-OS Firmware After Reboot
If the firmware is missing after reboot, follow these steps:
- Reboot the switch and enter loader mode using
CTRL + C. - Boot from the USB drive (as explained in Step 3).
- Once the system is up, permanently install the NX-OS firmware using:
install all nxos nxos.9.3.11.bin - Reboot the switch again:
reload
Case 2: Restoring a Backup Configuration
If you have a backup configuration file stored on an external device, you can restore it to minimize downtime:
copy usb2:backup-config.cfg startup-configApply the configuration and reload the switch.
Conclusion
By following this step-by-step guide, you can successfully reset or recover the admin password on a Cisco Nexus 7K/9K switch. Whether you’re booting from an existing NX-OS image or using a USB drive, this method ensures a quick and efficient recovery process.
If you encounter any issues, refer to Cisco’s official documentation or contact Cisco TAC support for further assistance.
🔹 Have any questions or feedback? Drop them in the comments! 🚀