If you’ve ever needed to save something on your screen—whether it’s an error message, a funny meme, or an important document—knowing how to take a screenshot on Windows is an essential skill. The great news is, Windows offers several built-in methods to do this, and none of them require installing anything extra. In this guide, I’ll walk you through every method I use, from basic keyboard shortcuts to advanced tools. Let’s dive in!
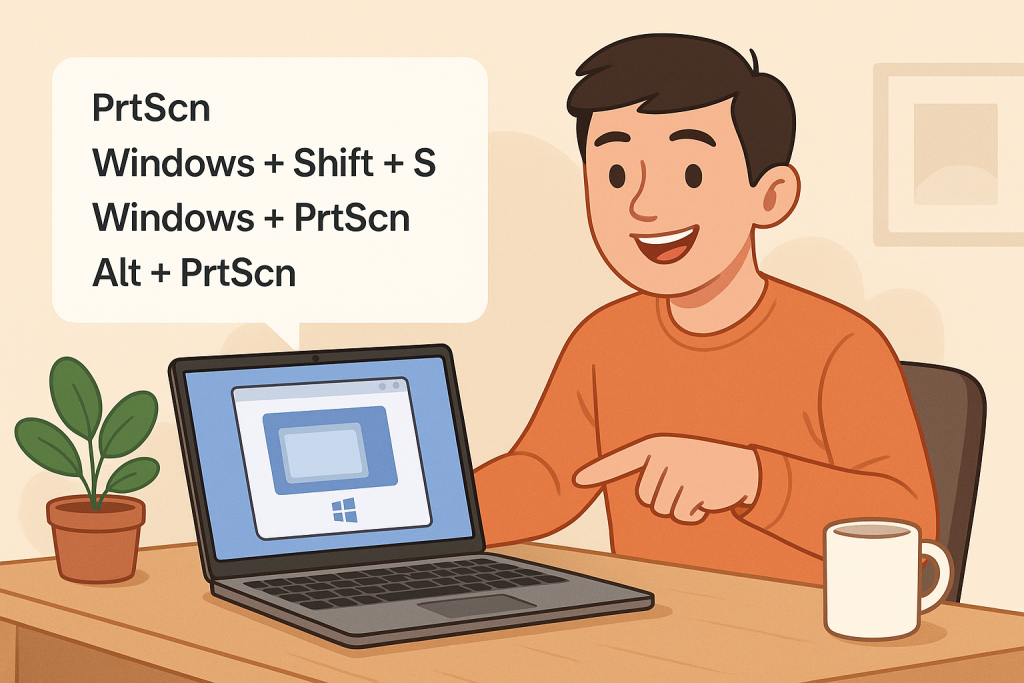
1. PrtScn Key – Copy the Entire Screen to Clipboard
This is the most basic method and works on virtually every Windows PC. When you press the PrtScn (Print Screen) key, your entire screen is instantly copied to your clipboard—yes, like hitting “copy” for your display.
But here’s the catch: It doesn’t automatically save the file. You’ll need to open a program like Paint, Word, or even a chat box, and then press Ctrl + V to paste the screenshot. From there, you can crop, edit, or save it. It’s old-school but gets the job done.
Note: On some laptops, you might have to hold the Fn key along with PrtScn.
2. Windows + Shift + S – Use Snip & Sketch
This is probably my favorite way. Pressing Windows + Shift + S brings up a snipping overlay right on your screen. It darkens everything and lets you drag to capture exactly the area you want. No full-screen drama—just grab what you need.
After you snip, Windows will copy it to your clipboard, and a notification will pop up in the corner. Click it, and you’ll be taken to the Snip & Sketch editor, where you can annotate, crop, and save. It’s fast, flexible, and doesn’t clutter your desktop with random image files.
If you take a lot of screenshots like me, I highly recommend memorizing this shortcut!
3. Windows + PrtScn – Auto-Save to a Folder
If you want to save your entire screen directly to a file—without copying and pasting anywhere—this method is for you. Press Windows + PrtScn, and your screen will briefly dim to confirm it worked.
Then go to This PC > Pictures > Screenshots, and you’ll see your screenshot saved as a .png file. The files are automatically named like Screenshot (1).png, Screenshot (2).png, etc.
This is perfect for bulk screenshots or when you don’t want to worry about editing right away.
4. Use the Snipping Tool (Classic Utility)
Before Snip & Sketch, there was the trusty Snipping Tool. It’s still around on most Windows versions, and it’s simple to use. Just search “Snipping Tool” in the Start Menu and launch it.
Click “New” and choose the type of snip you want: Free-form, Rectangular, Window, or Full-screen. Once you snip, you can annotate, highlight, or save the image immediately.
It’s a little slower than using shortcuts, but if you like having a window-based tool that stays open while you work, this one’s a good pick.
5. Alt + PrtScn – Capture the Active Window Only
Sometimes, you don’t want the whole screen—just the app you’re using. That’s where Alt + PrtScn shines. This combo copies only the current active window to your clipboard.
For example, if you’re working in Excel and hit Alt + PrtScn, you’ll get a screenshot of just that Excel window—not your entire desktop.
Again, paste the result into Paint, Word, or another app to save it. It’s super useful when you’re writing tutorials or need focused screenshots for reports or presentations.
6. Use Windows Game Bar for In-Game Screenshots
If you’re a gamer (or even just want to capture part of a video), try this: Press Windows + G to bring up the Xbox Game Bar. From here, you can click the camera icon or press Windows + Alt + PrtScn to take a screenshot of your game or app.
These screenshots are saved in Videos > Captures. What’s great is that it even works for full-screen games, and you can record video too.
It’s not just for gamers—I sometimes use this to record or capture short tutorials too!
7. Third-Party Tools (If You Want Even More Features)
Although Windows gives you plenty of built-in options, you might eventually want more. Apps like Lightshot, Greenshot, or ShareX offer powerful features like cloud uploads, instant editing, shortcut customization, and even screen recording.
Personally, I keep Lightshot installed because it lets me double-click Print Screen and immediately start dragging to capture a region. It also uploads screenshots to a private link if I need to share quickly.
Which Method Should You Use?
It really depends on your needs. Here’s how I break it down:
- Quick Copy: PrtScn or Alt + PrtScn
- Quick Save: Windows + PrtScn
- Flexible Area: Windows + Shift + S
- In-Game or App Capture: Windows + G (Game Bar)
- Power User: Use Lightshot or ShareX
Final Thoughts
Once you get into the habit of using screenshots, you’ll realize just how helpful they are. Whether it’s documenting a bug, sharing a funny chat, or saving a snippet of something important, there’s a method that suits everyone. I’d recommend starting with Windows + Shift + S — it’s quick, intuitive, and super versatile.
Let me know which method you use the most or if you’ve discovered another cool tool worth trying. Screenshots might be a small part of our digital lives—but they make a big difference!