Upgrading your iPhone is one of the most exciting moments for any Apple fan. Whether you’re moving from an iPhone 6 to an iPhone 15, or simply swapping out an old device that’s been on your desk for years, the key to a smooth transition is getting all of your data—contacts, photos, apps, music, messages, and more—onto your new phone without losing anything.
![]()
This post walks you through every method Apple offers (iCloud, iTunes / Finder, Quick Start, and even a few “manual” tricks) in plain language so that anyone—even those who aren’t tech‑savvy—can follow along with confidence.
1. Why You Should Back Up First
Before we dive into the actual transfer steps, let’s talk about why a backup is critical:
| Reason | What Happens If You Skip It |
|---|---|
| Safety Net | If something goes wrong during the transfer (e.g., power loss or software glitch), you can restore your old data from the backup. |
| Speed | A full backup reduces the time it takes to set up a new phone, because the system doesn’t have to re‑download everything from scratch. |
| Consistency | Backups keep all versions of your files in sync (contacts, calendar events, notes, etc.) so nothing gets left behind. |
Tip: If you’re using iCloud for backups, make sure you’re connected to Wi‑Fi and that the backup finishes before you switch phones.
2. The Official Apple Ways – Quick Start & iCloud
Apple’s own “Quick Start” feature is the easiest way to move everything from one iPhone to another if both devices are running iOS 12 or later.
2.1 Quick Start (iOS 13+)
| Step | What You Do | Result |
|---|---|---|
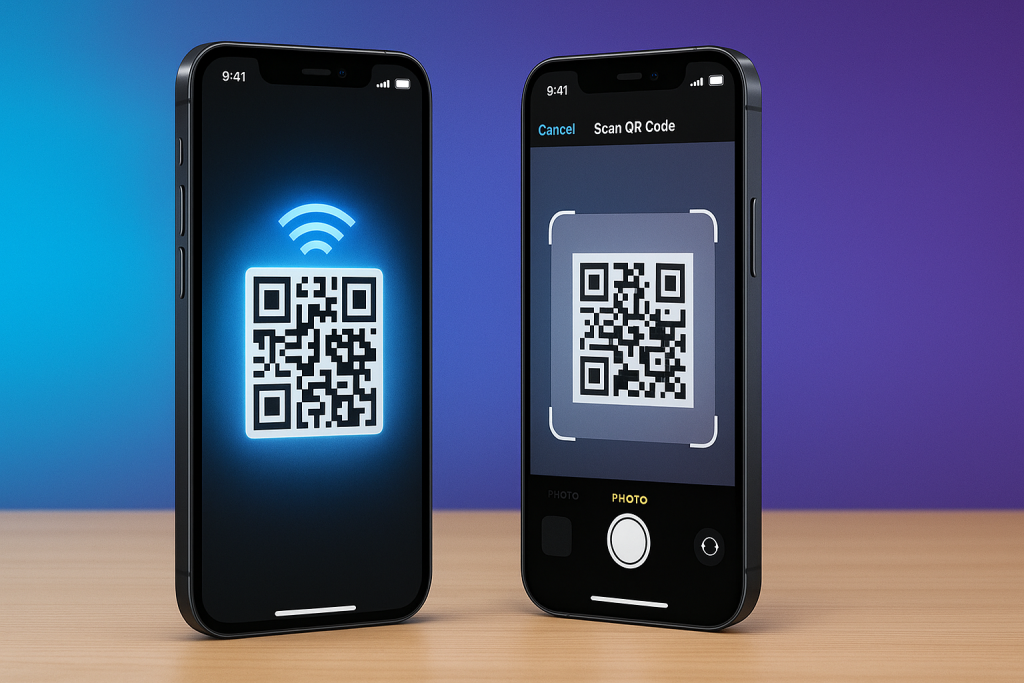
| 1️⃣ | Turn on your new iPhone and bring it close to your old one. | A “Hello” screen appears, offering to set up the new device using the old one’s data. |
| 2️⃣ | Use Face ID/Touch ID (or enter your passcode) on the old phone to confirm you’re authorized. | The old iPhone starts sending a QR code to the new one. |
| 3️⃣ | On the new iPhone, scan the QR code that appears on the old device’s screen. | A progress bar shows up while the data is transferred over Wi‑Fi. |
| 4️⃣ | Follow the onscreen instructions: choose which Apple ID you’ll use, set up Face/Touch ID again, and decide whether to transfer everything or just selected items (e.g., Contacts, Photos). | Your new iPhone loads all chosen content. |
Pro Tip: Keep both phones plugged into power and stay within 30 ft of each other during the transfer.
2.2 Using iCloud Backup
If you prefer a cloud‑first approach—or if your old phone is running an older iOS version—iCloud backup is the way to go.
Back Up Your Old iPhone
1️⃣ Open Settings → tap your name at the top → iCloud → iCloud Backup.
2️⃣ Toggle on iCloud Backup (if it’s off).
3️⃣ Tap Back Up Now and wait until the process completes. You’ll see a timestamp when the backup finished.
Check: Make sure you’re connected to Wi‑Fi and that your device has enough battery or is plugged in, because large backups can take time.
Restore on Your New iPhone
1️⃣ Turn on the new phone; when you reach the “Apps & Data” screen, choose Restore from iCloud Backup.
2️⃣ Sign into your Apple ID, then select the most recent backup (the one you just created).
3️⃣ Stay connected to Wi‑Fi and power—restoring can take a while if you have many photos or apps.
Heads Up: This method will overwrite any data already on the new iPhone. If you want to keep what’s on the new phone, use Quick Start instead.
3. The Classic Desktop Backup – iTunes / Finder
If you’re more comfortable with a computer, iTunes (macOS Mojave or earlier) or Finder (macOS Catalina and newer) offers a local backup that can be transferred directly to your new device.
3.1 Back Up With iTunes (Windows/Mac)
| Step | What You Do |
|---|---|
| 1️⃣ | Connect your old iPhone to the computer via USB. |
| 2️⃣ | Open iTunes → click the device icon in the upper‑left corner. |
| 3️⃣ | Under “Summary,” check “Back up all of the data on your iPhone to this Mac/PC.” |
| 4️⃣ | Click Back Up Now and wait until it finishes. |
Encrypted Backup: If you want to preserve passwords, health data, and Apple Pay information, tick “Encrypt local backup” before backing up.
3.2 Restore With Finder (macOS Catalina+)
| Step | What You Do |
|---|---|
| 1️⃣ | Connect your new iPhone via USB. |
| 2️⃣ | Open Finder → select your device under “Locations.” |
| 3️⃣ | Click Restore Backup…, choose the most recent backup, and click Restore. |
Note: The Finder method also overwrites existing data on the new phone.
4. Transfer Apps & App Data – A Quick FAQ
Q: Will all my apps transfer?
A: Yes—any app you’ve installed from the App Store will automatically download during the restore process. However, some premium apps (e.g., paid games) may require a re‑purchase if they’re not backed up to iCloud.
Q: How about app data like game progress or notes?
A: Most app data is saved in iCloud by default, so it will come along automatically. For apps that don’t use iCloud, the local backup (iTunes/Finder) includes that data, provided you enabled encrypted backups.
Q: My phone is stuck on “Transferring Data” forever—what do I do?
A: Try disconnecting and reconnecting the USB cable; or if you’re using Quick Start, make sure both phones are connected to Wi‑Fi and have enough battery. If it still stalls, cancel the transfer and start over.
5. Manual “Hands‑On” Tricks (When You Need Them)
Sometimes the automatic methods don’t cover a specific piece of data—like a custom keyboard layout or certain media files that aren’t backed up to iCloud. Here are some manual ways to make sure nothing slips through the cracks.
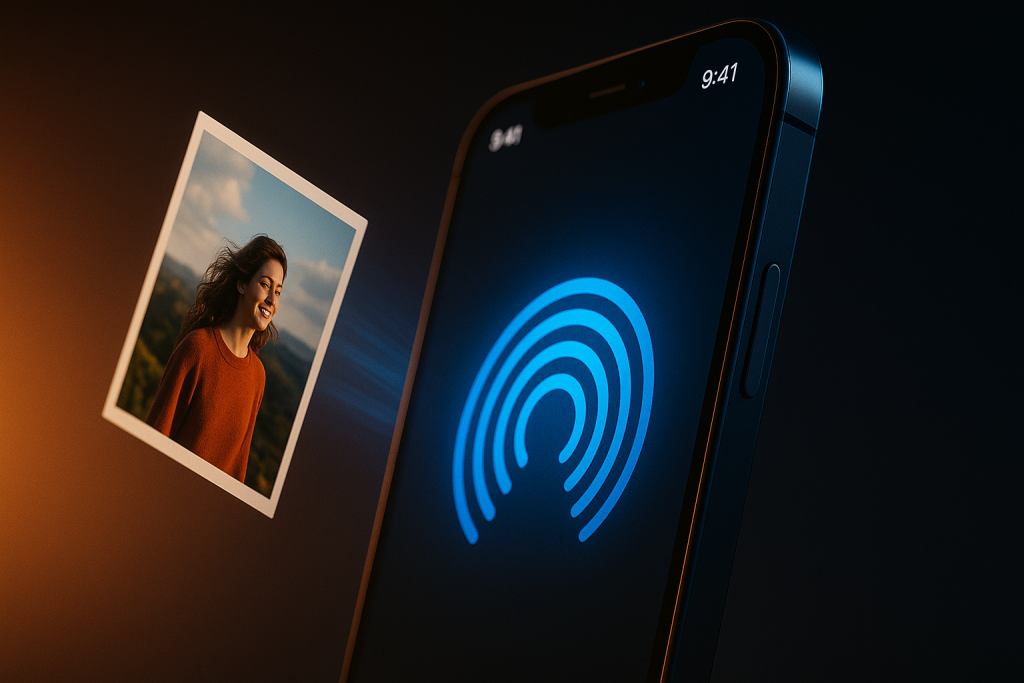
5.1 Photos & Videos
| Method | How |
|---|---|
| iCloud Photos | Turn on Settings → [your name] → iCloud → Photos → iCloud Photos on both phones. The photos sync automatically, but you’ll need an internet connection to download them onto the new device. |
| AirDrop | Open Photos, select albums or individual items, tap the Share icon, and choose your new iPhone. Works great for a few hundred photos. |
| Third‑Party Apps | Use Dropbox, Google Photos, or OneDrive—upload from the old phone, then download on the new one. |
5.2 Music & Podcasts
- If you use Apple Music: enable Sync Library under Settings → Music; all purchased tracks and playlists will appear automatically.
- For non‑Apple music (e.g., Spotify), simply log into your account on the new device; your playlists sync from the cloud.
5.3 Messages & iMessages
iCloud backs up SMS/MMS/WhatsApp messages if you have Settings → [your name] → iCloud → Messages turned on.
If not, consider using a third‑party tool like AnyTrans or iMazing to export and import your message history.
5.4 Custom Settings (Wallpaper, Ringtones)
- Wallpaper: Take a screenshot of the wallpaper you love, transfer via AirDrop, then set it as the new background.
- Ringtone & Text Tones: If they’re custom tones, copy them to iTunes/Finder or use a third‑party app to move them over.
6. Things That Might Not Transfer (And What To Do)
| Data Type | Why It May Fail | Solution |
|---|---|---|
| Apple Pay Cards | Security restrictions prevent transfer via backup. | Re‑add cards manually in Wallet on the new phone. |
| HomeKit Devices | Some devices may require a reset to pair with the new iPhone. | Remove and re‑pair from Home app. |
| Certain Health Data | Only included if you used an encrypted backup or iCloud Health sync. | Enable Health & Privacy → iCloud Backup or use Apple Watch backup. |
7. After the Transfer – Quick Checklist
Once your new iPhone is set up, run through this quick checklist to make sure everything’s in place:
1️⃣ Verify Contacts/Calendars – Open Phone > Contacts; Calendar > All events.
2️⃣ Check Photos & Albums – Go to Photos and confirm all albums are there.
3️⃣ Test Apps – Launch a few key apps (e.g., Gmail, Instagram) to see if they open properly.
4️⃣ Review Settings – Settings → General → About; make sure the model number matches your new device.
5️⃣ Remove Old Device – If you’re selling or giving away the old phone, go to Settings → [your name] → Find My iPhone, then tap “Erase All Content and Settings” after signing out of iCloud.
8. Common Pitfalls & How to Avoid Them
| Pitfall | What Happens | Prevention |
|---|---|---|
| Using an outdated iOS on the old phone | Quick Start may not work; backup could be incomplete. | Update both phones to the latest OS before transferring. |
| Not having enough battery or Wi‑Fi | Transfer can stall mid‑process. | Keep devices plugged in and connected to a reliable network. |
| Overwriting existing data on new phone | You lose whatever was already on the new device. | Choose “Restore from backup” only if you’re setting up a brand new phone. |
| Skipping iCloud sync for apps | Some app settings might not come over. | Turn on iCloud Sync in Settings → [your name] → iCloud for each app. |
9. Bottom Line – Your One‑Stop Plan
- Backup your old iPhone (iCloud or local).
- Choose a transfer method that suits you: Quick Start if both are recent, iCloud backup otherwise, or iTunes/Finder if you prefer desktop control.
- Restore onto the new phone, following on‑screen prompts.
- Check key items (contacts, photos, apps) and fix anything missing manually.
That’s it! You’re now ready to enjoy all your favorite apps, memories, and settings on your shiny new iPhone.
Final Thought
Transferring data from an old iPhone to a new one is less of a chore than it sounds—especially when you know the right steps to follow. By backing up first, picking the correct method, and double‑checking afterward, you’ll make sure no precious photo or important contact slips through the cracks.
Happy upgrading! 🚀
If you found this guide helpful, share it with a friend who’s about to upgrade—or drop a comment below if you have any questions. Happy texting, scrolling, and exploring on your new iPhone!