Oster blenders are popular kitchen appliances loved for their durability, versatility, and ability to tackle everything from smoothies and salsas to hot soups and nut butters. Whether you’re a new owner or looking to unlock more potential from your blender, knowing how to work an Oster blender correctly ensures consistent results and a longer appliance life. This comprehensive guide will walk you through everything you need to know: from assembly and operation, to cleaning, maintenance, and troubleshooting tips.
Understanding Oster Blender Parts
Before you start, it’s important to familiarize yourself with the main components of your Oster blender. While models can vary, most Oster blenders generally have:
- Motor Base: The heavy, bottom part that contains the blender’s motor and control buttons or dials.
- Blender Jar: The pitcher or container where ingredients are placed. Usually made of glass or BPA-free plastic.
- Blade Assembly: The sharp, rotating blades at the jar’s base that chop and blend ingredients.
- Jar Lid and Cap: The lid seals the jar and typically features a removable cap for adding ingredients mid-blend.
- Gasket or O-ring: A rubber or silicone ring that helps prevent leaks between the jar and blade assembly.
Why Is Knowing the Parts Important?
Understanding these parts makes assembly, operation, and cleaning much easier—and ensures you’re using your Oster blender safely and efficiently.
How to Assemble an Oster Blender
- Prepare the Jar:
- Place the blender jar upside down on a flat surface. Insert the blade assembly into the bottom of the jar, making sure the gasket is properly in place to prevent leaks.
- Attach the Blade:
- Screw the threaded base onto the jar, securing the blade assembly tightly. Do not overtighten, as this can damage the threads or gasket.
- Mount on Motor Base:
- Turn the jar right side up, and place it firmly onto the motor base, aligning it until it sits securely. Many Oster models click into place or have a set groove for easy alignment.
- Attach the Lid:
- Place the lid on top of the blender jar and insert the center cap. The cap is handy for adding ingredients during blending without removing the entire lid.
Step-by-Step Guide: How to Work an Oster Blender
1. Prepare Your Ingredients
Chop produce, measure liquids, and gather all items you plan to blend. Cut larger items into smaller pieces for more even blending and less strain on the motor.
2. Add Ingredients in the Right Order
For best results, add ingredients in the following order:
- Liquids (water, milk, juice, etc.)
- Soft ingredients (yogurt, bananas, leafy greens)
- Hard ingredients (frozen fruit, ice cubes)
This helps the blades move freely and blend items thoroughly.
3. Secure the Lid
Always ensure the lid is tightly in place before starting. This prevents spills and accidents.
4. Select the Appropriate Speed or Program
Oster blenders offer various speed settings and, on some models, pre-programmed buttons. Common controls include:
- Pulse: Delivers short, powerful bursts for chopping or mixing chunky salsas.
- Low/Medium/High: Gradually increases blending power for different textures.
- Smoothie, Ice Crush, or Milkshake: These presets optimize speed and duration for specific results.
Start with a lower speed and gradually increase if needed. Use “Pulse” for controlled bursts, or set a pre-programmed function for hands-free operation.
5. Blend Until Smooth
Keep an eye on your blend. Most smoothies, soups, or sauces are ready in 30–90 seconds. If ingredients stick to the sides, stop the blender and use a spatula to push them down—never insert utensils while the blender is running.
6. Stop the Blender and Serve
Release the control button or switch the dial to “off.” Unplug the blender for added safety. Remove the lid carefully, as pressure may build up during blending, especially with hot liquids.
Tips for Getting the Best Results
- Don’t Overfill: Stay below the max fill line to prevent spills and allow for even blending.
- Layer Ingredients Wisely: Placing liquids and soft foods closest to the blades can help the blender process ingredients more efficiently.
- Avoid Overheating: If your blender struggles or smells hot, pause blending to let the motor cool.
- Use Short Blending Bursts: For thick mixtures like nut butters or dough, use the “Pulse” function in short intervals.
How to Clean and Maintain Your Oster Blender
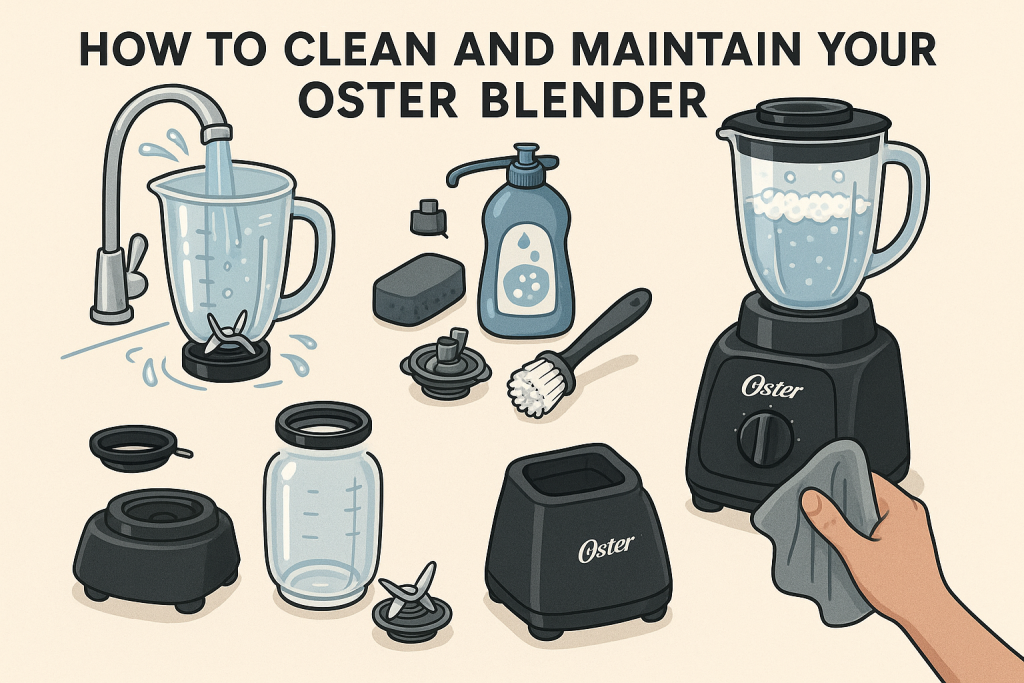
Quick Cleaning Between Uses
- Rinse the jar and blade assembly immediately after use to prevent food from drying on.
- Blend warm water with a few drops of dish soap for 10–20 seconds, then rinse thoroughly.
Deep Cleaning
- Disassemble the jar, blade, gasket, and base for thorough washing.
- Clean all parts with warm, soapy water. Use a brush to safely clean near the blades.
- Allow all components to dry completely before reassembling or storing.
Note: Most Oster blender jars and lids are top-rack dishwasher safe, but always check your model’s manual.
Maintenance Tips
- Check the Gasket: Inspect the rubber gasket regularly for cracks, as a damaged gasket can cause leaks.
- Keep Blades Sharp: Over time, blades may dull—replace or sharpen as needed for optimal performance.
- Avoid Submerging the Base: Never immerse the motor base in water; wipe it with a damp cloth instead.
Troubleshooting Common Oster Blender Issues
1. Blender Won’t Turn On
- Ensure the blender is plugged in properly.
- Check the jar is seated securely on the base.
- Inspect for blown fuses or tripped outlets.
2. Blades Won’t Spin
- Check if the jar is overfilled or food is packed too tightly.
- Inspect the blade assembly for jams or obstructions.
- Try blending smaller batches or adding more liquid.
3. Leaks During Operation
- Ensure the gasket is in place and not damaged.
- Avoid overtightening the blade assembly, which can warp the gasket.
- Check for cracks in the jar or base.
Safety Tips When Using an Oster Blender
- Never operate the blender without the lid securely in place.
- Keep hands and utensils away from moving blades.
- Unplug the blender before cleaning or assembling.
- Be cautious when blending hot liquids—blend in small batches and vent the lid slightly to release steam.
Frequently Asked Questions About Oster Blenders
Can I put hot ingredients in my Oster blender?
Yes, most glass Oster blender jars can handle hot ingredients, but add them with care and blend in small amounts to prevent splattering or pressure build-up.
Are Oster blender parts dishwasher-safe?
Most Oster blender jars, lids, and blades are top-rack dishwasher safe. Always check your model’s instruction manual to confirm.
What’s the best way to blend ice or frozen fruit?
Add a bit of liquid first, then layer ice or frozen fruit on top. Use the “Ice Crush” or “Pulse” setting for best results.
Conclusion: Make the Most of Your Oster Blender
Learning how to work an Oster blender opens up a world of culinary possibilities. From healthy morning smoothies to creamy soups and homemade salsas, Oster blenders are easy to use, clean, and maintain. Whether you’re a beginner or looking to perfect your blending technique, follow these steps and tips for delicious, consistent results every time. Enjoy blending!