Why Transferring Data from Android to iPhone Matters
Switching from an Android device to an iPhone is an exciting upgrade, but it can also be overwhelming when it comes to transferring your data. You don’t want to lose your contacts, messages, photos, or other important information. With the right tools and steps, you can seamlessly migrate your data and enjoy a smooth transition to the Apple ecosystem.
Apple has made substantial improvements to help users switch easily from Android to iPhone, offering user-friendly solutions like the Move to iOS app. This guide provides a comprehensive, step-by-step approach to ensure you don’t miss a thing during your data transfer.
What Data Can Be Transferred from Android to iPhone?
Before you begin, it’s important to know which types of data you can actually transfer from Android to iPhone. Not all data will move over automatically, and being aware of the limitations helps set the right expectations.
- Contacts: Phone numbers, emails, and address book entries
- Messages: SMS and MMS messages
- Photos and Videos: Media stored in your camera roll
- Mail Accounts: Gmail, Yahoo, and other email setups
- Calendars: Events and reminders
- Web Bookmarks: Saved in browsers like Chrome
- WhatsApp Chats: With additional steps, you can move chat history
Note that some app data, specific files, or certain settings won’t transfer and may require manual migration or reinstallation.
Step 1: Prepare Your Devices for Transfer
Check Compatibility and Requirements
Before starting, ensure both your Android and iPhone are fully charged and connected to stable Wi-Fi. Your iPhone should be new or reset to factory settings to use Apple’s official methods.
- Android version: 5.0 (Lollipop) or later
- iOS version: iOS 9.0 or later
- Enough storage on iPhone for the incoming data
Backup Important Data on Android
Use Google Backup to secure your data in the cloud. Go to Settings > System > Backup and ensure backup is enabled. This provides an added safety net in case anything goes wrong during the transfer.
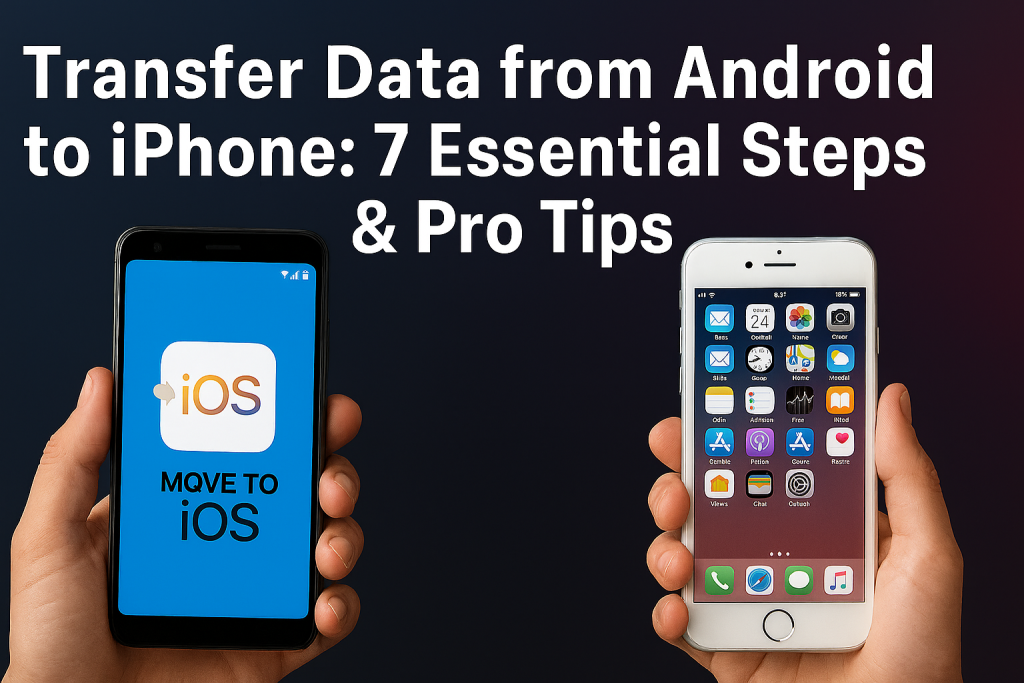
Step 2: Use the Move to iOS App
Download and Install Move to iOS
The Move to iOS app is Apple’s official solution for migrating from Android to iPhone. It’s available for free on the Google Play Store. Install it on your Android device before beginning the transfer process on your iPhone.
Initiate the Transfer with Move to iOS
- Turn on your new iPhone and start the setup process.
- When you reach the “Apps & Data” screen, select Move Data from Android.
- On your Android device, open Move to iOS and agree to the terms and conditions.
- Tap “Continue” on both devices. A code will appear on your iPhone; enter this code on your Android.
- Select the data you wish to transfer: contacts, messages, photos, videos, bookmarks, mail accounts, and calendars.
- Wait for the transfer to complete. Depending on your data size and Wi-Fi speed, this may take several minutes.
- Once done, finish setting up your iPhone and check that all your data has arrived safely.
Tip: Keep both devices plugged in and connected to Wi-Fi during the entire process to avoid any interruptions.
Step 3: Transfer WhatsApp Chats from Android to iPhone
How to Move WhatsApp Conversations
WhatsApp now supports official chat migration from Android to iPhone. To use this feature, ensure both devices are on the latest WhatsApp version and connected to the same Wi-Fi network.
- On your Android device, open WhatsApp and go to Settings > Chats > Move Chats to iOS.
- Follow the on-screen instructions. You’ll need to use the Move to iOS app when setting up your iPhone.
- After transfer, log into WhatsApp on your iPhone using the same phone number. Your chats and media should appear.
This method transfers messages, media, and even voice notes, but note that call logs and display names might not move over.
Step 4: Manually Transfer Data Not Supported by Move to iOS
Moving Music, Documents, and Other Files
Some content, such as locally saved music or downloaded files, won’t transfer with Move to iOS. For these, use cloud storage services like Google Drive, Dropbox, or OneDrive. Upload your files from Android and download them onto your iPhone later.
Syncing Apps and App Data
Apps cannot be transferred directly. You’ll need to download the iOS versions from the App Store. If an app supports cloud backup (like Evernote or Google Keep), log in to restore your data.
- Check for iOS equivalents of your favorite apps
- Use the same login credentials to sync cloud-based app data
- Manually transfer files and exports when needed
Step 5: Verify and Organize Your Data on iPhone
Check Transferred Items
After migration, review your contacts, messages, photo library, and calendars to ensure everything transferred successfully. If anything is missing, try syncing your Google account with the iPhone to pull in contacts or calendars again.
Organize Your Files and Apps
Arrange your home screen, organize photos into albums, and customize your iPhone settings. This is the perfect time to explore new iOS features and set up Face ID, Apple Pay, or widgets to make the most of your new device.
Step 6: Troubleshooting Common Transfer Issues
Frequent Problems and Solutions
- Transfer Fails or Freezes: Restart both devices and retry. Ensure strong Wi-Fi and close background apps.
- Missing Contacts or Photos: Re-sync your Google account in iOS settings or check your Google Photos app for images.
- Incomplete Message Transfer: Some message types (like RCS chats) may not migrate. Use your carrier’s or Google’s backup solutions as needed.
- Apps Not Available on iOS: Look for alternative apps in the App Store or consider exporting data from the original app.
Apple Support and online forums can provide further assistance if persistent problems arise.
Step 7: Essential Pro Tips for a Smooth Data Transfer
Expert Advice for Success
- Backup Everything: Always create a backup of your Android device before starting the transfer. Use both Google Backup and, if possible, local backups.
- Update Devices: Make sure both your Android and iPhone are running the latest OS versions to avoid compatibility issues.
- Prepare for App Differences: Some Android apps have different features or may not exist on iOS, so research alternatives in advance.
- Secure Your Accounts: Set up two-factor authentication and update security settings once on iPhone for added protection.
- Clean Up Before Migrating: Delete unnecessary files and apps from your Android device to streamline the transfer process and free up space on your new iPhone.
Conclusion: Enjoy Your New iPhone with All Your Data
Transferring data from Android to iPhone doesn’t have to be stressful. By following these 7 essential steps and expert tips, you can ensure a hassle-free move, preserving all your important contacts, media, and messages. With your data securely in place, you’re ready to explore everything your new iPhone has to offer, from the seamless Apple ecosystem to advanced privacy features and beyond.
If you run into any challenges, remember that both Apple Support and user communities are valuable resources for personalized advice. Happy switching!