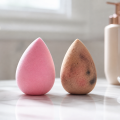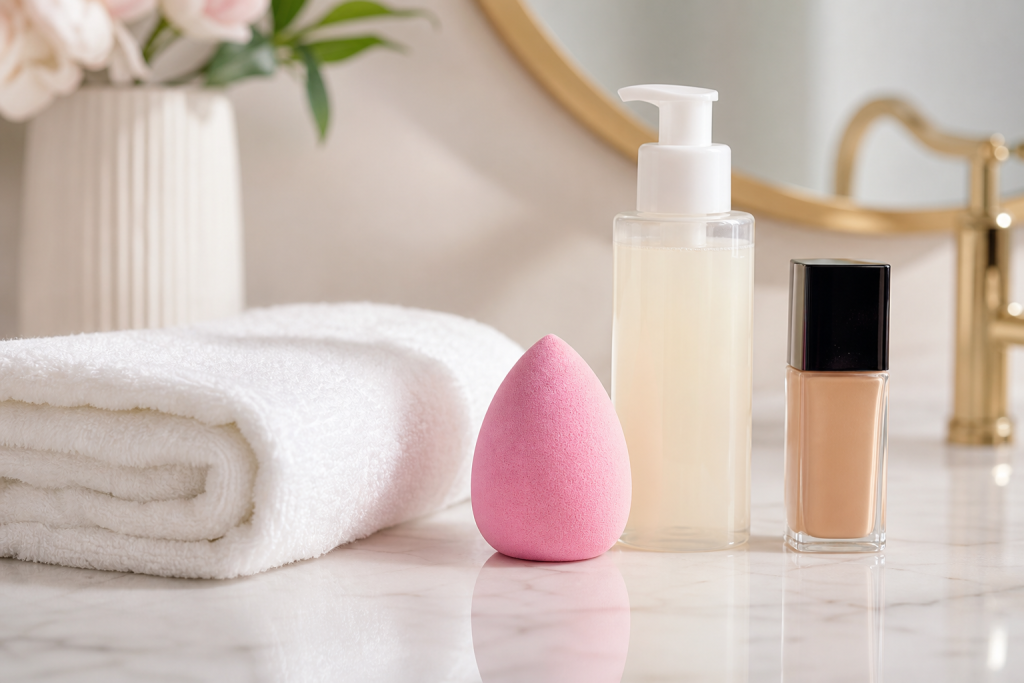

Your makeup sponge touches foundation, concealer, facial oils, moisturizer, and skin every time you bounce it across your face. That soft, damp texture gives flawless blending, but it also makes sponge perfect place for buildup if cleaning routine falls behind. If you have ever wondered how often to clean beauty blender, short answer: wash it after every use if possible, deep clean it at least once week, and replace it every one to three months depending on wear.
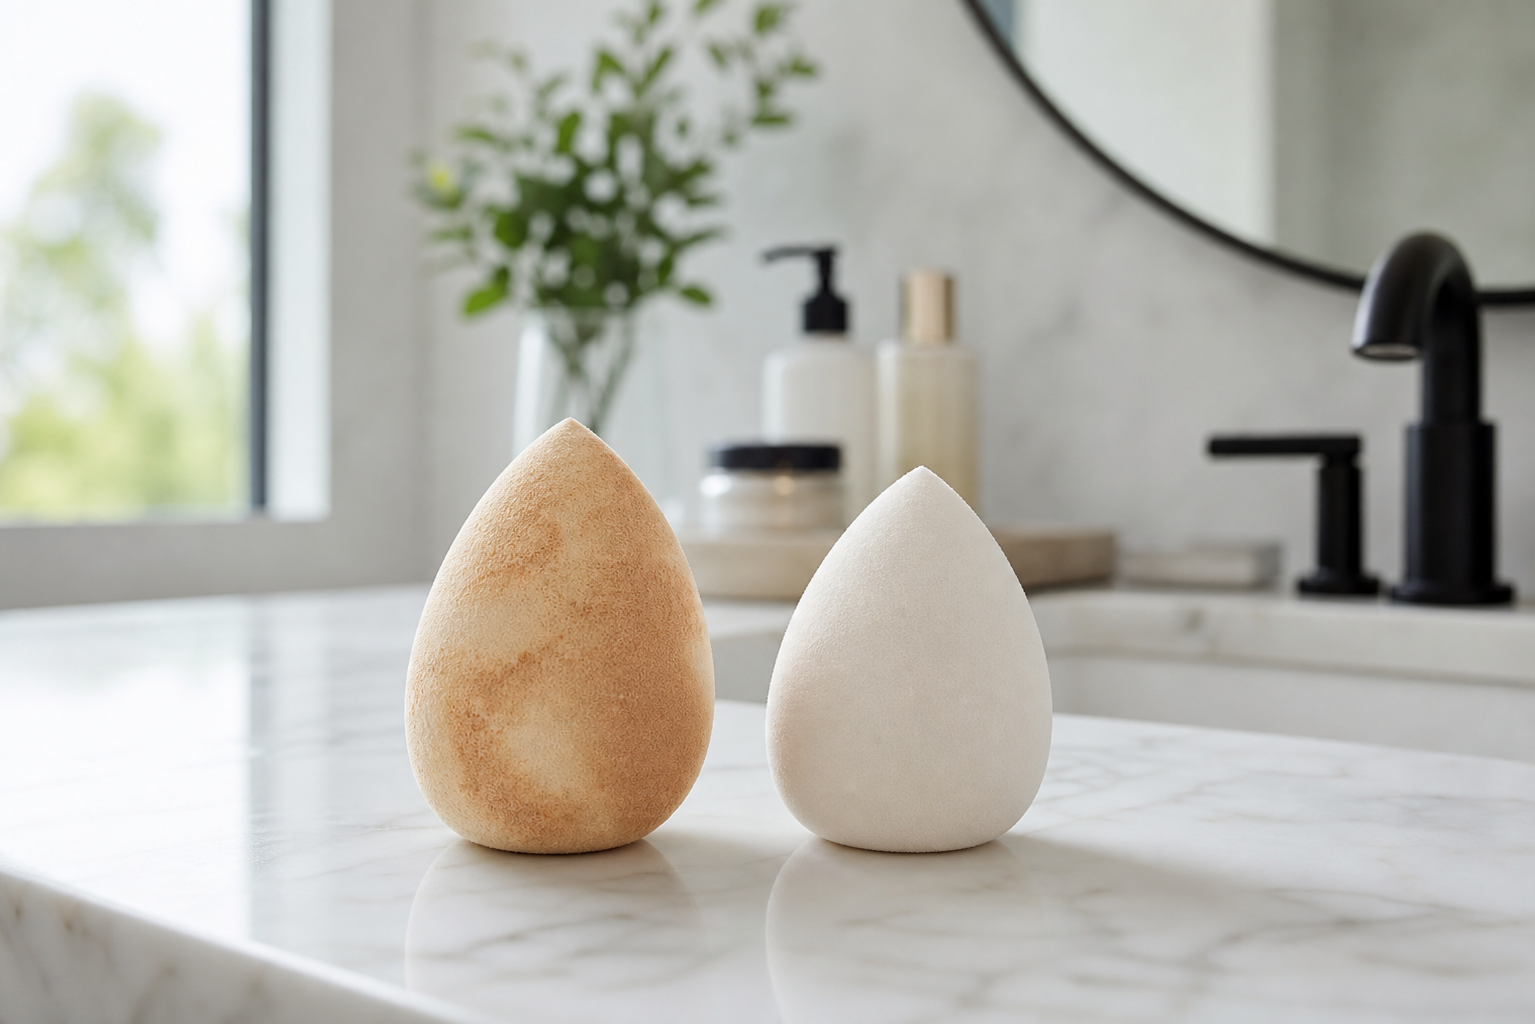
Introductory illustration
Clean sponge matters because old makeup, oil, and bacteria can affect finish of your makeup and comfort of your skin. In U.S. beauty routines, many people use same sponge daily for liquid foundation or cream products, then toss it into makeup bag while still damp. That habit can lead to stains, odor, texture changes, and clogged-looking application. Better routine takes less than two minutes after makeup, protects sponge, and helps your base look smoother.
How Often Should You Wash Your Makeup Sponge?
Best rule for daily makeup users: rinse and cleanse your beauty blender after every use. This removes wet foundation before it dries into foam and reduces residue that can transfer back onto skin next morning. If daily washing feels unrealistic, wash it every two to three uses at absolute minimum, especially if you use liquid foundation, concealer, cream blush, contour, sunscreen, or primer.
For occasional users, clean sponge immediately after each makeup session, then let it dry fully before storing. Even if you only use it once for weekend dinner or special event, sponge should not sit with old product inside for days. Foundation stains become harder to remove, and damp makeup trapped inside can create musty smell.
For acne-prone, sensitive, or reactive skin, after-every-use cleaning is not optional. Anything that touches active breakouts should be fresh and clean. Shared sponges are also bad idea. Keep personal sponge separate, and do not use one sponge on multiple people unless it is cleaned and sanitized properly between uses, as professional makeup artists do.
Quick Schedule: Daily, Weekly, Monthly
Think of sponge care in three levels: daily rinse, weekly deep clean, and regular replacement. Each level solves different problem.
- After every use: Wash with gentle cleanser or sponge soap until water runs mostly clear.
- Once per week: Deep clean more thoroughly to remove foundation trapped inside center of sponge.
- Every one to three months: Replace beauty blender if texture breaks down, stains remain, smell appears, or sponge tears.
If you wear full-coverage foundation five to seven days week, replacement closer to one month is smart. If you use sponge lightly once or twice week and clean it well, two to three months may be fine. Original Beautyblender brand often suggests replacing around three months, but real timeline depends on hygiene, storage, and product type.
Why Cleaning Beauty Blender Often Matters
It Helps Prevent Buildup on Skin
Dirty sponge can carry old foundation, sebum, dead skin cells, and leftover skincare. When reused, that residue blends into fresh makeup and skin surface. While sponge alone may not cause every breakout, it can make acne-prone routines worse by adding more debris to pores and irritated areas.
It Improves Makeup Finish
Clean sponge absorbs water evenly and bounces product smoothly. Sponge filled with old product can feel stiff, patchy, or slick. Foundation may apply streaky, cling to dry spots, or look muddy when old bronzer and concealer are mixed in sponge. If your base suddenly looks worse, sponge hygiene may be reason.
It Extends Sponge Life
Old makeup dries inside foam and can make it tear sooner. Regular washing keeps sponge flexible. It also helps you see true condition of sponge, including cracks, holes, or texture changes that mean replacement time has arrived.
Best Way to Clean Beauty Blender After Each Use
Detailed illustration
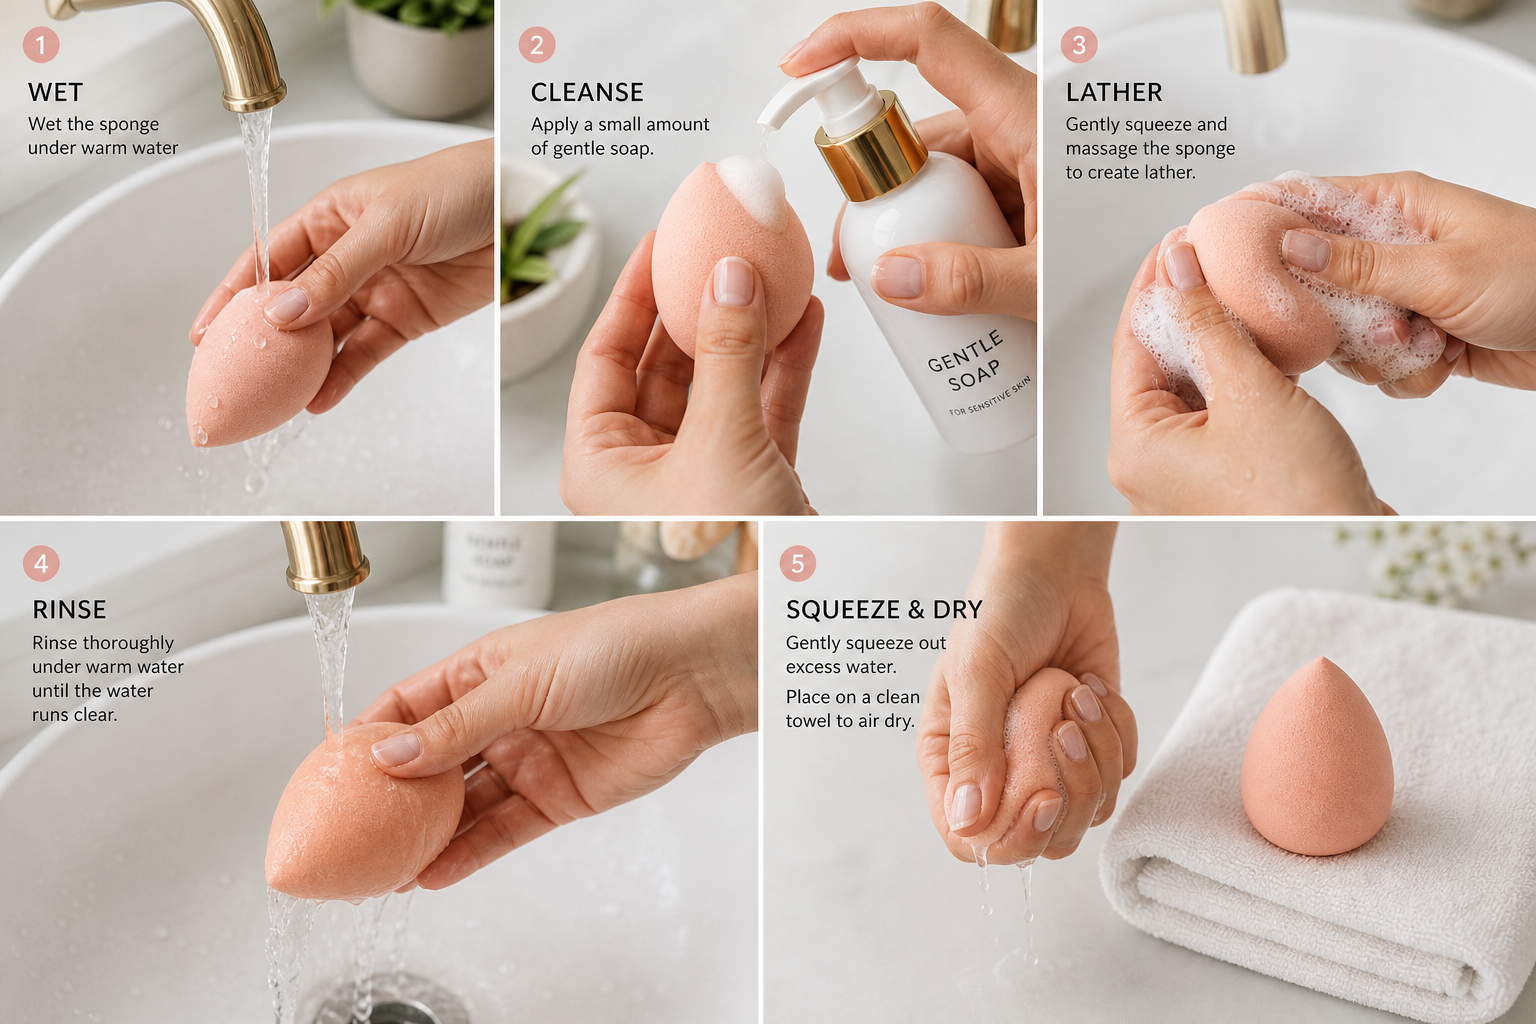
You do not need complicated setup. Warm water, gentle cleanser, and clean towel are enough. Use fragrance-free liquid soap, solid sponge cleanser, baby shampoo, or mild facial cleanser. Avoid harsh dish soap if it leaves sponge dry, strongly scented, or difficult to rinse.
- Wet sponge under warm running water until fully expanded.
- Add small amount of cleanser directly onto stained areas.
- Massage and squeeze sponge gently. Do not twist aggressively because foam can tear.
- Rinse under warm water while squeezing until water runs clear or nearly clear.
- Press sponge in clean towel to remove extra water.
- Air dry in open, ventilated spot before storage.
Important: never store damp sponge inside closed makeup bag, drawer, plastic pouch, or airtight container. Damp, dark spaces make odor and microbial growth more likely. Let sponge sit on clean dish, mesh holder, or original ventilated stand until fully dry.
How to Deep Clean Makeup Sponge Weekly
Weekly deep cleaning helps remove pigment that normal rinse misses. This is useful for long-wear foundation, waterproof complexion products, tinted sunscreen, and cream contour. Deep clean does not need to be harsh.
Start by soaking sponge in warm water with small amount of gentle soap for five to ten minutes. Then press sponge repeatedly under water so cleanser moves through center. Rinse, add more cleanser to stained zones, massage, and rinse again. Repeat until water looks clear. If stain remains but sponge smells clean and water rinses clear, pigment may be cosmetic staining, not necessarily dirt.
Some people use microwave method to sanitize sponges, but it comes with burn risk and can damage sponge if done wrong. If you choose it, sponge must be fully submerged in soapy water in microwave-safe cup, heated briefly, and cooled completely before touching. Never microwave dry sponge. For most home users, consistent washing and full air drying are safer and enough.
Signs Your Beauty Blender Needs Cleaning Now
Sometimes schedule says sponge can wait, but signs say clean it immediately. Watch for sensory changes and performance issues.
- Visible foundation stains: Product sitting on surface or inside pores.
- Musty or sour smell: Sponge stayed damp too long or residue built up.
- Sticky texture: Primer, sunscreen, or long-wear makeup not rinsed well.
- Patchy application: Sponge no longer blends evenly.
- Skin irritation after use: Clean sponge before using again, and consider replacing it.
If smell remains after thorough washing and drying, throw sponge away. Odor is one of clearest signs sponge is no longer fresh.
When to Replace Your Beauty Sponge
Cleaning helps, but sponge is not meant to last forever. Replace it when you see cracks, crumbling foam, permanent odor, black or dark suspicious spots, or texture that feels rough against skin. Also replace if sponge no longer expands properly when wet or foundation keeps applying unevenly after cleaning.
For most U.S. beauty routines, realistic replacement timeline looks like this: every four to six weeks for daily heavy makeup users; every two months for regular users; every three months for light users who clean and dry sponge carefully. If you use budget multi-pack sponges, you may replace more often. If you use premium sponge, careful cleaning helps get full lifespan.
Rule of thumb: if you would not feel good pressing sponge onto freshly cleansed skin, it is time to wash it or replace it.
Clean Storage Habits That Keep Sponge Fresher
Related context illustration
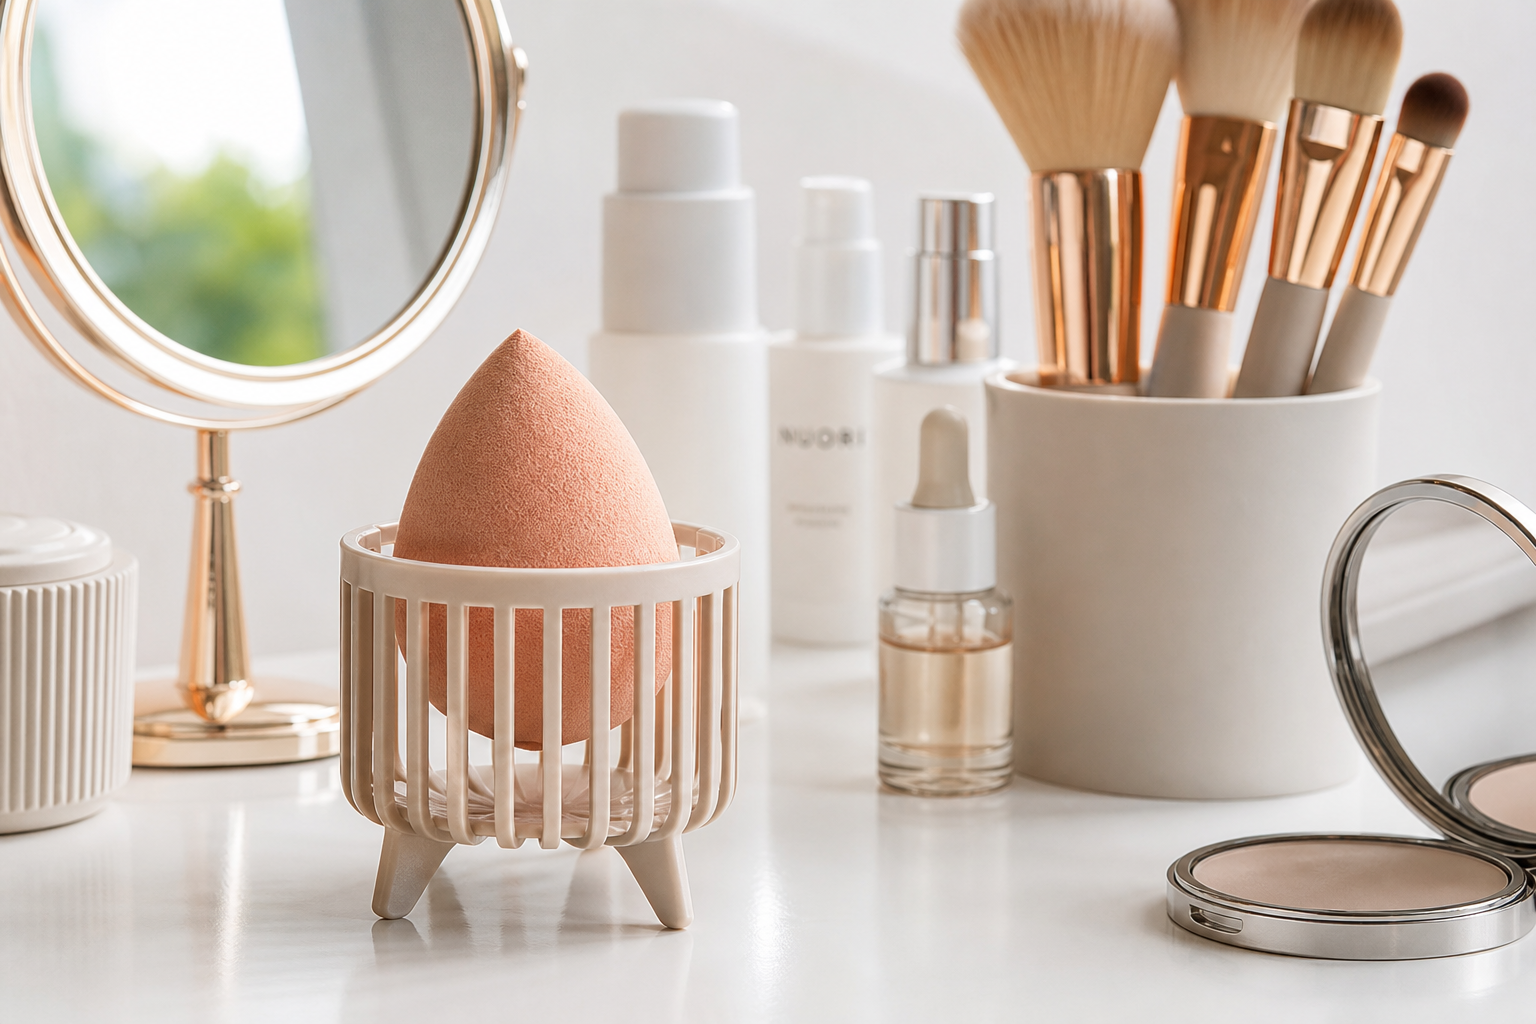
Washing is only half of sponge hygiene. Drying and storage decide whether sponge stays fresh. After cleaning, squeeze water out with towel and place sponge in area with airflow. Bathroom counter is fine if clean and dry, but avoid placing sponge next to sink splashes, toilet area, or dusty windowsill.
For travel, let sponge dry fully before packing. Use ventilated sponge case rather than sealed plastic bag. If sponge must go into makeup bag after use, wash it as soon as you get home and leave it out overnight to dry. Makeup bags also need cleaning because spilled powder, pencil shavings, and product residue can transfer onto sponge.
Common Mistakes to Avoid
Using Too Much Soap
More cleanser does not mean cleaner sponge. Too much soap can stay trapped inside foam and irritate skin or affect makeup texture. Use small amount, rinse longer, and squeeze gently until water is clear.
Twisting or Wringing Sponge
Beauty sponges are flexible but delicate. Twisting can rip foam, especially near pointed end. Press and squeeze instead.
Skipping Dry Time
Clean but wet sponge stored in closed space can become problem quickly. Drying fully matters as much as washing.
Sharing Sponge
Sharing makeup tools increases risk of transferring oils, bacteria, and skin conditions. Use your own sponge, especially around eyes, breakouts, or irritated skin.
Best Cleansers for Beauty Blender
Choose cleanser that breaks down makeup without leaving heavy residue. Solid sponge cleansers work well because you can rub stained zones directly onto bar. Gentle liquid soap is convenient for daily cleaning. Baby shampoo can work for mild residue, though heavy long-wear foundation may need stronger makeup-focused cleanser. Fragrance-free options are best for sensitive skin.
Avoid bleach, strong household cleaners, and alcohol soaking. These can damage sponge material and leave residue unsafe for face. If sponge feels contaminated enough to need harsh disinfectant, safer answer is replacement.
Final Answer: How Often to Clean Beauty Blender
Clean your beauty blender after every use for best hygiene and makeup performance. Deep clean it once week, dry it fully in open air, and replace it every one to three months depending on use. Daily foundation wear, acne-prone skin, or any odor means stricter routine and faster replacement.
Clean sponge gives smoother blend, fresher skin feel, and longer-lasting tool. Small habit after makeup saves money, prevents gross buildup, and keeps your complexion routine looking polished.