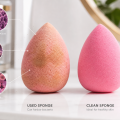

A makeup sponge can look harmless on bathroom counter, but it holds foundation, concealer, skin oil, dead skin cells, and bacteria after each use. If you want an easy, affordable way to wash it, learning how to clean beauty blender with dish soap can save money and keep your makeup application smoother. Dish soap cuts through oil well, which makes it useful for removing long-wear foundation and cream products from sponge pores.
Introductory illustration
Still, method matters. Too much soap, rough squeezing, hot water, or poor drying can damage sponge texture and shorten sponge life. This guide explains safe steps, best dish soap type, deep-clean options, drying tips, and mistakes to avoid so your makeup sponge stays soft, clean, and ready for daily use.
Can You Clean a Beauty Blender With Dish Soap?
Yes, you can clean a Beauty Blender or makeup sponge with dish soap, as long as you use a gentle formula and rinse it very well. Dish soap is made to remove grease, so it works well on oil-based foundation, sunscreen, primer, and cream blush stuck inside sponge material.
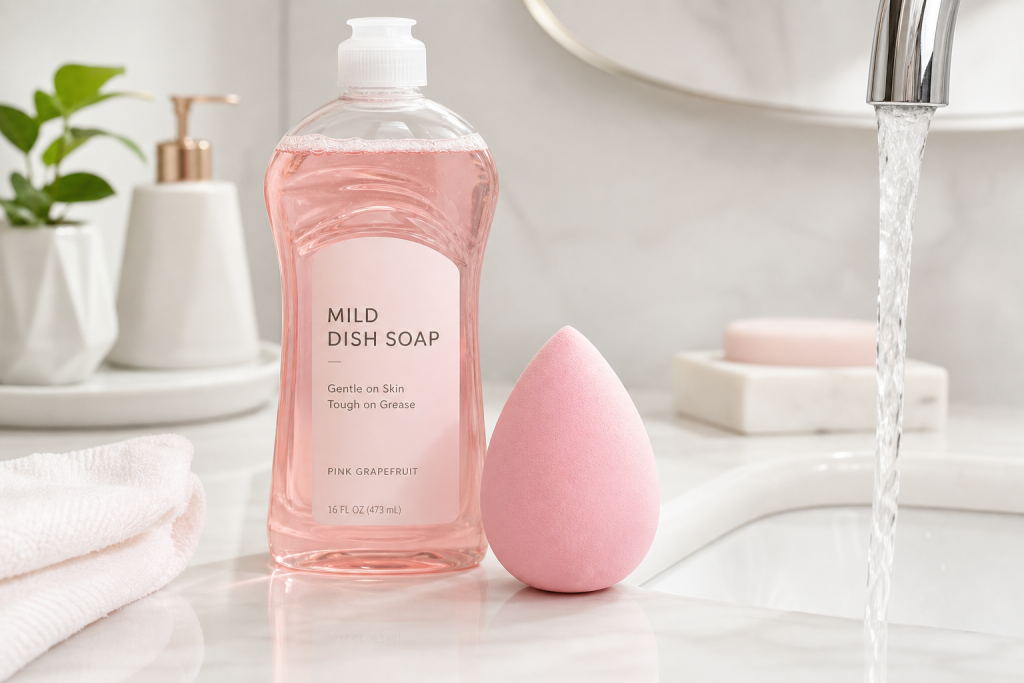
Best choice is mild, fragrance-free dish soap. In U.S. homes, many people use brands like Dawn because it breaks down oils fast. But strong scented, antibacterial, or harsh degreasing formulas may irritate skin if residue stays inside sponge. If your skin is acne-prone or sensitive, use small amount and rinse until water runs fully clear.
Quick rule: If dish soap feels harsh on your hands, it may be too harsh for your makeup sponge and face.
What You Need Before Cleaning
You do not need fancy tools. Basic sink setup works fine for regular sponge care.
-
Gentle dish soap, preferably fragrance-free
-
Lukewarm running water
-
Clean towel or paper towel
-
Small bowl for deep soaking, optional
-
Olive oil or cleansing oil, optional for heavy stains
Avoid boiling water, bleach, rubbing alcohol, and bathroom cleaners. These can break down sponge foam, leave unsafe residue, or irritate skin. Makeup tools touch delicate facial skin, so cleaner choice must stay simple and skin-safe.
Step-by-Step: How to Clean Beauty Blender With Dish Soap
1. Wet Sponge Fully
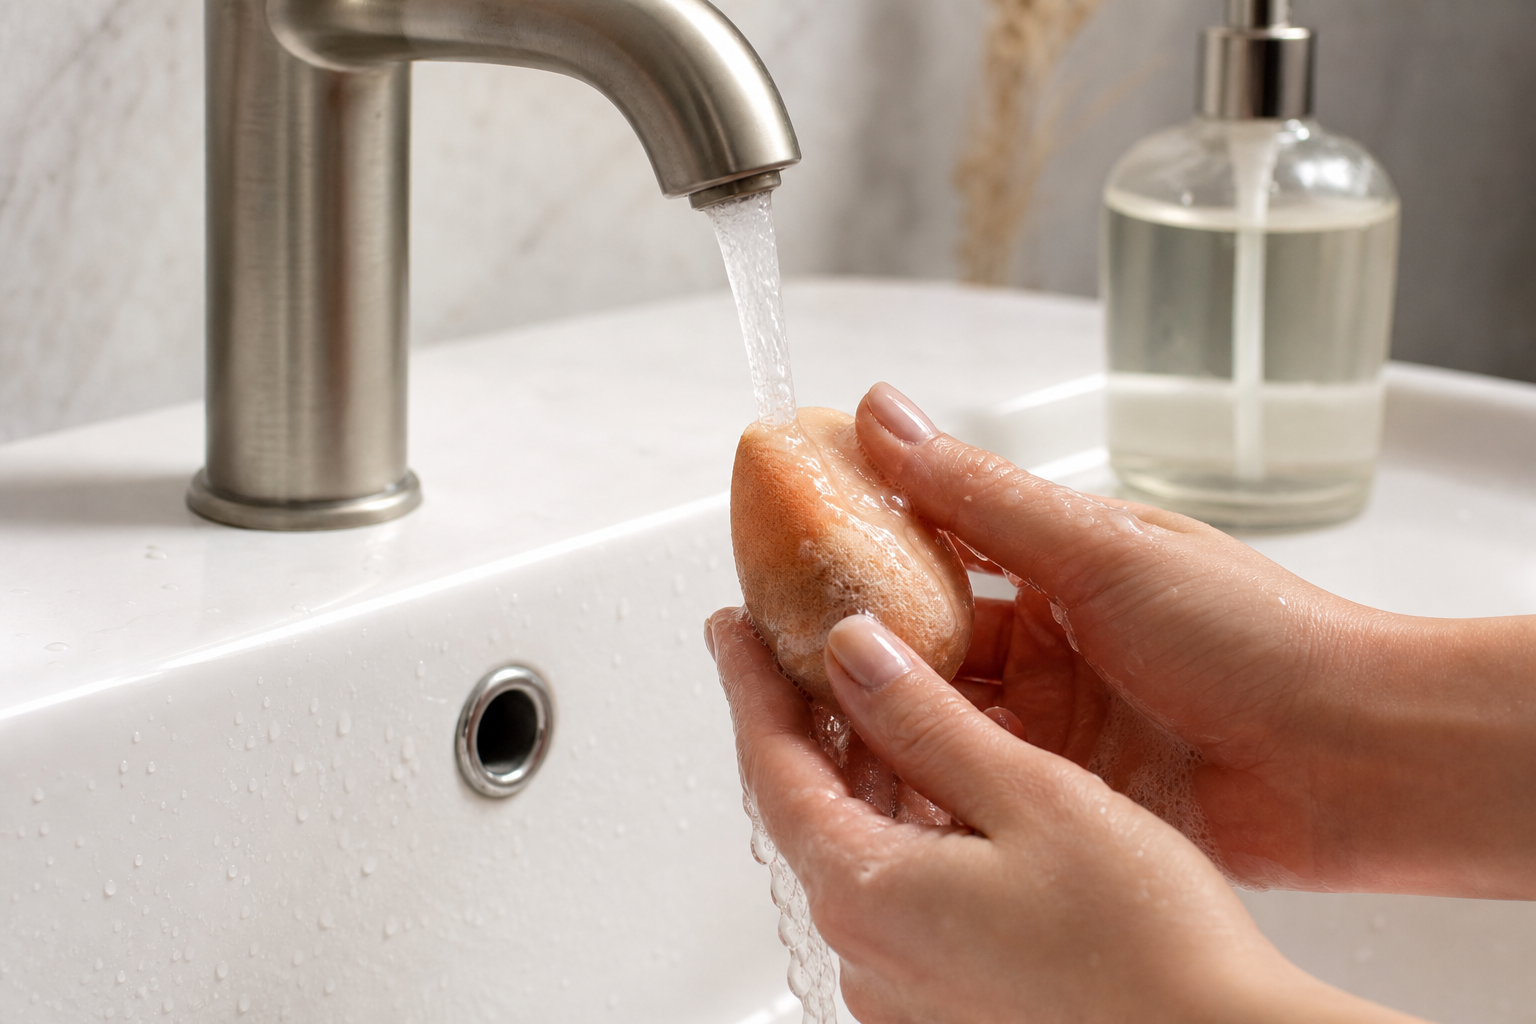
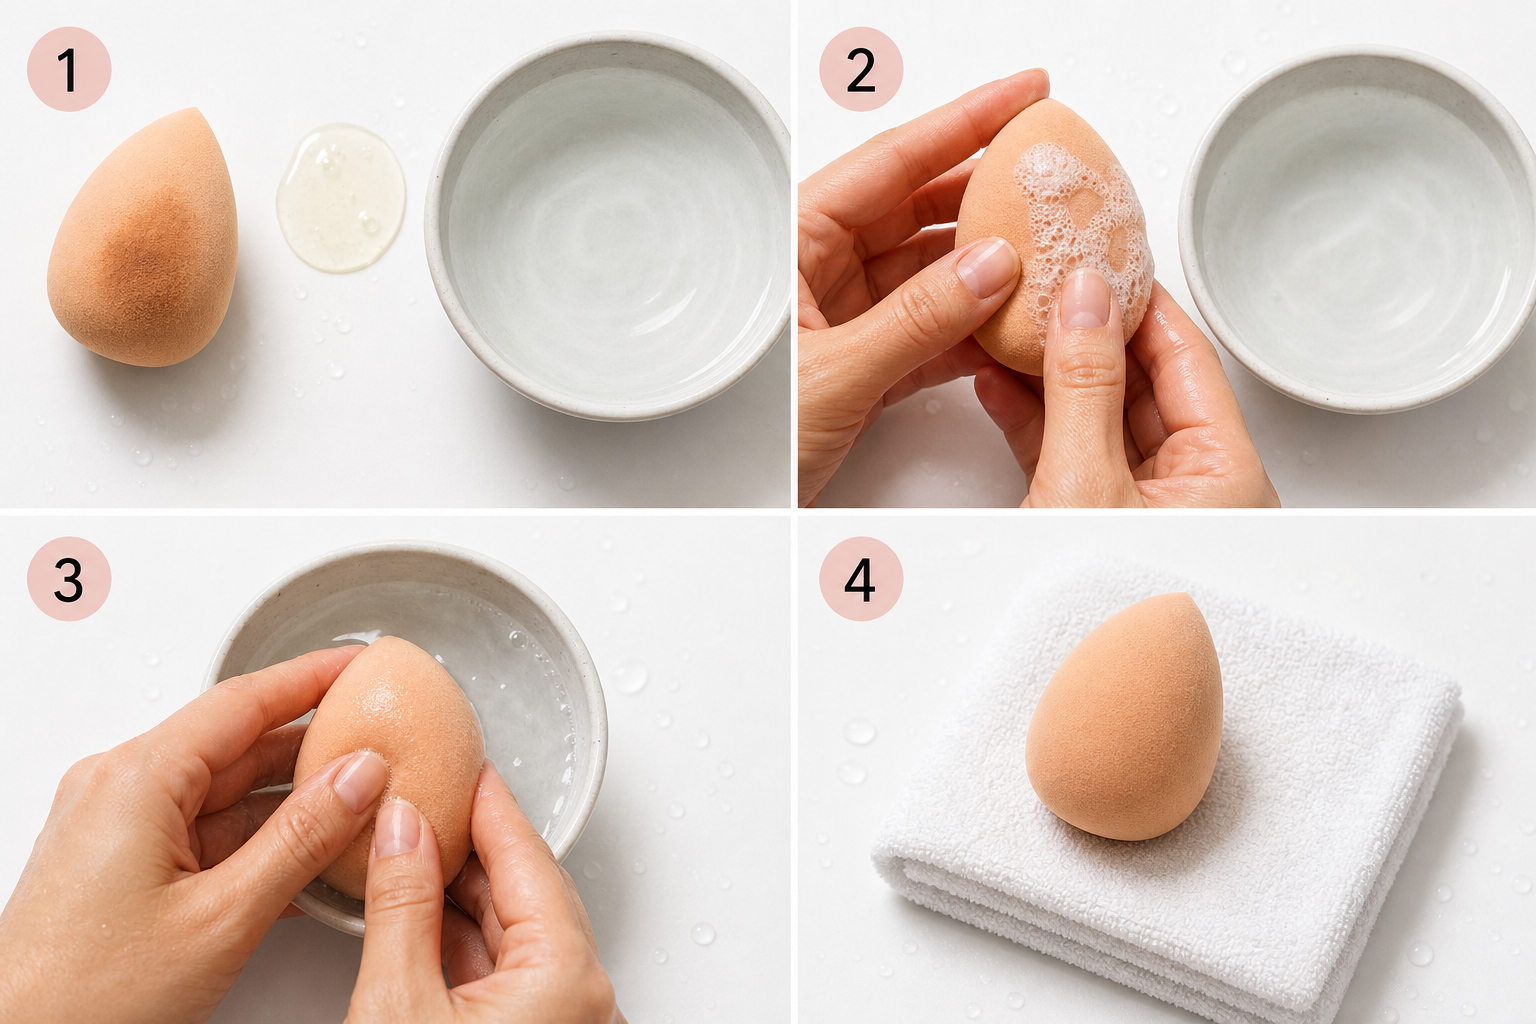
Hold sponge under lukewarm running water until it expands and feels fully saturated. Squeeze gently several times while water runs through it. This loosens makeup and prevents dish soap from sitting on dry foam, where it can be harder to rinse out.
2. Add Small Amount of Dish Soap
Place one small drop of dish soap on stained areas. More soap does not mean cleaner sponge. Too much soap creates heavy suds inside foam and increases rinse time. Start small, then add another drop only if sponge still has visible foundation stains.
3. Massage Gently
Use fingers to work soap into sponge with light pressure. Press and release instead of twisting. Focus on rounded bottom and pointed tip because these areas often collect concealer and foundation. Avoid using nails because tiny tears can grow into cracks.
4. Rinse Until Water Runs Clear
Rinse under lukewarm water while squeezing gently. Keep rinsing until no soap bubbles or makeup-colored water come out. This step matters most. Dish soap residue can affect makeup finish and may irritate skin, especially around nose, cheeks, and jawline.
5. Repeat If Needed
For stubborn stains, repeat soap massage once. Deep pigment from long-wear foundation may leave light discoloration even after sponge is clean. Stain does not always mean dirty. If water runs clear and sponge smells fresh, it is clean enough for use.
6. Dry Properly
Squeeze excess water with clean towel. Let sponge air-dry in open space with airflow. Do not store damp sponge in sealed makeup bag, drawer, or plastic container. Damp, closed spaces help bacteria and mildew grow.
Best Dish Soap Type for Makeup Sponges
Detailed illustration
Best dish soap for makeup sponges is gentle, clear, and low-fragrance. Strong lemon, floral, or antibacterial formulas may smell nice in kitchen but can leave scent behind in sponge. That scent may transfer near eyes or mouth during makeup application.
Look for these traits:
-
Fragrance-free or lightly scented: lower chance of skin irritation.
-
No bleach: safer for sponge material and skin contact.
-
No heavy dyes: less residue risk.
-
Gentle formula: better for frequent cleaning.
If your sponge feels squeaky, dry, or stiff after washing, soap may be too strong or not rinsed well. Switch to gentler soap or alternate with dedicated makeup sponge cleanser.
Deep Clean Method for Stained Beauty Sponges
If sponge has heavy foundation buildup, dish soap alone may need help. Oil breaks down long-wear makeup, while dish soap removes oil after. This method works well for full-coverage foundation, waterproof concealer, and cream contour.
Oil and Dish Soap Method
-
Mix one teaspoon olive oil or cleansing oil with one teaspoon gentle dish soap in small bowl.
-
Massage mixture into damp sponge, focusing on stained spots.
-
Rinse with lukewarm water.
-
Wash again with tiny drop of dish soap only.
-
Rinse until water runs clear and sponge feels residue-free.
Use this method only when needed, not every day. Too much oil can be hard to rinse from foam. If sponge feels slick after drying, wash again before using it on face.
How Often Should You Wash a Beauty Blender?
For best hygiene, wash sponge after every use or at least every 2 to 3 uses. If you have acne-prone skin, eczema, sensitive skin, or active breakouts, clean sponge after each makeup session. Old foundation trapped in sponge can mix with skin oil and bacteria, which may worsen clogged pores.
Deep cleaning once a week helps remove buildup, but quick daily rinse with mild soap keeps sponge fresher between full washes. If you apply makeup every morning before work or school, build cleaning into evening routine so sponge dries overnight.
Dish Soap vs. Beauty Blender Cleanser
Dish soap is affordable and easy to find in most U.S. kitchens. It removes grease fast and works well for regular cleaning. Beauty sponge cleanser, however, is made for cosmetic tools and may be gentler on foam over time.
Choose dish soap if you need quick, budget-friendly cleaning. Choose dedicated cleanser if you use expensive sponges, have sensitive skin, or wash tools daily. Both can work if used correctly. Main difference is formula purpose: dish soap targets dishes and grease, while sponge cleanser targets makeup residue and tool care.
Common Mistakes That Damage Makeup Sponges
Related context illustration
Using Hot Water
Hot water can weaken sponge structure and make it break down faster. Lukewarm water is enough to loosen makeup and rinse soap.
Twisting or Wringing Sponge
Twisting may tear foam inside sponge. Pressing and releasing is safer. Treat sponge like delicate fabric, not kitchen rag.
Leaving Soap Inside
Soap left in sponge can cause patchy makeup, skin irritation, or strange texture. Rinse longer than you think needed. Clear water and no bubbles are signs sponge is ready to dry.
Drying in Closed Container
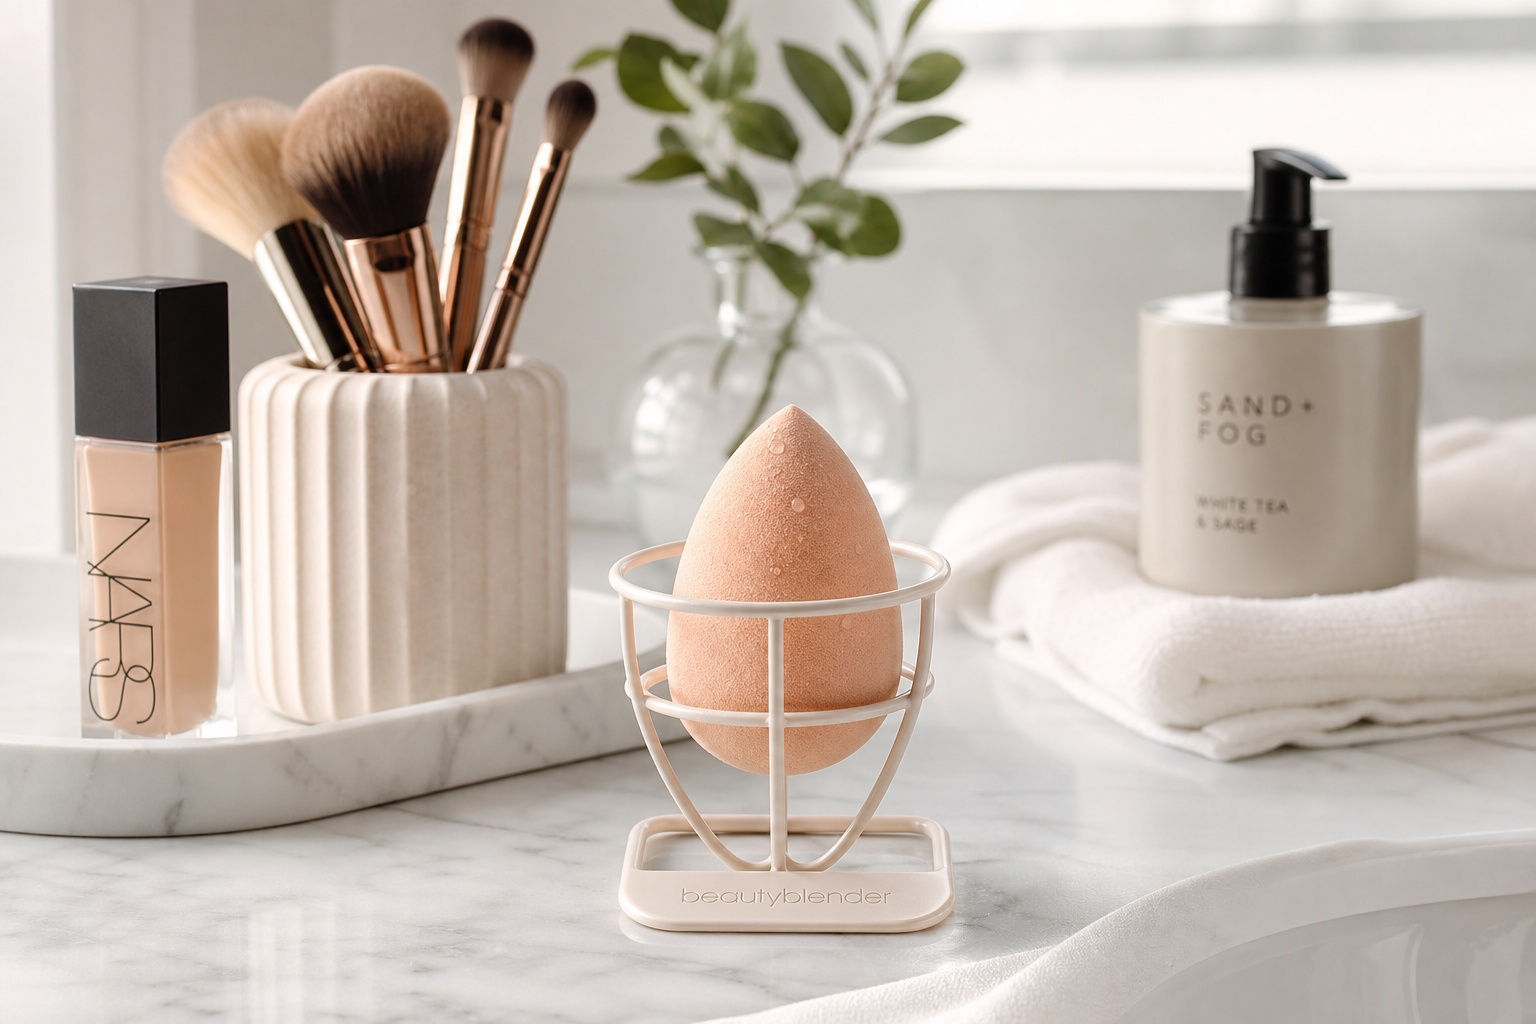
Never put damp sponge in makeup bag or airtight case. Airflow matters. Use ventilated stand or clean open surface.
Keeping Sponge Too Long
Even with good cleaning, makeup sponges do not last forever. Replace every 3 months, or sooner if sponge smells bad, has black spots, tears, or texture changes.
How to Know If Your Sponge Is Truly Clean
Clean sponge should feel soft, bounce back when squeezed, and have no greasy film. Water should run clear during final rinse. Mild staining may remain, especially from full-coverage foundation, but sponge should not smell like makeup, soap, or mildew.
If sponge has persistent odor after cleaning, replace it. Smell can mean bacteria or mildew inside foam. No cleaning method can make damaged or moldy sponge safe again.
Safe Storage After Cleaning
After washing, place sponge in dry, open area. A small mesh holder, ventilated sponge case, or clean shelf away from toilet spray zone works well. In small bathrooms, avoid leaving sponge right beside sink where it gets splashed often.
For travel, let sponge dry completely before packing. If you must pack damp sponge, use breathable pouch and unpack it as soon as possible. Clean tools matter more when traveling because hotel bathrooms and makeup bags can expose sponge to extra bacteria.
Final Takeaway
Cleaning a makeup sponge with dish soap is safe, cheap, and effective when done carefully. Use gentle dish soap, lukewarm water, light pressure, and long rinsing. Dry sponge in open air and replace it when it smells, tears, or looks worn out.
Best routine is simple: rinse, add small drop of soap, massage gently, rinse until clear, towel-squeeze, and air-dry. With this habit, your Beauty Blender stays cleaner, makeup applies smoother, and skin gets less exposure to old product buildup.