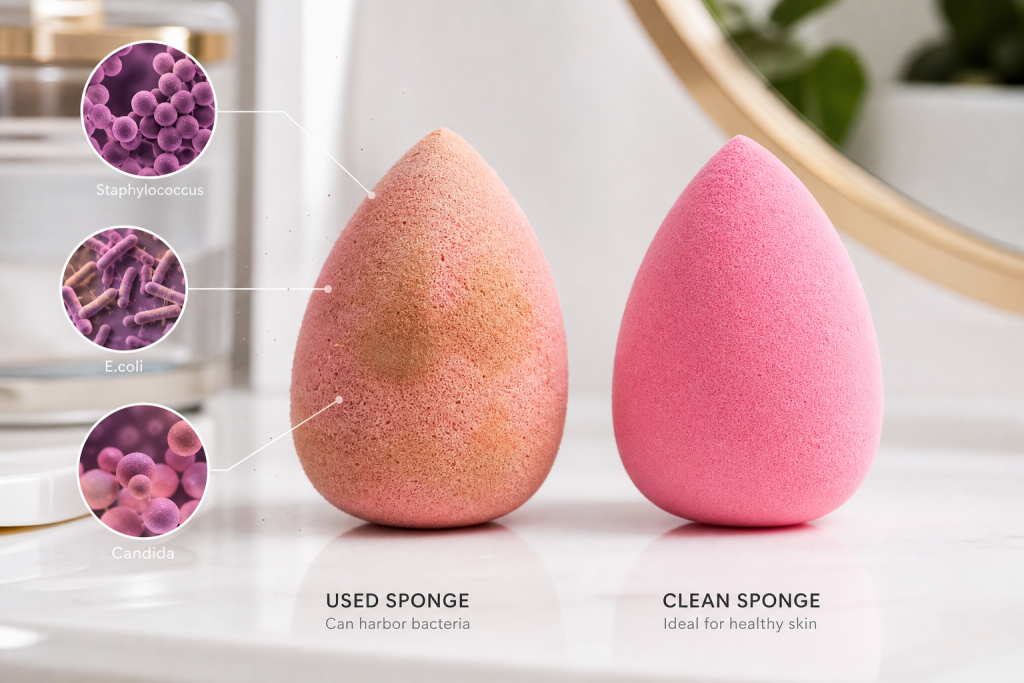

A makeup sponge can make foundation look smooth, but it can also become one of the germiest tools in a bathroom or makeup bag. Dirty beauty blender bacteria build up fast because sponges are porous, damp, and often used directly on skin, acne, oils, sunscreen, and cream products. In many U.S. bathrooms, sponges sit near sinks, toilet spray zones, humid showers, and crowded vanities, creating perfect conditions for microbes to grow.
Introductory illustration
This does not mean every used sponge will cause an infection. Skin has natural defenses, and many people use makeup sponges for years without obvious problems. Still, a dirty sponge can raise risk of breakouts, irritation, clogged pores, eye infections, and uneven makeup. Knowing what grows on a sponge, how it gets there, and how to clean it properly helps protect skin without giving up a favorite beauty tool.
Why Makeup Sponges Collect Bacteria So Easily
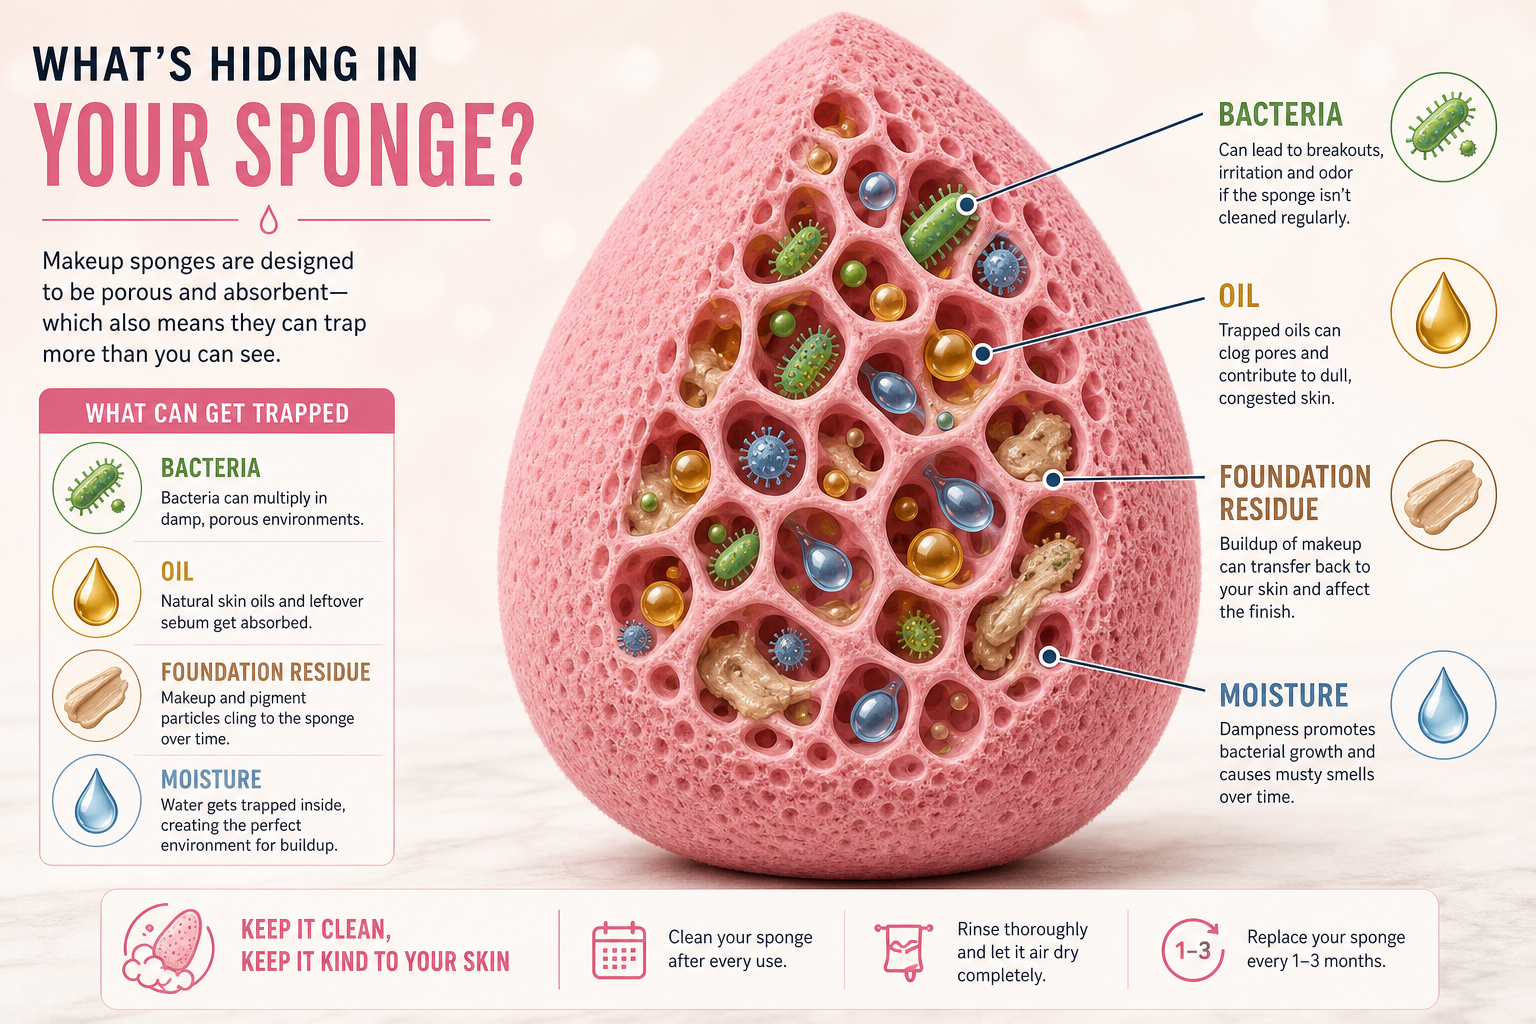
Beauty sponges are designed to absorb and bounce liquid makeup. That same soft, porous structure traps moisture, skin cells, sebum, foundation, concealer, primer, and environmental dust. When a sponge stays damp after use, bacteria and fungi get time, food, and warmth.
Many users wet their sponge before applying makeup, then place it back in a drawer, pouch, or cosmetic bag before it fully dries. This habit is common, especially for people doing makeup before work, school, gym, or travel. Closed storage slows drying and can turn a sponge into a small humid chamber.
Another issue is repeated skin contact. If a sponge touches active acne, cold sore areas, irritated patches, or dirty hands, microbes transfer into the sponge. Next use can press them back into skin or spread them across face.
What Types of Germs Can Live in a Dirty Sponge?
Research on cosmetic tools has found that makeup sponges can carry several kinds of microorganisms, especially when they are not cleaned or dried well. Common concerns include bacteria, yeasts, and molds. Some are harmless in small amounts, while others can cause problems when skin barrier is weak.
Staphylococcus and skin bacteria
Staphylococcus species naturally live on human skin and inside noses. In normal balance, they may not cause trouble. But if introduced into small cuts, inflamed acne, freshly waxed areas, or compromised skin, they can contribute to redness, swelling, pustules, or infection. Pressing a contaminated sponge over broken skin increases risk.
E. coli and bathroom contamination
E. coli is often linked with fecal contamination. Finding it on cosmetic tools usually points to poor hygiene, bathroom storage, unwashed hands, or surfaces exposed to toilet plume. In U.S. homes where makeup is applied near a toilet or stored in shared bathrooms, this is worth taking seriously. Closing toilet lid before flushing and keeping sponges away from open counters helps reduce exposure.
Yeast, mold, and fungal growth
A damp makeup sponge can also support yeast and mold. Fungal contamination may show up as musty smell, dark spots, unusual discoloration, or texture changes. Using a moldy sponge on skin is not worth risk, especially around eyes, lips, or irritated areas. If mold is visible, cleaning is not enough; replacement is safer.
Dirty Beauty Blender Bacteria and Skin Problems
Dirty beauty blender bacteria matter most when they interact with vulnerable skin. People with acne-prone skin, eczema, rosacea, sensitive skin, or a damaged moisture barrier may notice issues sooner than others. Even if bacteria do not cause a true infection, residue and microbes can trigger inflammation that looks like breakouts or irritation.
Acne and clogged pores
Old foundation, oil, sweat, sunscreen, and dead skin cells can build up inside sponge pores. When pressed into face, this mixture may clog pores and worsen acne-prone areas. The problem is not only bacteria; leftover product and oil also matter. If breakouts cluster where foundation is applied most heavily, sponge hygiene may be part of the pattern.
Redness, irritation, and barrier damage
A dirty sponge can feel rougher as product hardens inside it. Extra rubbing can irritate skin. Fragrance, old makeup, bacteria, and cleanser residue may also create redness or stinging. For people using retinoids, exfoliating acids, benzoyl peroxide, or acne prescriptions, skin can be more reactive, making clean tools more important.
Eye-area risk
Using one sponge for foundation, concealer, eyelids, and under-eyes can move bacteria close to tear ducts and lashes. This can raise risk of irritation, styes, or conjunctivitis-like symptoms. Avoid using a damp, old, or stained sponge near eyes. For eye makeup and concealer, a clean mini sponge or freshly washed tool is smarter.
Signs Your Makeup Sponge Is Too Dirty to Use
Detailed illustration
Some sponges look fine on outside while still holding product inside. However, several warning signs mean it is time to wash immediately or replace.
-
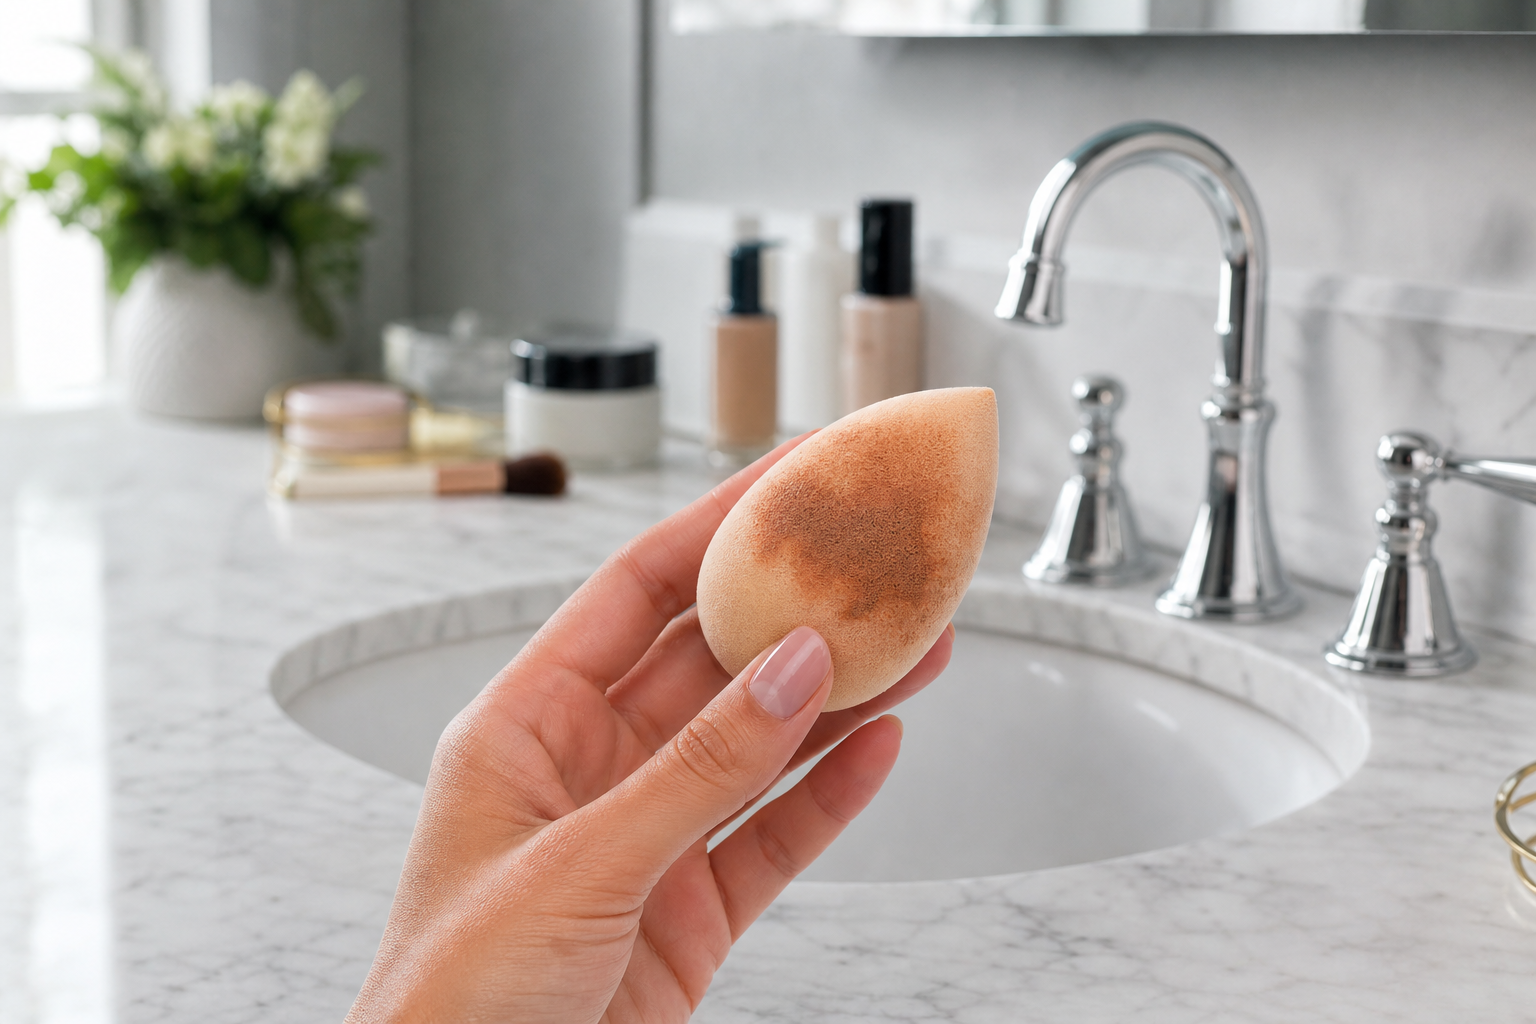
Persistent stains: Light staining can be normal, but heavy brown, orange, or gray patches mean buildup is deep.
-
Bad smell: Musty, sour, or mildew odor suggests microbial growth or trapped residue.
-
Black or green spots: Possible mold. Replace sponge.
-
Texture changes: Crumbling, tearing, sticky feel, or hard areas mean sponge is breaking down.
-
New breakouts after use: If skin flares after makeup days, sponge contamination may be one factor.
-
Long storage while damp: If sponge was sealed wet in a bag overnight or longer, wash and dry fully before reuse.
How Often Should You Clean a Beauty Blender?
For best hygiene, clean a makeup sponge after every use, especially if using liquid foundation, cream blush, concealer, or SPF-heavy base products. Daily cleaning may sound excessive, but it removes product before it sets and helps sponge dry faster.
If daily washing is not realistic, wash at least every two to three uses and never let sponge stay wet in a sealed bag. People with acne-prone, sensitive, or compromised skin should treat every-use cleaning as nonnegotiable. Professional makeup artists should use clean tools for every client and avoid cross-contamination completely.
Best Way to Clean Makeup Sponge Bacteria
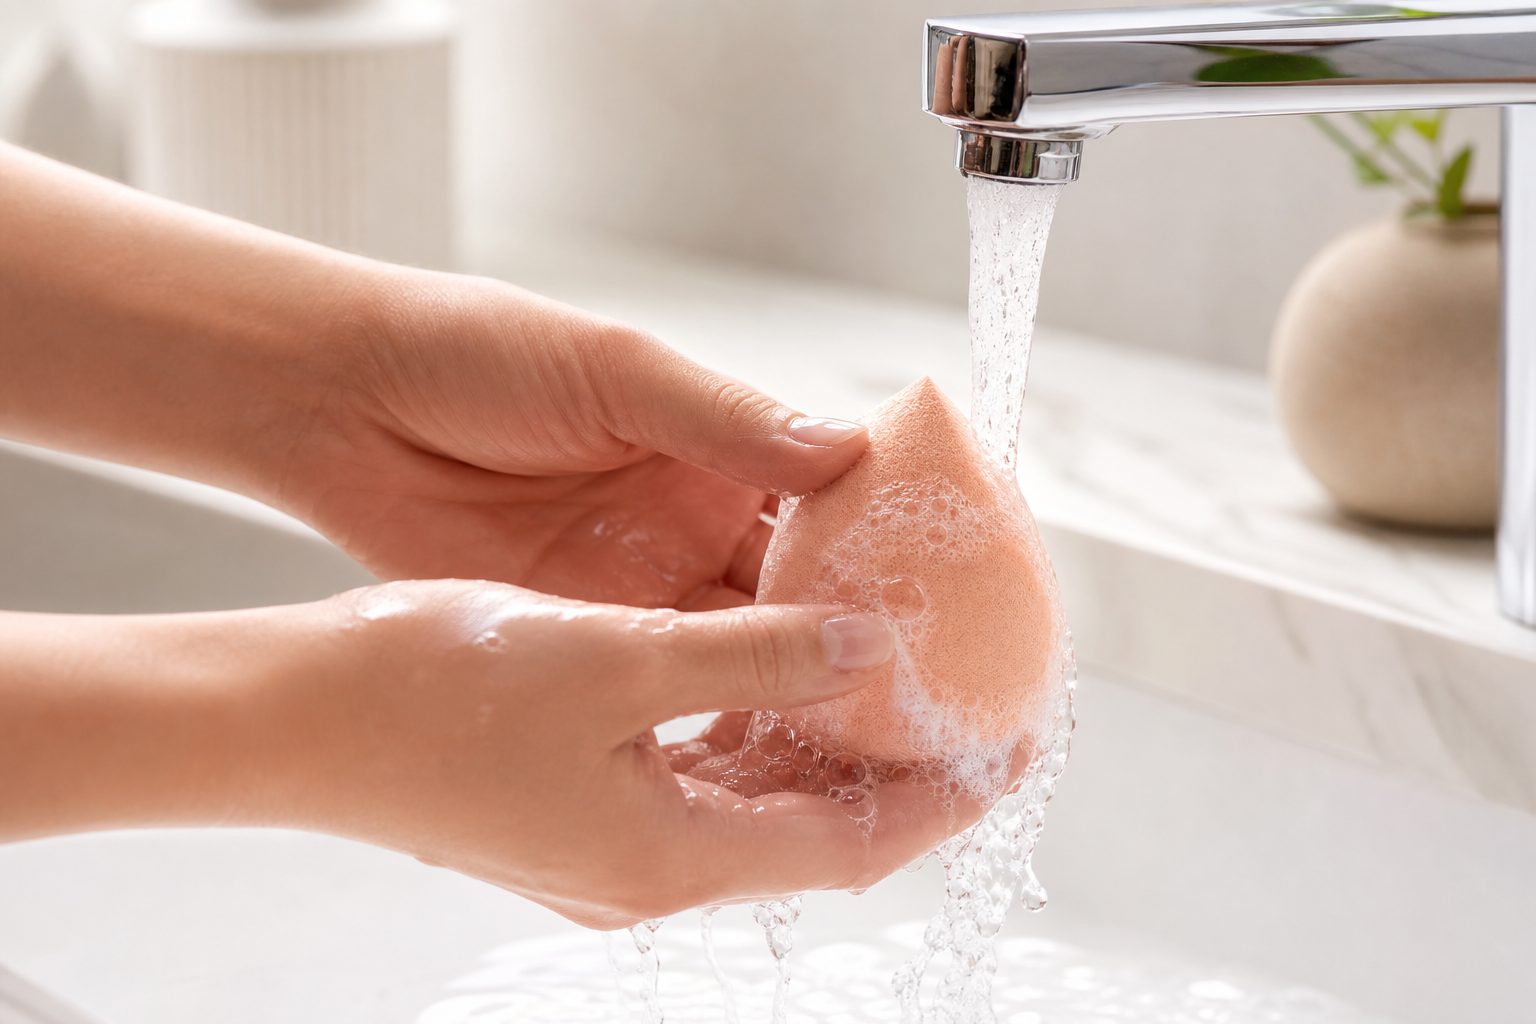
Proper cleaning needs three things: soap, friction, and full drying. Rinsing with water alone will not remove oils, pigments, or microbes well. Use a gentle liquid soap, dedicated sponge cleanser, or fragrance-free mild bar soap.
-
Wet sponge fully with warm running water.
-
Apply cleanser directly to stained areas.
-
Squeeze and massage gently until foam pulls out foundation and residue.
-
Rinse under running water until water runs clear.
-
Repeat if center still releases makeup.
-
Squeeze out water with clean hands or a clean towel. Do not twist aggressively, because tearing can create more pockets for buildup.
-
Air-dry completely in open air on a clean, ventilated surface.
Drying is as important as washing. Put sponge on a small stand, clean towel, or ventilated tray. Avoid closed drawers, plastic bags, airtight containers, and dark cabinets while sponge is still damp.
Can You Disinfect a Beauty Blender?
Cleaning removes dirt and many microbes. Disinfection goes further, but it can damage sponge material if done harshly. Some people microwave damp sponges, soak them in alcohol, or use bleach. These methods can be risky because they may degrade sponge texture, leave residue, or cause burns if done incorrectly.
For home use, consistent washing and full drying are usually safer than aggressive disinfecting. If a sponge touched an infection, cold sore, pink eye, open wound, or moldy surface, replacement is better than trying to disinfect it. A $10 to $20 sponge is cheaper than treating a preventable skin or eye issue.
Rule of thumb: if contamination involves visible mold, infection, or unknown old residue, replace instead of rescue.
When to Replace Your Beauty Sponge
Related context illustration
Many beauty brands suggest replacing makeup sponges about every three months with regular use. That timeline can be shorter if sponge is used daily, stored damp, used on acne, or showing wear. Occasional users may stretch longer only if sponge stays clean, intact, and odor-free.
Replace sooner if sponge tears, smells, grows dark spots, never rinses clean, or causes repeated irritation. Also replace after using it during a contagious skin flare, eye infection, or illness where hygiene was poor.
Storage Habits That Reduce Bacterial Growth
Good storage prevents many problems before they start. After washing, leave sponge where air can reach all sides. A vented sponge holder works better than a sealed cosmetic pouch. If traveling, let sponge dry before packing or use a breathable mesh bag.
-
Store sponge away from toilet and sink splash zones.
-
Wash hands before handling sponge.
-
Keep clean and dirty tools separate in makeup bag.
-
Do not share sponges with friends, roommates, or family.
-
Use separate tools for face and eye area when possible.
-
Clean makeup bag regularly, not only sponge.
U.S. consumers often keep makeup in gym bags, cars, office drawers, or humid bathrooms. Heat and humidity can speed product breakdown and microbial growth. Avoid leaving damp sponges in hot cars or zipped bags for hours.
Are Silicone Sponges or Brushes More Hygienic?
Silicone applicators absorb less product, so bacteria have fewer internal pores to hide in. They are easy to wipe and wash, but many people dislike finish compared with sponge bounce. Brushes dry faster than sponges, but dense bristles can still trap oil and foundation if not cleaned.
No tool is automatically germ-proof. Hygiene depends on cleaning, drying, storage, and replacement. If you love sponge finish, you can keep using one safely with better habits. If you hate washing tools, consider disposable wedges for travel or active breakouts, though they create more waste.
Bottom Line: Clean Sponge, Calmer Skin
Dirty beauty blender bacteria are not a beauty myth. Damp, porous makeup sponges can collect bacteria, yeast, mold, oil, and old foundation, especially when stored wet or used repeatedly without washing. Biggest risks include acne flare-ups, irritation, clogged pores, and possible eye-area problems.
Best routine is straightforward: wash sponge after use, rinse until clear, air-dry fully, store in open ventilation, and replace every few months or sooner if it smells, tears, stains badly, or shows mold. Clean tools will not fix every skin concern, but they remove one common source of avoidable irritation and help makeup apply smoother.