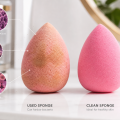

A damp makeup sponge can make foundation look smooth, skin-like, and polished. It can also collect foundation residue, facial oil, dead skin cells, and bacteria faster than many people realize. Knowing how to clean a beauty blender correctly helps protect your skin, extend sponge life, and keep makeup application even.
Introductory illustration
For anyone who uses liquid foundation, concealer, cream blush, contour, or tinted moisturizer, sponge care should be part of the routine, not an occasional deep-clean panic. Good news: cleaning a makeup sponge is easy when you use the right cleanser, enough water, and proper drying method. This guide explains daily cleaning, deep cleaning, stain removal, drying, storage, and replacement timing in practical, skin-conscious detail.
Why Cleaning Your Makeup Sponge Matters
A beauty blender works because its porous texture absorbs water and helps bounce product across skin without streaks. That same porous texture also traps makeup, oil, sweat, and skincare residue. If left dirty, sponge can develop odor, discoloration, texture changes, and microbial buildup.
Using a dirty sponge may contribute to clogged pores, uneven foundation, irritation, and breakouts, especially if you have acne-prone or sensitive skin. Clean tools also help makeup perform better. Foundation blends more smoothly, concealer stays brighter, and cream products look less muddy when sponge surface is free from old pigment.
Rule of thumb: rinse and cleanse after each use if sponge touches liquid or cream makeup. At minimum, clean thoroughly every 1 to 2 uses.
What You Need to Clean a Beauty Blender
You do not need a complicated kit. Most effective sponge cleaning routines use warm water, gentle cleanser, and patience. Harsh products can damage sponge material, leave residue, or irritate skin later.
-
Warm water: Helps loosen foundation and concealer without warping sponge.
-
Solid blender cleanser or gentle soap: Works well for heavy foundation stains and cream products.
-
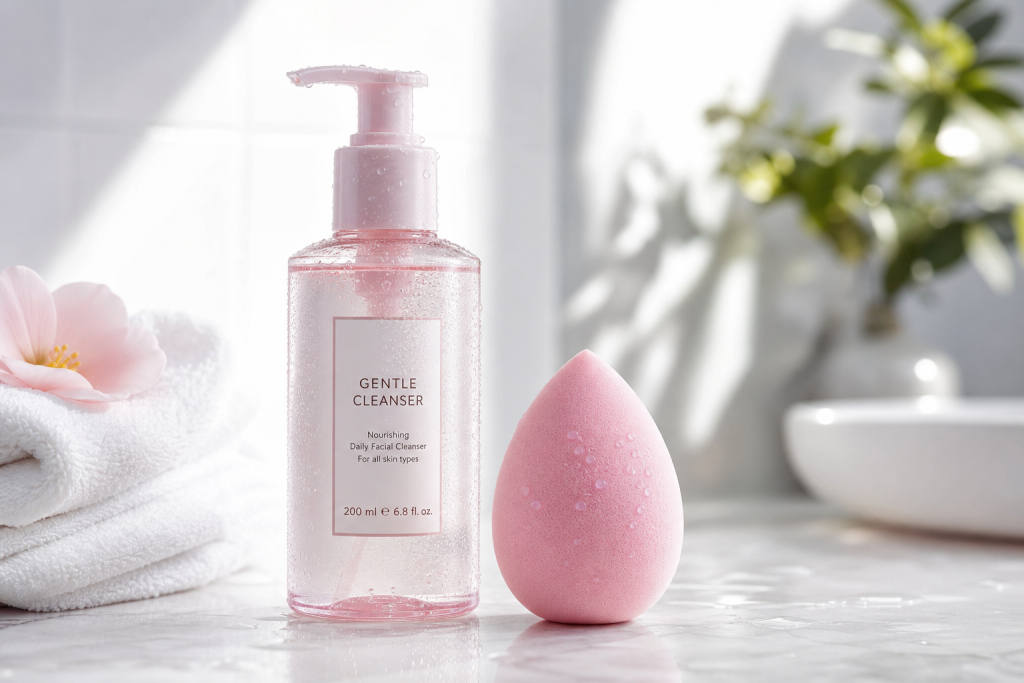
Liquid sponge cleanser or gentle facial cleanser: Good for regular washing and quick rinses.
-
Clean towel: Helps remove excess water after washing.
-
Ventilated drying space: Prevents damp sponge from staying trapped in moisture.
Many U.S. beauty shoppers use branded sponge cleansers from beauty retailers, but fragrance-free baby shampoo, gentle facial cleanser, or mild unscented soap can work. Avoid dish soap, bleach, alcohol, vinegar-heavy mixtures, and laundry detergent. These may break down sponge texture or leave skin-irritating residue.
How to Clean a Beauty Blender Step by Step
This method works for most reusable makeup sponges, including original Beautyblender-style egg sponges, drugstore blending sponges, mini concealer sponges, and flat-edge complexion sponges.
-
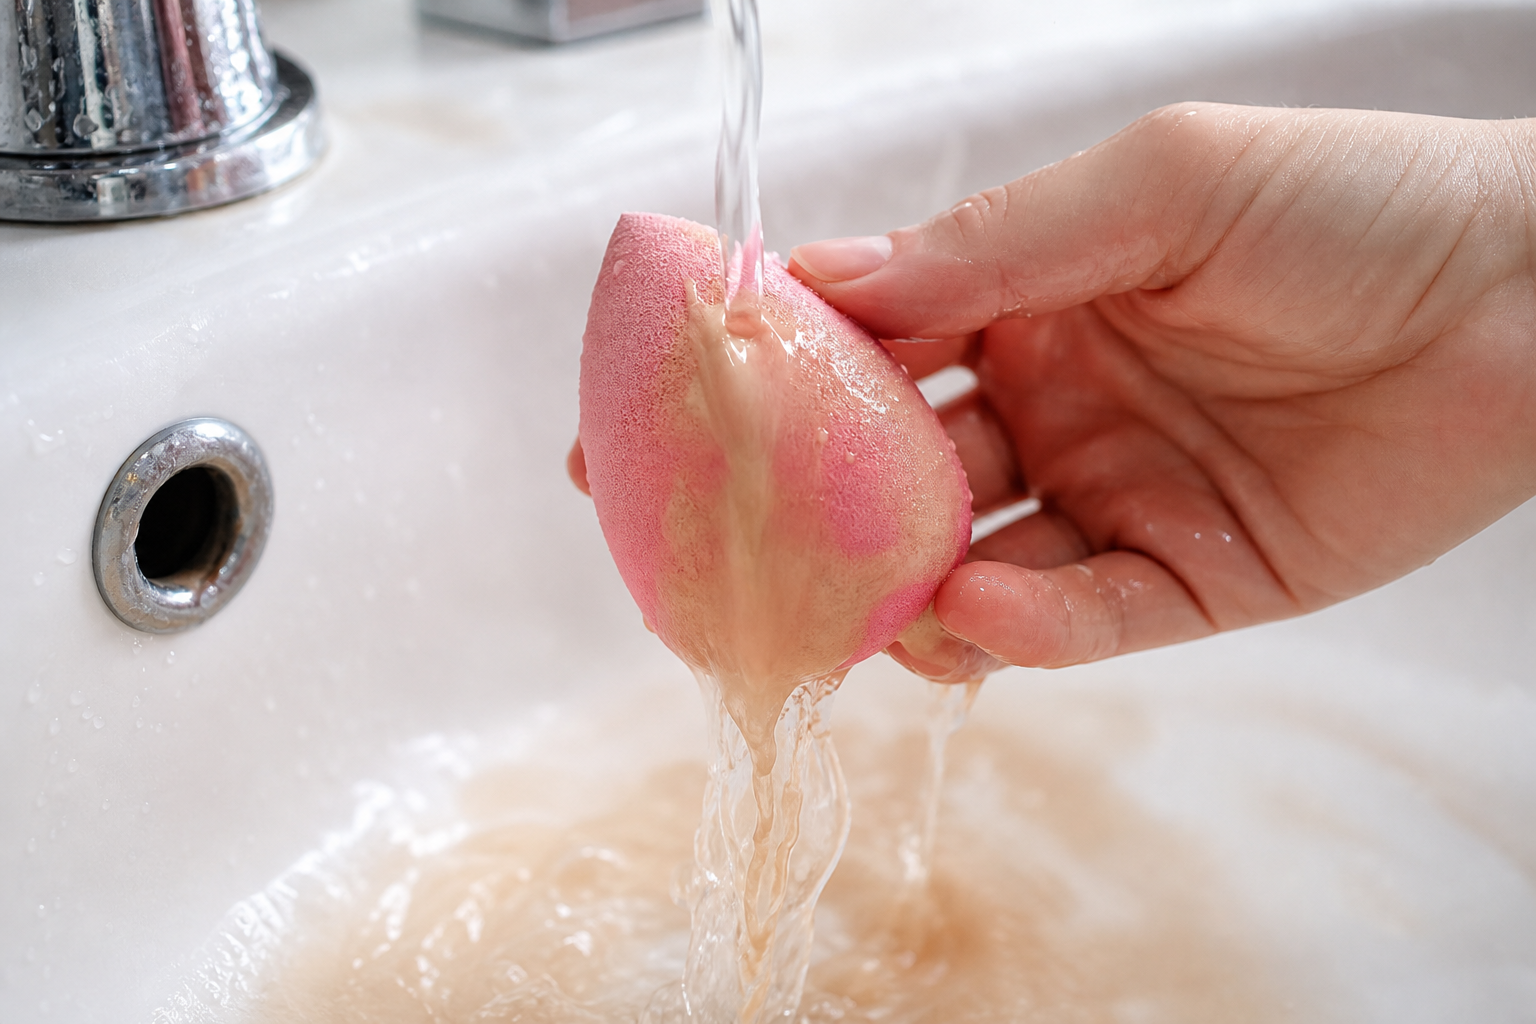
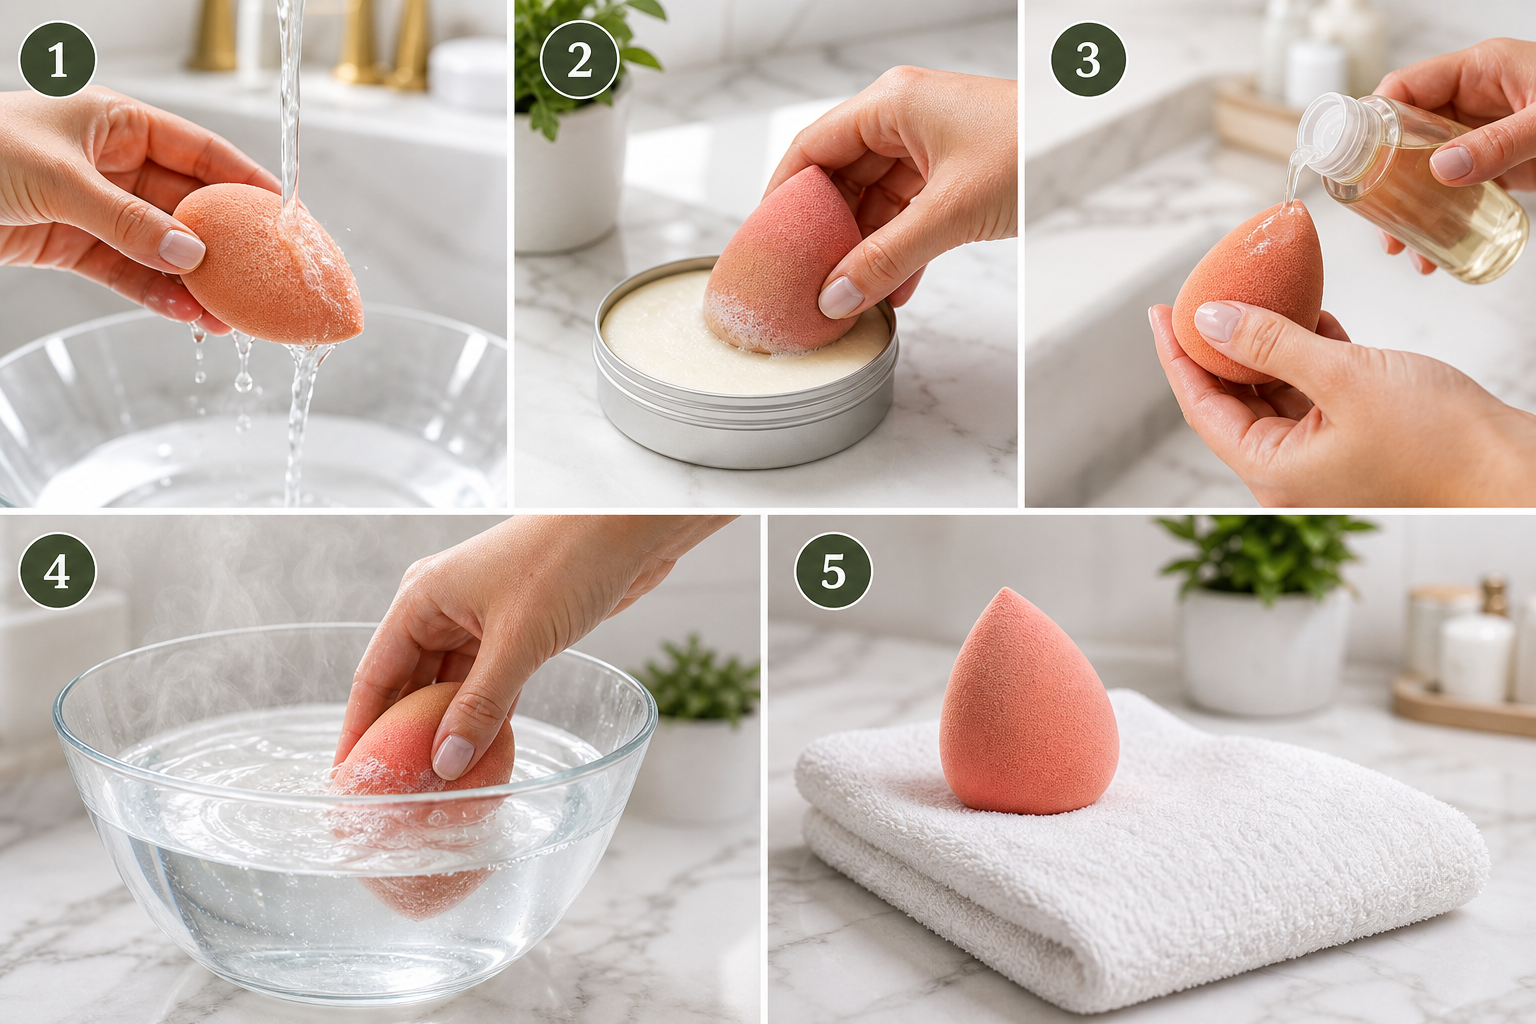
Wet sponge completely. Hold sponge under warm running water until it expands and feels fully saturated. Squeeze gently several times under water to push out trapped makeup.
-
Add cleanser. Rub sponge directly onto solid cleanser, or add a small amount of liquid cleanser to stained areas. Focus on areas with foundation, concealer, bronzer, or cream blush buildup.
-
Massage gently. Use fingertips to work cleanser through sponge. Press, roll, and squeeze instead of twisting aggressively. Twisting can tear sponge.
-
Rinse until water runs clear. Keep squeezing sponge under warm water. Repeat cleansing if foam or rinse water still looks beige, pink, or brown.
-
Remove excess water. Squeeze sponge in clean hands, then press it inside towel. Do not wring.
-
Air-dry in open space. Place sponge on clean, breathable surface with airflow. Let dry completely before storing in makeup bag.
If your sponge still feels slippery after rinsing, cleanser residue remains. Continue rinsing. Residue can affect makeup finish and may bother sensitive skin.
Best Way to Wash Makeup Sponge After Daily Use
Daily cleaning does not need to be dramatic. If you wear foundation most days, quick cleaning after makeup application prevents buildup from drying deep inside sponge. Fresh product is much easier to remove than old foundation.
After applying makeup, rinse sponge with warm water, add small amount of cleanser, squeeze until pigment releases, rinse clear, and set out to dry. This takes 60 to 90 seconds once it becomes habit.
For busy mornings, keep cleanser near sink and use a drying stand or small open dish outside bathroom drawer. Avoid tossing damp sponge into closed makeup pouch, gym bag, or drawer. Trapped moisture creates ideal conditions for odor and mildew.
Deep Cleaning Method for Heavy Foundation Stains
Detailed illustration
Long-wear foundation, full-coverage concealer, waterproof complexion makeup, and cream contour can stain sponge more stubbornly. Deep cleaning helps remove buildup and restore bounce.
Use soak-and-squeeze method
Fill clean bowl with warm water and small amount of gentle liquid cleanser. Submerge sponge and squeeze several times so soapy water moves through center. Let sponge soak for 10 to 15 minutes, then massage stained areas with more cleanser. Rinse under running water until clear.
Use solid cleanser for targeted stains
Solid cleansers work well because they create direct friction against stained surface. Wet sponge, rub stained area over soap, then massage. Repeat as needed. Be gentle near pointed tip or cut edges, because those areas tear faster.
Try oil first for stubborn cream makeup
If sponge has thick, waxy cream product stuck inside, a tiny amount of cleansing oil can help break it down. Massage oil into stain, then wash thoroughly with regular cleanser to remove oil. Rinse very well. This method should be occasional, not daily, because excess oil can linger if not fully cleaned.
Can You Microwave a Beauty Blender?
Microwaving makeup sponges became popular online, but it requires caution. Heat can reduce some germs when sponge is fully submerged in soapy water, but it does not replace washing. Microwave use can also burn sponge if water level is too low, damage material, or cause hot-water burns.
If you choose microwave sanitizing, sponge must be fully submerged in water inside microwave-safe cup. Heat briefly, let water cool before touching, then wash and rinse sponge. Never microwave dry sponge. Never microwave sponge with metallic packaging or accessories.
For most people, routine hand washing and complete air drying are safer and more practical than microwaving. If sponge smells bad, has mold spots, or feels slimy, replace it instead of trying to rescue it.
How Often Should You Clean a Beauty Blender?
Clean sponge after every use when possible, especially if you use liquid foundation or have breakout-prone skin. If that feels unrealistic, wash at least every other use and deep clean weekly. Makeup artists typically clean sponges between clients and often prefer disposable applicators for hygiene reasons.
-
Daily makeup users: Clean after each application or every evening.
-
Occasional makeup users: Clean right after use, then dry fully before storage.
-
Acne-prone skin: Clean every use and replace more often.
-
Sensitive skin: Use fragrance-free cleanser and rinse extra thoroughly.
Clean tools are especially important if you recently had a breakout, cold sore, eye infection, or skin irritation. Do not use same sponge over infected or irritated areas and then continue using it later.
How to Dry and Store Your Beauty Blender
Drying matters as much as washing. A sponge that stays damp in sealed container can develop musty smell and visible spots. After cleaning, squeeze out water with towel and let sponge sit in open air.
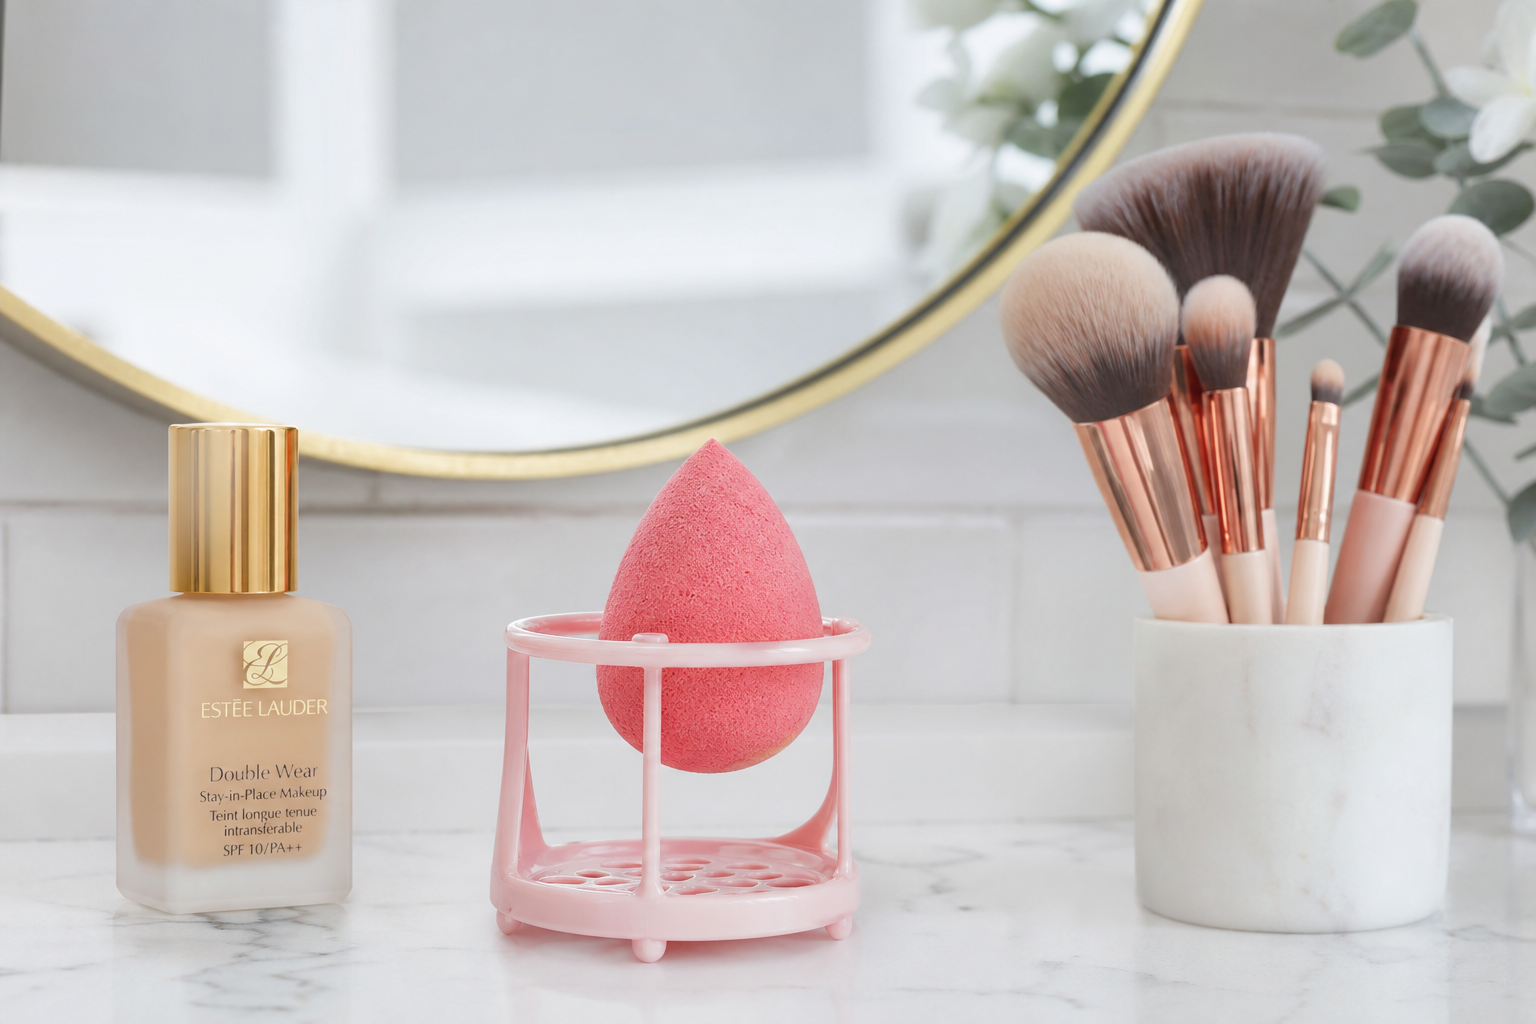
Use ventilated sponge holder, clean soap dish, mesh organizer, or original breathable container if available. Keep sponge away from toilet splash zones, dirty sink edges, and crowded makeup bags. Bathroom humidity can slow drying, so bedroom vanity or open shelf may work better.
Never store wet sponge in airtight plastic bag. If you need to travel, wash sponge night before and pack only when dry. For same-day travel, use ventilated case designed for makeup sponges.
When to Replace a Beauty Blender
Related context illustration
Even best cleaning routine cannot make sponge last forever. Most reusable makeup sponges should be replaced every 3 months with regular use. Replace sooner if sponge shows damage or cleanliness issues.
-
Persistent odor after washing
-
Dark spots that look like mold
-
Tears, cracks, or crumbling texture
-
Hard or sticky areas
-
Makeup no longer blends smoothly
-
Recent use during skin infection or eye infection
Drugstore sponges may need replacement sooner depending on quality and frequency of use. Premium sponges can last longer when cleaned gently and dried properly, but hygiene should matter more than stretching lifespan.
Common Mistakes That Ruin Makeup Sponges
Many sponge problems come from aggressive cleaning or poor storage. Avoid these habits to keep sponge soft and sanitary.
-
Using very hot water: Can weaken sponge and make it less bouncy.
-
Wringing or twisting: Creates tears, especially near tip.
-
Leaving foundation to dry for days: Makes stains harder to remove.
-
Using harsh cleaners: Can leave residue and damage material.
-
Storing while damp: Encourages odor and microbial growth.
-
Sharing sponge: Transfers oil, bacteria, and possible infection.
If sponge looks stained but smells clean, feels soft, and rinses clear, light discoloration may be cosmetic. Some foundation pigments stain permanently. Hygiene depends more on proper washing, drying, and replacement than making sponge look brand-new forever.
Best Cleanser Options for Different Skin Types
For acne-prone skin
Choose fragrance-free, non-comedogenic cleanser that rinses clean. Gentle facial cleanser can be good because it is designed for skin contact. Wash sponge after every use and let it dry fully.
For sensitive skin
Avoid heavily fragranced soaps and essential oil-heavy formulas. Residue from scented cleansers may trigger redness or irritation. Rinse longer than you think needed.
For long-wear makeup users
Use solid sponge cleanser or double-cleanse method: first break down pigment, then wash again to remove residue. Full-coverage foundation often needs two rounds.
Quick Routine for Cleaner Makeup Application
Before makeup, wet sponge with clean water and squeeze until damp, not dripping. After makeup, wash it right away. Let it dry in open air. Replace every 3 months or sooner if damaged. This simple cycle keeps foundation smoother and skin routine cleaner.
Clean beauty tools do not need to be complicated. Consistent sponge care makes biggest difference. Once washing becomes automatic, makeup looks fresher, sponge lasts longer, and skin has one less source of pore-clogging buildup.
Conclusion
Learning how to clean a beauty blender is one of easiest ways to improve both makeup results and hygiene. Use warm water, gentle cleanser, careful squeezing, thorough rinsing, and full air drying. Clean after each use when possible, deep clean stubborn stains weekly, store sponge in ventilated space, and replace it when odor, damage, or mold appears. A fresh sponge gives smoother blending, cleaner application, and better confidence every time you do makeup.