Taking a screenshot on a Mac is one of those small skills that saves time every day. Whether you are saving an online receipt, capturing an error message for tech support, grabbing part of a Zoom slide, or sharing a design proof with a coworker, macOS gives you several built-in ways to do it without installing extra software. The best method depends on what you want to capture: the entire screen, a selected area, a single window, or a screen recording.
Introductory illustration
This guide explains how to screenshot on Mac using keyboard shortcuts, the Screenshot app, Touch Bar options, file-saving settings, clipboard tricks, and practical troubleshooting tips. It also covers common terms people search for, including Mac screenshot shortcut, screenshot selected area Mac, capture window on Mac, and where screenshots go on Mac.
Quick Answer: Main Mac Screenshot Shortcuts
If you need the fastest answer, these are the essential Mac screenshot shortcuts:
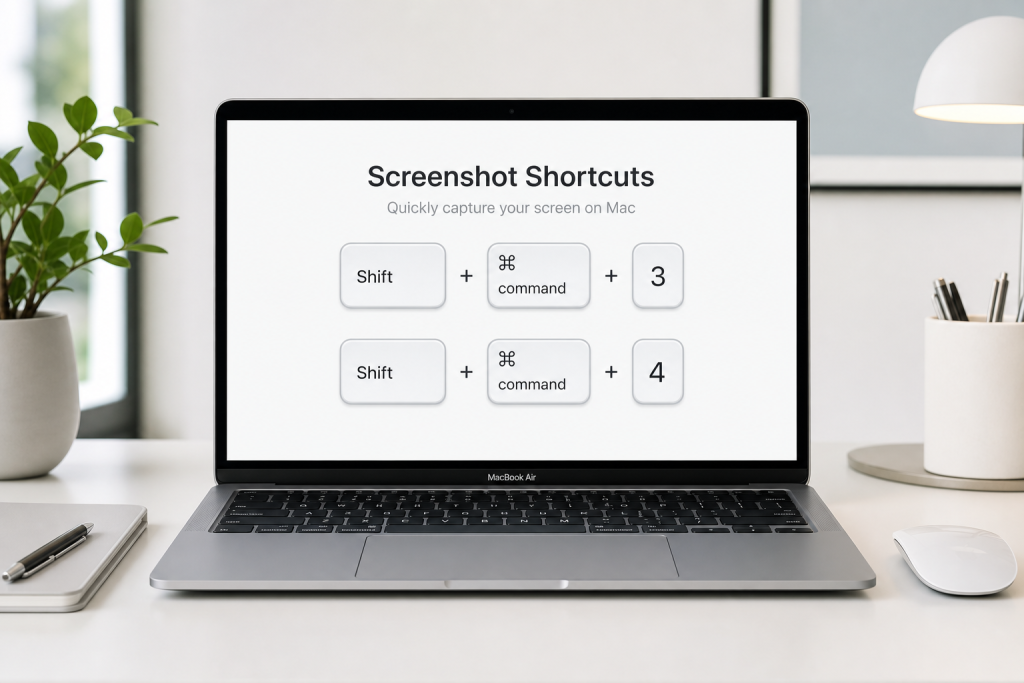
- Capture entire screen: Press Shift + Command + 3.
- Capture selected area: Press Shift + Command + 4, then drag to select.
- Capture specific window: Press Shift + Command + 4, then press Space, then click the window.
- Open Screenshot toolbar: Press Shift + Command + 5.
- Capture Touch Bar: Press Shift + Command + 6 on supported MacBook Pro models.
- Copy screenshot to clipboard: Add Control to most screenshot shortcuts.
By default, screenshots usually save to your desktop as PNG files with a name like “Screenshot” followed by the date and time. You can change that location from the Screenshot toolbar.
How to Capture the Entire Screen on Mac
To capture everything visible on your display, press Shift + Command + 3. If you use multiple monitors, macOS captures each display and saves each image as a separate file.
This is the easiest option when you want a full record of what is on your screen. It works well for saving dashboard views, full web pages visible in your browser, app layouts, or before-and-after comparisons. After you take the screenshot, a small thumbnail may appear in the lower-right corner. Click it to mark up, crop, delete, or share the image. If you do nothing, it saves automatically.
How to Screenshot a Selected Area on Mac
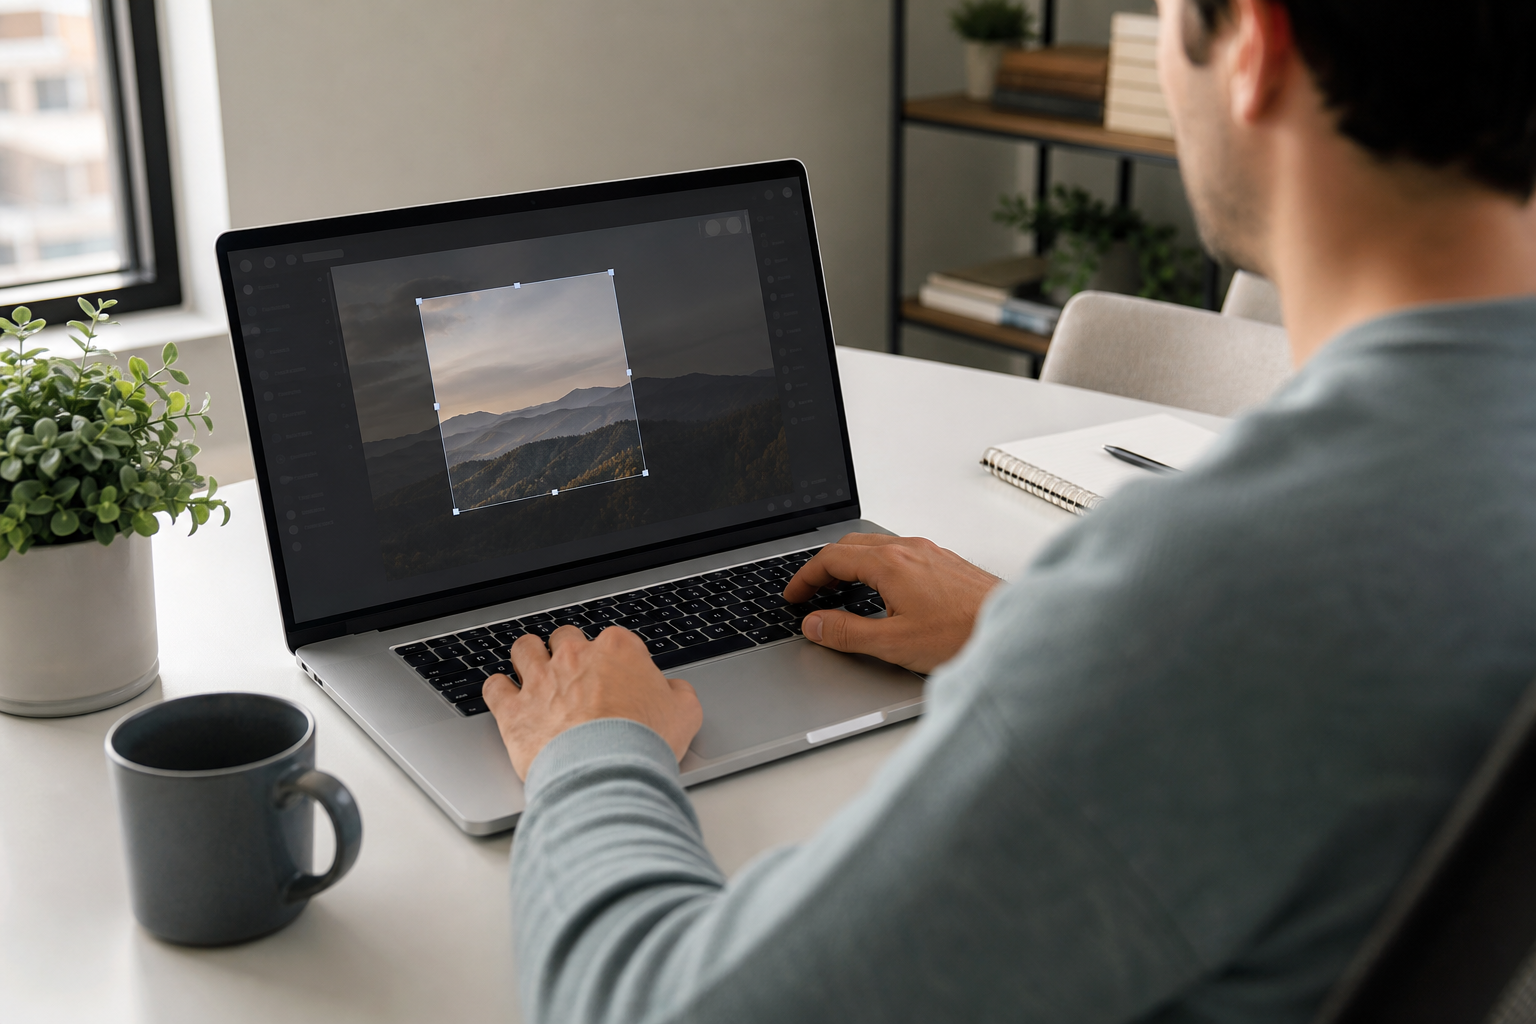
For more control, use Shift + Command + 4. Your pointer changes to a crosshair. Click and drag across the part of the screen you want to capture, then release your mouse or trackpad.
This screenshot selected area Mac method is ideal when you only need one chart, one paragraph, part of an email, or a section of a webpage. You avoid sharing private tabs, desktop files, Slack messages, or other information that may appear elsewhere on the screen.
Useful Selection Tricks
- Move the selection box: While dragging, hold Space to reposition the box.
- Cancel before capturing: Press Esc.
- Lock one direction: Hold Shift while dragging to adjust one axis.
- Resize from center: Hold Option while dragging.
These small controls make the selection tool much more precise, especially when capturing UI elements, code snippets, spreadsheets, or presentation slides.
How to Capture a Window on Mac
To capture one app window cleanly, press Shift + Command + 4, then press Space. The pointer turns into a camera icon. Move it over the window you want, then click.
This capture window on Mac option creates a polished screenshot with the selected window isolated from the rest of the desktop. macOS also adds a subtle drop shadow by default, which makes the image look professional for documentation, tutorials, reports, and customer support replies.
If you want to remove the window shadow, press Option while clicking the window. This creates a cleaner, flatter image that can be easier to use in presentations or design mockups.
Using Shift + Command + 5: Screenshot Toolbar

Detailed illustration
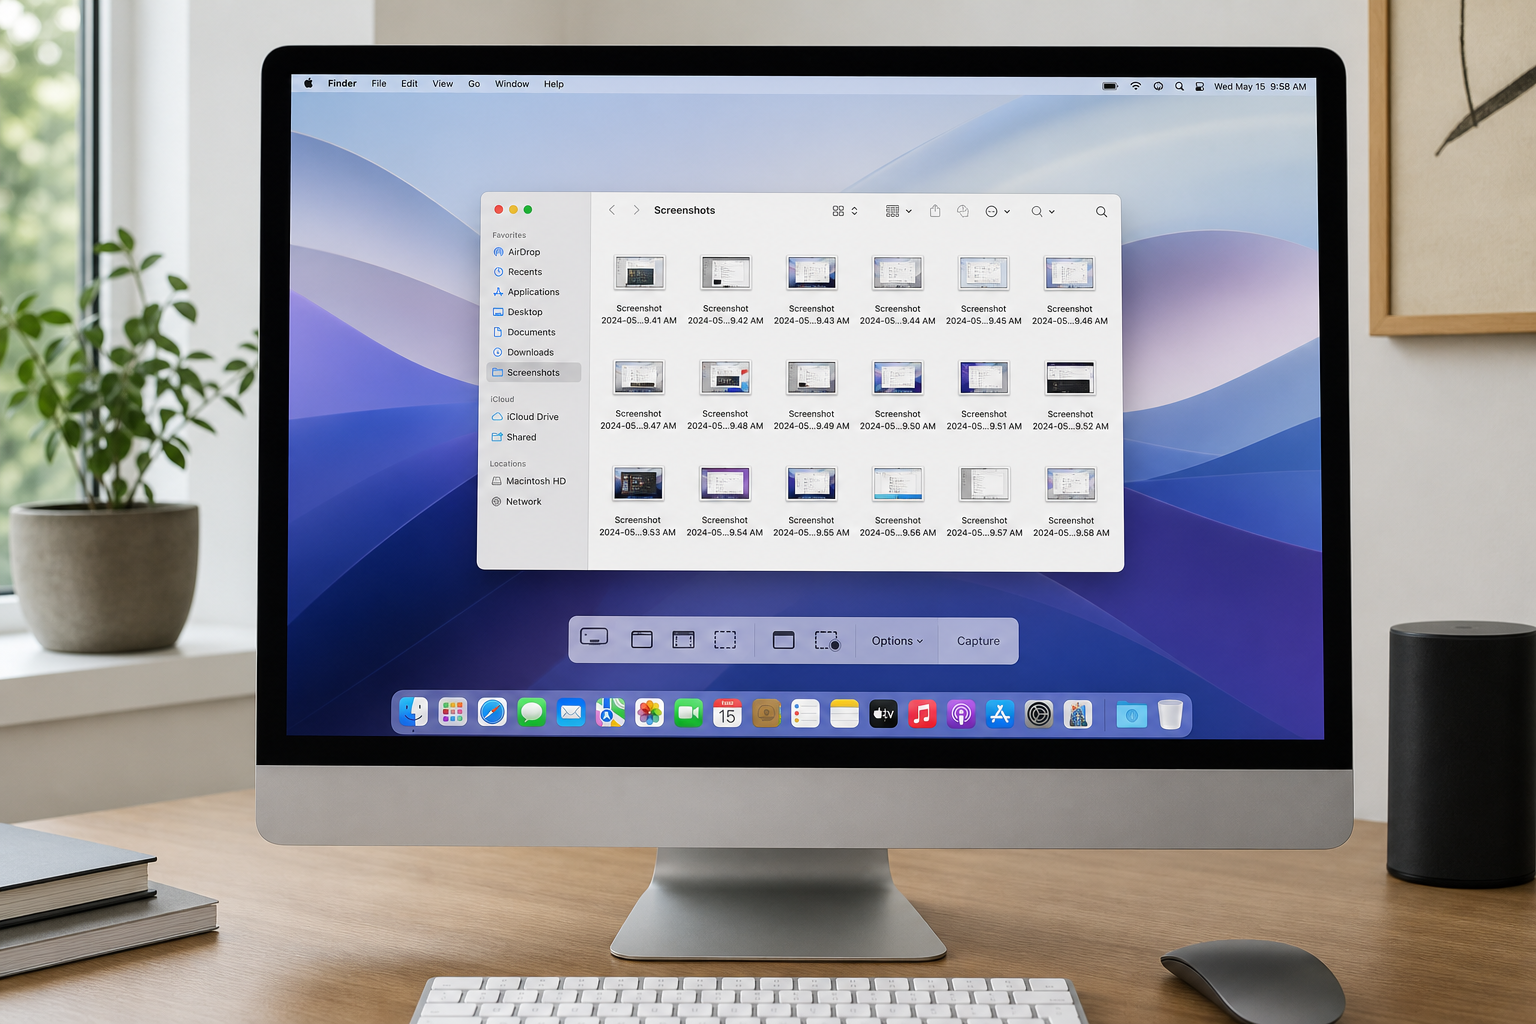
Press Shift + Command + 5 to open the built-in Screenshot toolbar. This is the most user-friendly way to manage screenshots because it displays buttons for screen capture and recording in one place.
The toolbar lets you:
- Capture the entire screen.
- Capture a selected window.
- Capture a selected portion.
- Record the entire screen.
- Record a selected portion.
- Set a timer.
- Show or hide the mouse pointer.
- Choose where screenshots are saved.
For many Mac users in the U.S. workplace, this toolbar is the best choice for creating quick visual instructions, recording app demos, or saving evidence of a technical issue before contacting IT support.
Setting a Timer
From the Screenshot toolbar, click Options and choose a timer such as 5 seconds or 10 seconds. This helps when you need to capture menus, hover states, tooltips, or anything that disappears when you click away.
Showing the Mouse Pointer
If you are creating a tutorial, enable Show Mouse Pointer. This makes your screenshot more instructional because viewers can see where to click. It is useful for onboarding documents, school assignments, software walkthroughs, and remote support.
Where Do Screenshots Go on Mac?
By default, screenshots save to the desktop. If your desktop is full, screenshots can become hard to find. To change the save location, press Shift + Command + 5, click Options, then choose a destination such as Desktop, Documents, Clipboard, Mail, Messages, Preview, or Other Location.
If you often take screenshots for work, consider creating a folder named “Screenshots” inside Documents or iCloud Drive. This keeps your desktop clean and makes files easier to search later. If iCloud Desktop is enabled, screenshots saved to the desktop may sync across your Apple devices.
How to Copy a Screenshot to the Clipboard
Sometimes you do not want to save a file. You want to paste the screenshot directly into an email, Slack message, Google Doc, Microsoft Teams chat, or design note. To do that, add Control to the shortcut.
- Copy entire screen: Press Control + Shift + Command + 3.
- Copy selected area: Press Control + Shift + Command + 4.
- Copy selected window: Press Control + Shift + Command + 4, press Space, then click the window.
After copying, paste with Command + V. This workflow is fast and avoids clutter from temporary screenshot files.
How to Edit Screenshots Immediately
After taking a screenshot, click the thumbnail that appears in the corner of the screen. macOS opens a markup view where you can crop, draw, add arrows, insert shapes, add text, rotate, or share the image.
This is useful when you need to highlight a problem area, circle a button, blur your intent by cropping out private details, or add a quick note before sending the image. For more advanced edits, open the file in Preview, Photos, or another image editor.
How to Take Screenshots on MacBook Touch Bar
Some older MacBook Pro models include a Touch Bar. To capture it, press Shift + Command + 6. The screenshot saves like any other Mac screenshot.
This is less common on newer Macs, but it still matters for users documenting Touch Bar controls in apps such as Final Cut Pro, Logic Pro, Safari, or system settings.
How to Record Your Screen on Mac
Related context illustration
Screen recording is available from the same toolbar used for screenshots. Press Shift + Command + 5, then choose either Record Entire Screen or Record Selected Portion. Click Record to begin.
To stop recording, click the stop button in the menu bar. Screen recordings are commonly saved as video files. They are helpful when a still image is not enough, such as showing a bug, explaining a workflow, or demonstrating steps to a coworker.
Common Problems and Fixes
Screenshot Shortcut Not Working
If shortcuts do not work, open System Settings, go to Keyboard, then check Keyboard Shortcuts. Look for screenshot shortcuts and confirm they are enabled. If another app uses the same shortcut, change one of them.
Screenshots Not Appearing on Desktop
Press Shift + Command + 5, open Options, and check the save location. Screenshots may be going to Documents, Clipboard, Preview, or a custom folder.
Screenshot Thumbnail Gets in the Way
Open the Screenshot toolbar with Shift + Command + 5, click Options, then disable Show Floating Thumbnail. Screenshots will save without showing the preview in the corner.
Screenshot Looks Blurry After Sharing
The original PNG file is usually sharp, but messaging apps and websites may compress images. If quality matters, send the original file by email, AirDrop, cloud storage link, or file attachment instead of pasting into a compressed chat preview.
Best Screenshot Method for Different Situations
- Full proof of screen: Use Shift + Command + 3.
- Private or focused capture: Use Shift + Command + 4.
- Clean app image: Use window capture with Shift + Command + 4, then Space.
- Fast sharing: Add Control to copy to clipboard.
- Tutorials or bug reports: Use Shift + Command + 5 for screenshots or recordings.
Most Mac users only need to memorize two shortcuts at first: Shift + Command + 3 for the full screen and Shift + Command + 4 for a selected area. Once those feel natural, the Screenshot toolbar and clipboard shortcuts make the workflow even faster.
Privacy Tips Before Sharing Mac Screenshots
Before sending any screenshot, check for personal information. In the U.S., screenshots often include email addresses, calendar events, account numbers, customer names, browser tabs, file names, location data, or internal company tools. Crop the image or retake it with a selected area if needed.
If you are sharing a screenshot publicly, avoid exposing private messages, medical information, financial records, school data, client details, or login screens. A few seconds of review can prevent a serious privacy mistake.
Conclusion
Learning how to screenshot on Mac is simple once you know the right shortcut for each situation. Use Shift + Command + 3 for the whole screen, Shift + Command + 4 for a selected area, Shift + Command + 4 plus Space for a single window, and Shift + Command + 5 for the full screenshot and recording toolbar. For faster sharing, add Control to copy the screenshot directly to the clipboard. With these built-in macOS tools, you can capture, edit, organize, and share screenshots quickly without extra apps.