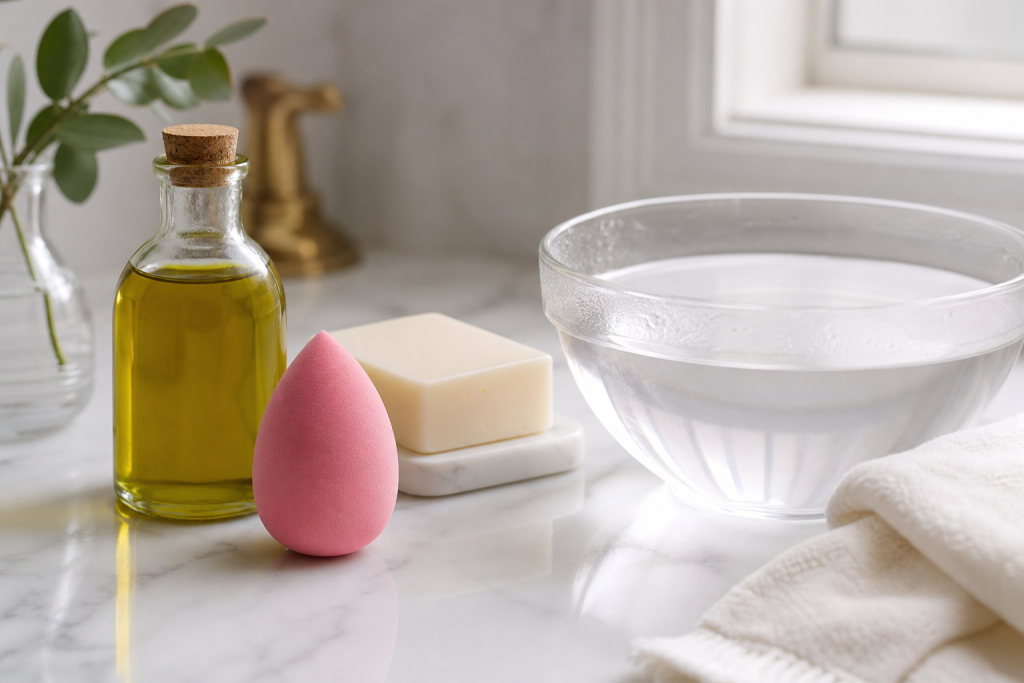
A stained makeup sponge can look hopeless after weeks of foundation, concealer, cream blush, and sunscreen. Good news: learning how to clean beauty blender with olive oil can help break down stubborn makeup residue fast, especially long-wear base products that regular soap struggles to lift. Olive oil works as a gentle oil-based cleanser, loosening pigment, sebum, and silicone-heavy formulas from sponge pores before soap rinses everything away.
Introductory illustration
This method is popular because most people already have olive oil in the kitchen, and it can be cheaper than specialty sponge cleansers. But oil alone is not enough. To clean a beauty sponge properly, you need oil to dissolve makeup and soap to remove oil, bacteria, and residue. Done right, this routine leaves your sponge softer, cleaner, and better for smooth makeup application.
Why Olive Oil Works on Makeup Sponges
Olive oil is useful because makeup often contains oils, waxes, silicones, and film-forming ingredients. Like dissolves like: oil helps loosen oil-based grime. When foundation sinks deep into a beauty blender, plain water cannot remove it because many complexion products are designed to resist sweat, humidity, and transfer.
Using olive oil before soap helps melt stuck-on foundation from inside sponge pores. This is why a DIY beauty blender cleaner often combines oil with dish soap, gentle hand soap, or facial cleanser. Oil lifts makeup. Soap emulsifies and rinses away oil. Water flushes everything out.
Best rule: never clean a beauty sponge with olive oil only. Always follow with soap and a long rinse so oily residue does not stay trapped inside.
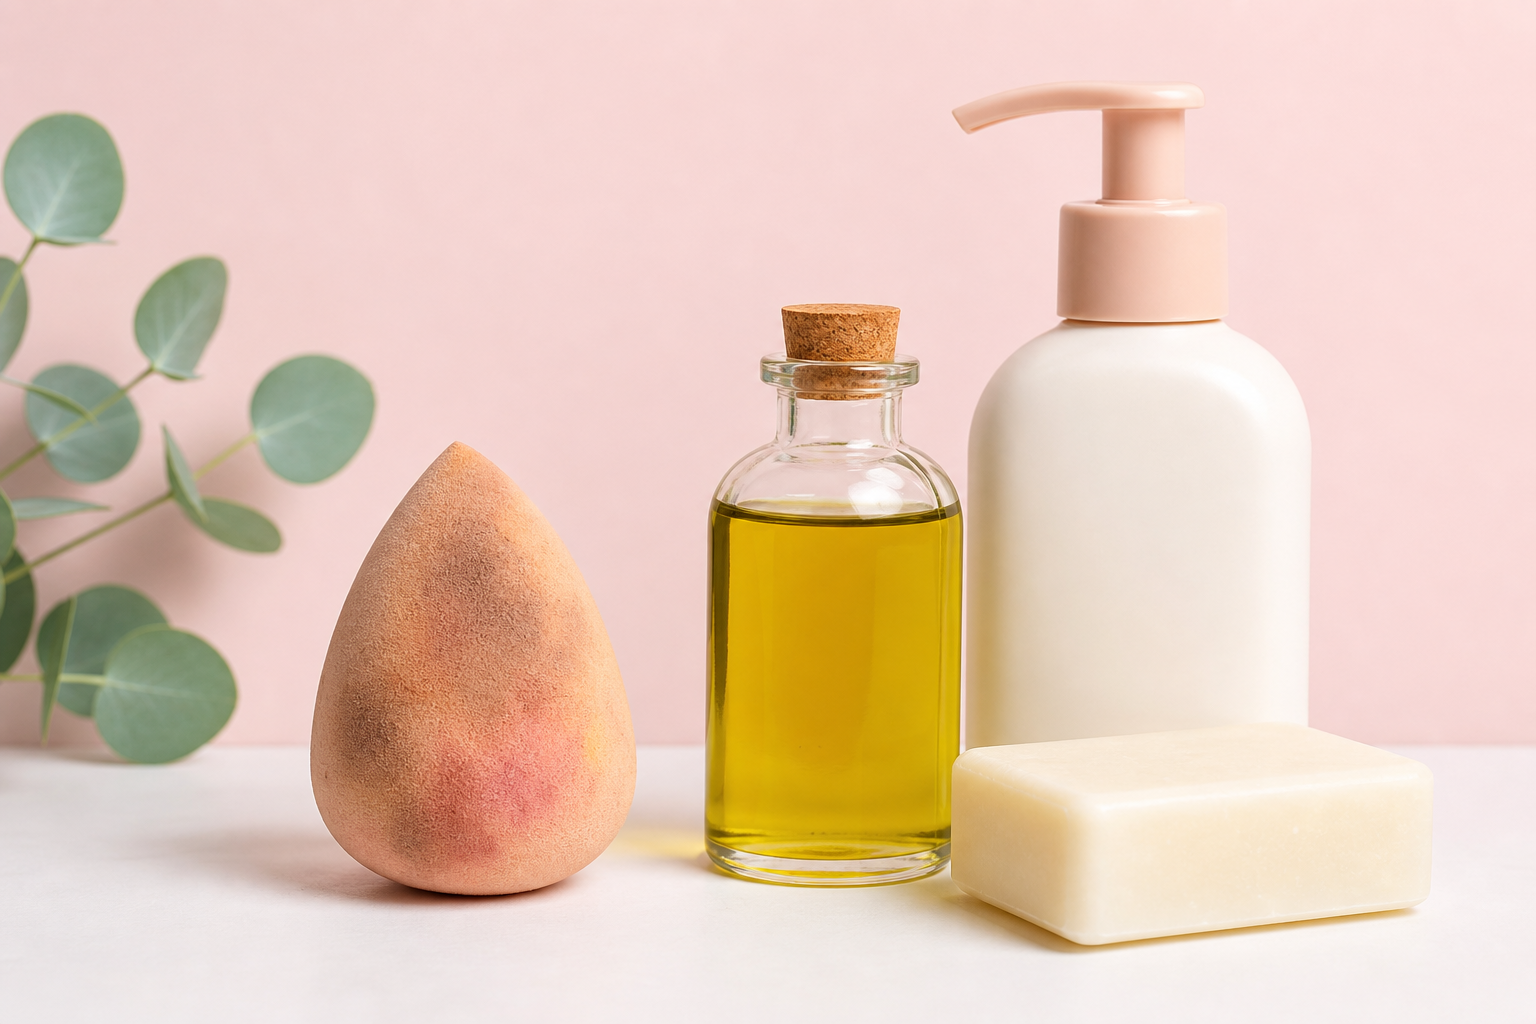
What You Need Before You Start
You do not need expensive tools. For most U.S. makeup routines, items below work well and are easy to find at Target, Walmart, CVS, Walgreens, or your kitchen sink.
-
Extra virgin olive oil or regular olive oil: either works for dissolving makeup stains.
-
Gentle liquid soap: mild dish soap, baby shampoo, or fragrance-free facial cleanser.
-
Warm water: not boiling, not hot enough to damage sponge foam.
-
Clean bowl: optional, but useful for soaking.
-
Clean towel: for drying without squeezing sponge too harshly.
If your skin is acne-prone or sensitive, choose a fragrance-free soap and rinse extra well. A beauty sponge touches your face, under-eyes, and sometimes blemishes, so leftover cleanser or oil can irritate skin if not fully removed.
Step-by-Step: Clean a Beauty Blender with Olive Oil
This method works for original Beautyblender sponges and similar makeup sponges from Real Techniques, e.l.f., Sonia Kashuk, EcoTools, and other brands. Be gentle. Aggressive twisting can tear foam.
1. Wet the Sponge First
Hold the sponge under warm running water until it expands fully. Squeeze it several times so water reaches the center. A damp sponge is easier to clean because water softens dried product and helps prevent oil from clinging too heavily to dry foam.
2. Add a Small Amount of Olive Oil
Place about half a teaspoon of olive oil in your palm or a small bowl. Roll the stained areas of the sponge through the oil. Focus on foundation marks, concealer patches, and dark cream contour stains. You should see makeup start to loosen and smear.
Use less oil than you think you need. Too much oil makes rinsing harder and can leave a greasy feel. For very dirty sponges, repeat small applications instead of soaking sponge in a large amount of oil.
3. Massage Gently
Press and release the sponge with your fingers. Do not scrape with nails. Do not wring it like a towel. Gentle compression moves oil through the pores and helps dissolve makeup from inside. If you use long-wear foundation, give the oil 30 to 60 seconds to break it down.
4. Add Soap to Emulsify the Oil
Add a few drops of liquid soap directly onto the sponge. Work it into a lather with warm water. The foam may turn beige, pink, or brown as makeup releases. Keep squeezing gently until lather looks dirty, then rinse.
This step matters most. Soap removes both makeup and olive oil. Without soap, your sponge can feel slick and may attract more debris later.
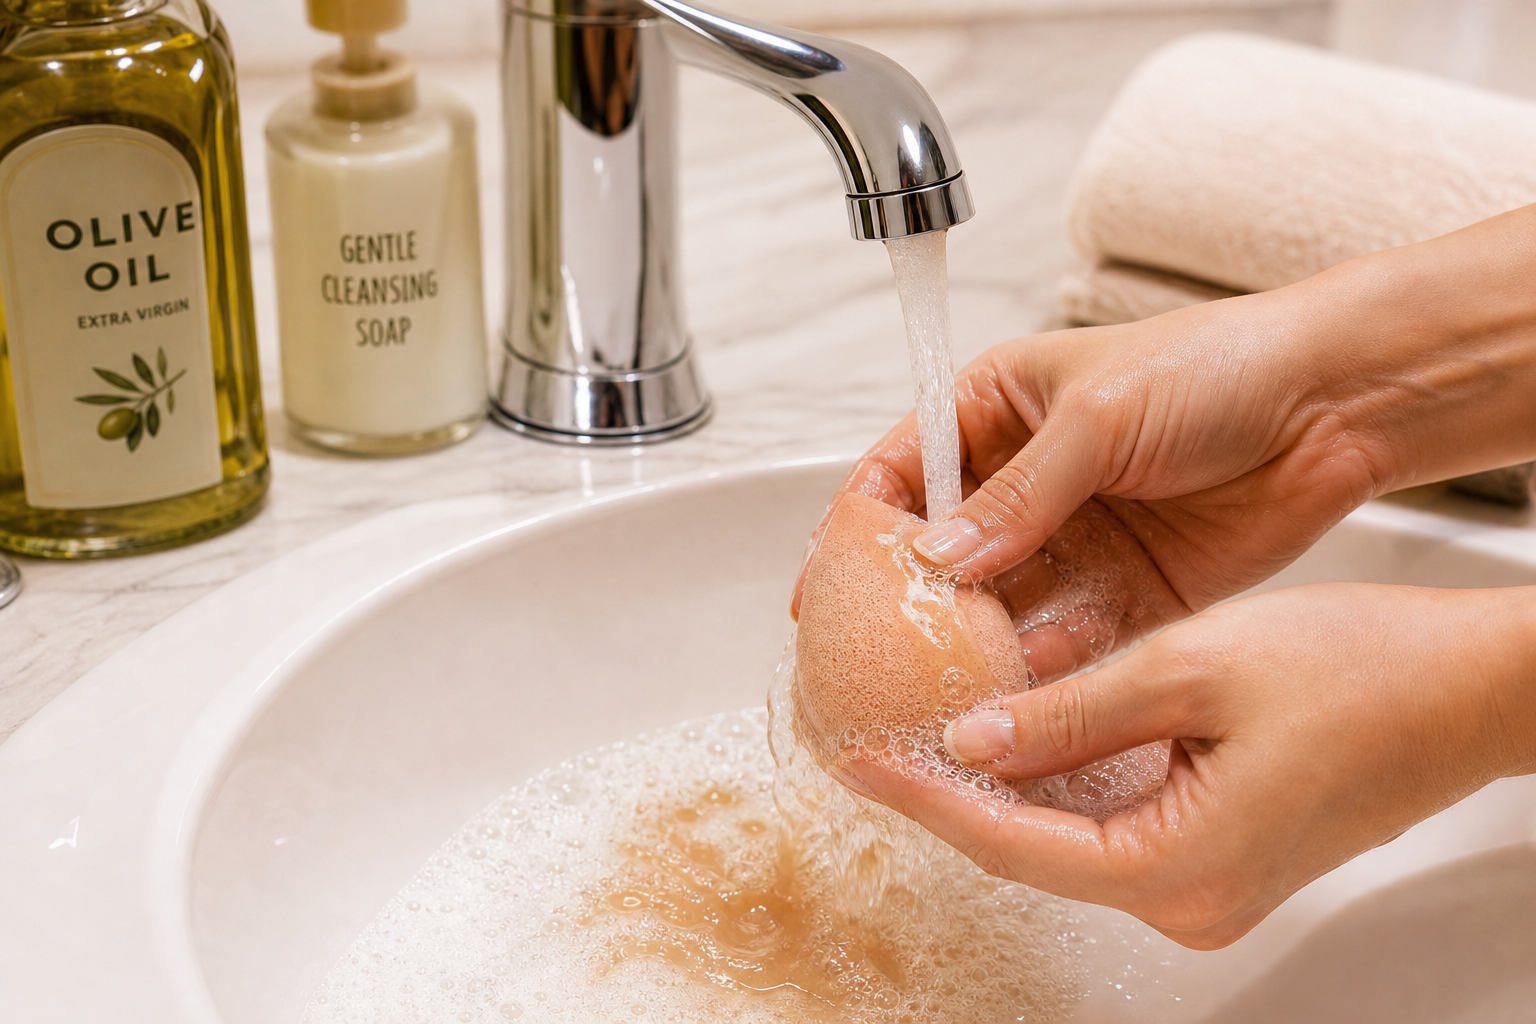
5. Rinse Until Water Runs Clear
Rinse under warm running water while squeezing repeatedly. Keep going until no suds, oiliness, or makeup color remains. This can take two to five minutes, depending on how dirty the sponge is. Press sponge against your palm to check for leftover foam.
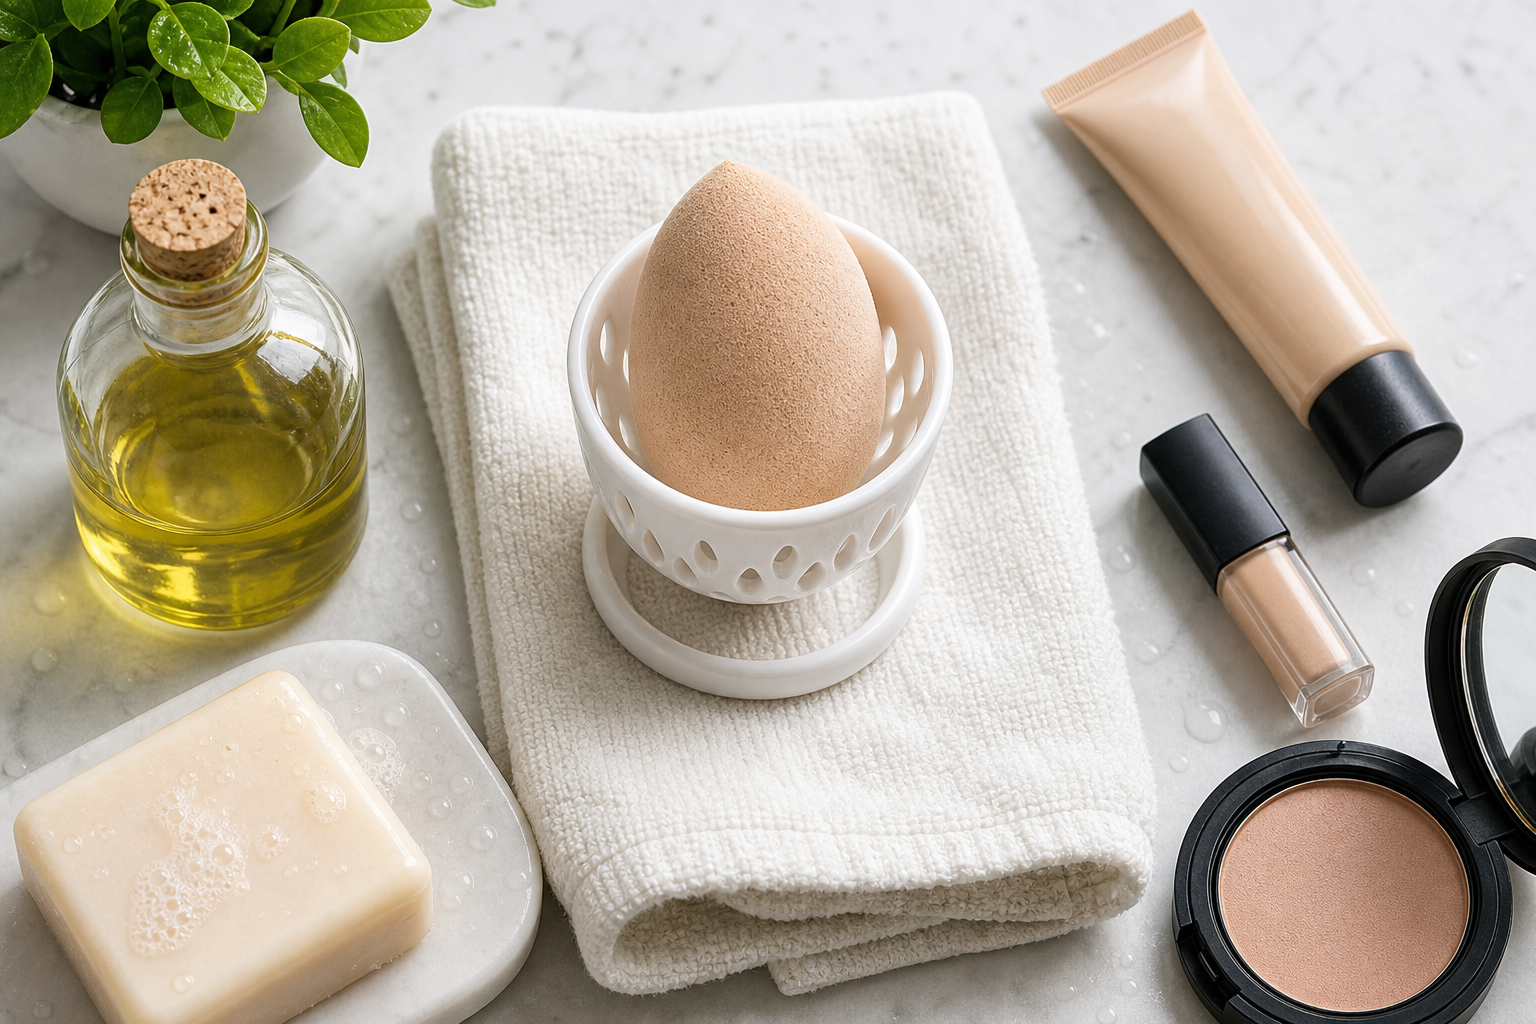
6. Dry Correctly
Squeeze out water with a clean towel. Set sponge in an open, ventilated place. Do not store it damp inside a closed makeup bag, drawer, or plastic container. Trapped moisture encourages mold and odor.
Olive Oil and Dish Soap Method
Detailed illustration
The olive oil and dish soap method is one of the strongest options for stubborn foundation stains. Dish soap is made to cut grease, so it pairs well with olive oil. Many makeup users prefer this combination when cleaning sponges used with full-coverage foundation, waterproof concealer, or heavy cream products.
Use this ratio: one part olive oil to two parts dish soap. Mix in your palm, then massage into a wet sponge. Rinse thoroughly. Choose a mild dish soap if possible. If your skin reacts easily, baby shampoo or gentle facial cleanser may be safer than highly scented dish soap.
This method should not be overused every day if your sponge foam feels fragile. For frequent washing, a gentle cleanser may preserve texture better. For deep cleaning once or twice a week, dish soap can be very effective.
How Often Should You Wash a Beauty Sponge?
If you use your makeup sponge daily, wash it after every use or at least every two uses. Damp sponges collect foundation, skin oils, dead skin cells, and bacteria. Waiting a week between washes can increase risk of clogged pores, breakouts, and uneven makeup.
For occasional makeup use, clean sponge after each application and let it dry fully before storage. If you used sponge over active acne, cold sores, eye infection, or irritated skin, wash it immediately and consider replacing it sooner.
Common Mistakes to Avoid
Using Too Much Olive Oil
More oil does not mean cleaner sponge. Excess oil can sink deep into foam and make rinsing frustrating. Start with a tiny amount, then add more only if stains remain.
Skipping Soap
Olive oil dissolves makeup, but it does not sanitize the sponge. Soap is needed to remove oil and grime. If sponge still feels slippery after washing, repeat soap step.
Using Hot Water
Very hot water may weaken sponge material and can be unsafe for your hands. Warm water works best.
Microwaving Without Care
Some people microwave sponges in soapy water, but this can burn sponge or cause injury if done wrong. If you choose that method, sponge must be fully submerged and handled carefully. For most people, hand washing is safer and enough.
Drying in Closed Containers
A clean sponge can still grow mildew if stored wet. Always dry in open air. A vented sponge holder helps.
Can Olive Oil Damage a Beauty Blender?
Olive oil should not damage most makeup sponges when used sparingly and rinsed well. Trouble starts when oil remains inside foam. Residue can make sponge feel heavy, greasy, or less bouncy. It may also affect makeup application by sheering out foundation or leaving uneven patches.
If sponge still feels oily, wash again with soap only. Use warm water and keep squeezing until texture feels normal. If greasiness remains after several rinses, sponge may be oversaturated and should be replaced.
How to Remove Deep Foundation Stains
Related context illustration
Some stains remain even after sponge is clean. Pigments from long-wear foundation, self-tanner, liquid blush, or bright concealer can discolor foam permanently. Staining does not always mean sponge is dirty, but odor, slimy texture, or black spots are warning signs.
For deep stains, apply olive oil to stained zones, then add soap and let sponge sit for five minutes in warm soapy water. Massage and rinse. Repeat once if needed. Avoid bleach, harsh cleaners, rubbing alcohol, and laundry detergent, because these can irritate skin and damage sponge material.
When to Replace Your Makeup Sponge
Even with good cleaning, beauty sponges do not last forever. Replace your sponge every one to three months if used often. Replace sooner if you notice:
-
Tears, cracks, or crumbling foam.
-
Musty smell after washing.
-
Black, green, or gray spots that look like mold.
-
Persistent oily or slimy texture.
-
Breakouts after using sponge despite cleaning.
A fresh sponge applies makeup better and lowers hygiene concerns. If you wear makeup daily, buying multipacks can be practical and affordable.
Best Alternatives to Olive Oil
If olive oil is not available, other options can clean a beauty sponge well. A dedicated solid sponge cleanser is convenient and travel-friendly. Baby shampoo is gentle for sensitive skin. Fragrance-free facial cleanser can work if it removes makeup effectively. Micellar water can loosen surface makeup, but it still needs rinsing with soap and water.
Coconut oil can remove makeup, but it is thicker and harder to rinse from foam. Cleansing balm can work, but it may be expensive for sponge cleaning. Olive oil remains a solid budget option because it breaks down makeup fast and is easy to find.
Final Verdict: Is Olive Oil Good for Cleaning Beauty Sponges?
Yes, olive oil is good for cleaning a beauty blender when paired with soap and warm water. It is especially helpful for stubborn foundation, concealer, and cream makeup stains. Use a small amount, massage gently, wash with soap, rinse until water runs clear, and dry in open air.
The best routine is simple: oil breaks down makeup, soap removes residue, and proper drying keeps sponge fresh. With consistent cleaning and timely replacement, your makeup sponge stays softer, cleaner, and ready for smoother foundation application.